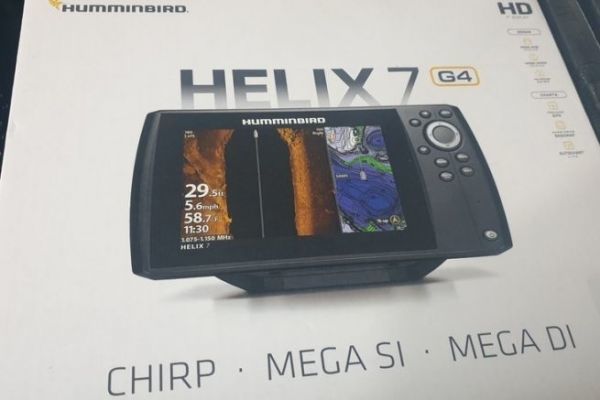
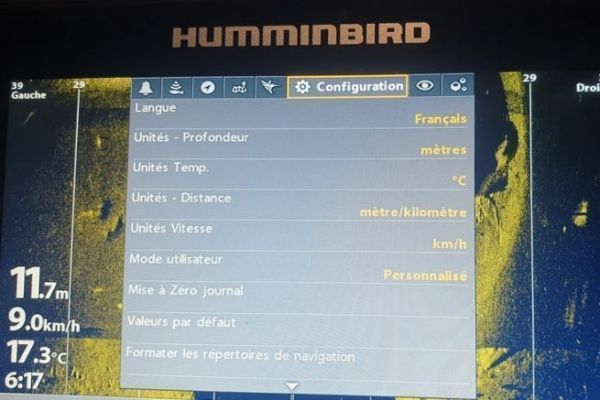
Once properly set up, an echo sounder is a fantastic tool for freshwater fishing. However, many anglers neglect the basic settings of their device, which often penalizes them during their session. Let's take a look at the functions of the various buttons required for the basic settings of the Humminbird HELIX in both G3 and G4 versions.
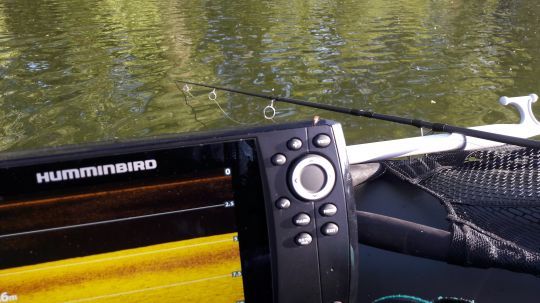
These models feature buttons that you need to master to take full advantage of your echo sounder's capabilities.
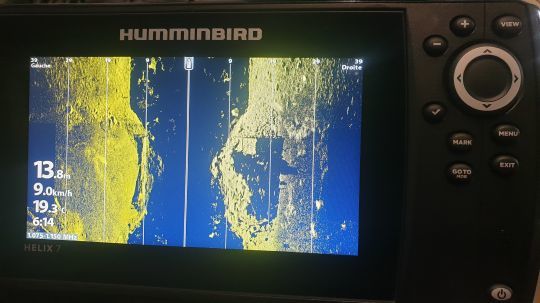
Use the +/- buttons to adjust sensitivity. It's a fisherman's "best friend". On map views, it's zoom in and zoom out.
View button: scrolls through all the camera's views. A long press brings up the menu for the view you are scrolling through. This button is very useful on Helix 5 and 7, which have no "shortcut" button.
The cursor (up, down, right, left) allows you to move around to mark a waypoint or create a waypoint to create a route on the map view. It is also used to navigate and make choices in the various menus.
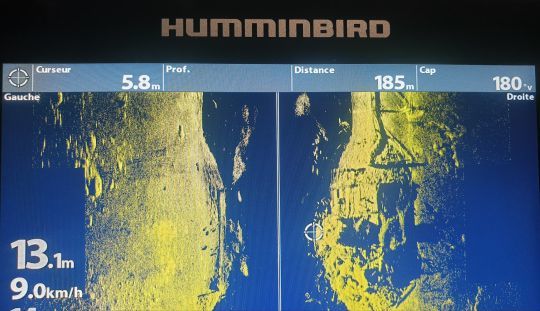
The Exit button allows you to exit menus or go back in time for views.
The menu button: press once to display the back view menu. Press twice to access the general menu.
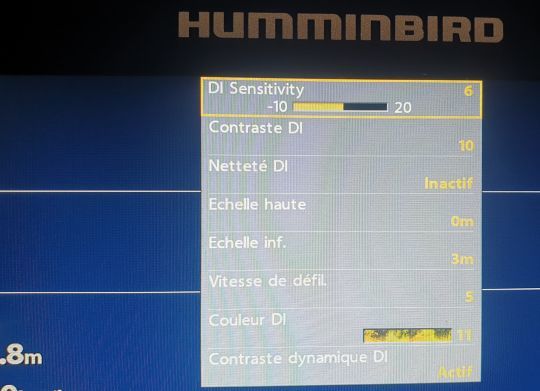
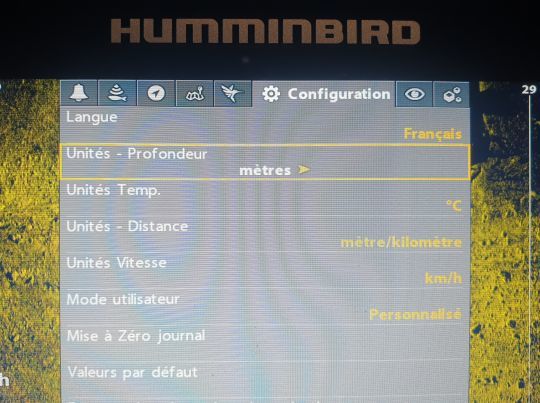
The V button changes the unit's frequencies.
The Mark button is used to create a waypoint. When pressed and held, it takes screenshots. It's important to note that to save them, you need a card with a maximum capacity of 32 GB. In addition, remember to export your data to the card, otherwise they will only be stored in the internal memory.
The GO TO button has several functions. It can be used to create a route on the map (waypoint), but also to manage an engine in Ipilot.

The "shortcut" keys on some models are used to save the view displayed. Long press to save (a sound is heard when saved).
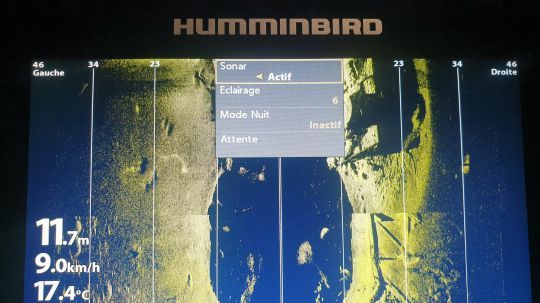
In addition to switching the device on and off, the Power button opens a useful insert for accessing functions such as :
- Access to Ipilot Link engine if connected
- Activation/deactivation of the probe, as it must not operate outside the water
- Backlight access
- Activate/deactivate standby mode
So much for mastering the most important functions of the various buttons. They will enable you to adjust your Helix fishfinder easily and optimally. In a second article, we'll look at how to make these basic settings.

 /
/ 

