With its numerous advantages, Leadcore is widely used for the creation of more or less technical assemblies. With its large diameter and a certain rigidity, Leadcore is particularly suitable for the realization of anti-fogging devices. Knowing how to make a splice is essential when you want to use such a material. Let's see how to make a simple splice.
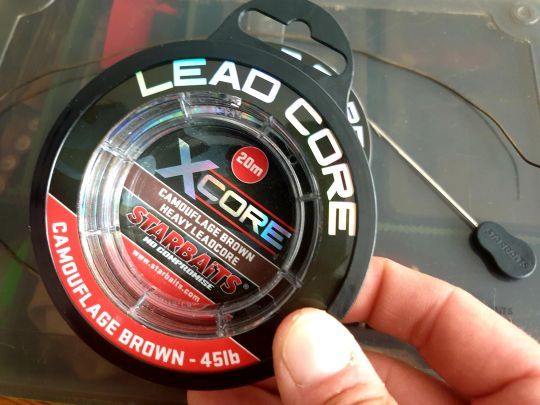
What is the Leadcore?
It is a very strong, large diameter braid with a lead core that allows it to be placed on the bottom. With its pronounced stiffness, Leadcore makes traditional knots difficult and coarse. The splice then becomes unavoidable.
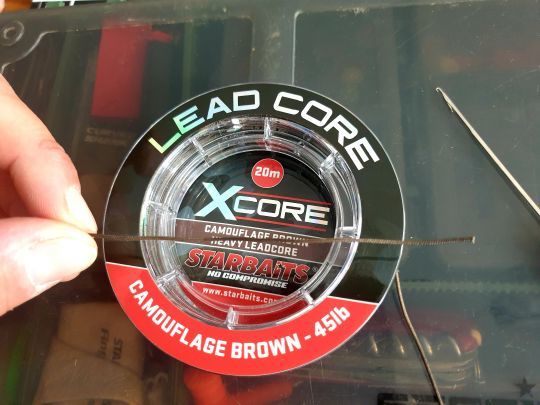
What is a splice?
In the marine vocabulary, a splice is a joining of two pieces of rope or cable by intertwining their strands (components) to make a loop. For our Leadcore, we use this principle. With a splice, the more you pull, the stronger the interweave! When you are a novice, it is hard to believe, but the first time you use it, you quickly understand its efficiency and especially its indispensability.
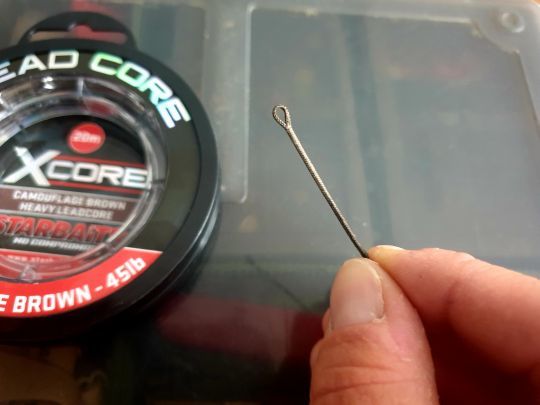
The necessary material
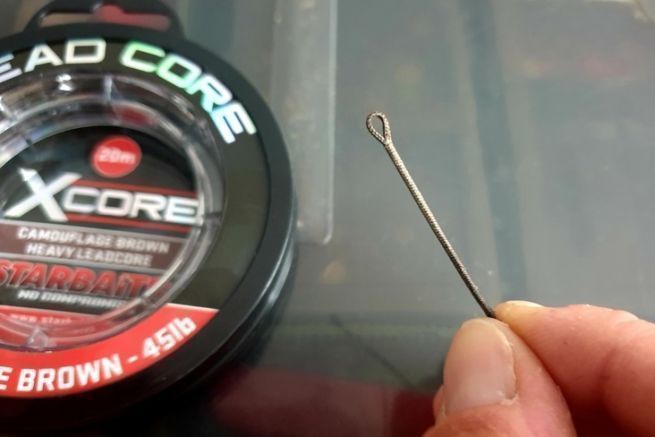
To make a splice on leadcore, you will need a quality leadcore such as Starbaits' X Core and a splicing needle that is much finer than an eye needle. Without this special Leadcore needle, you will have a lot of difficulties and the execution of this splice will become prohibitive.
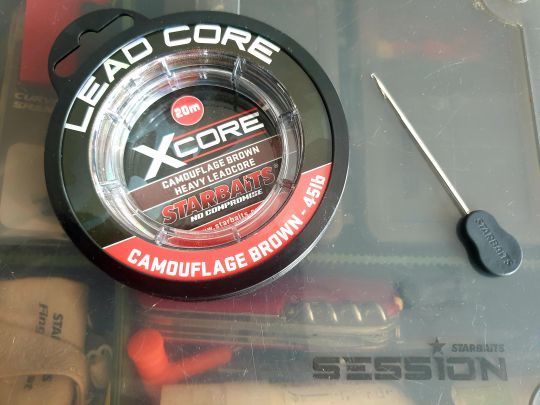
The steps for making the splice.
1- Unroll and cut the necessary length of Leadcore. For the realization of an anti-jammer, 80 cm will be enough. It all depends on the use you will have of it.
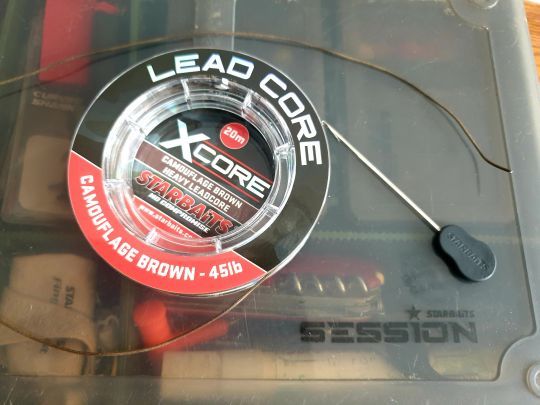
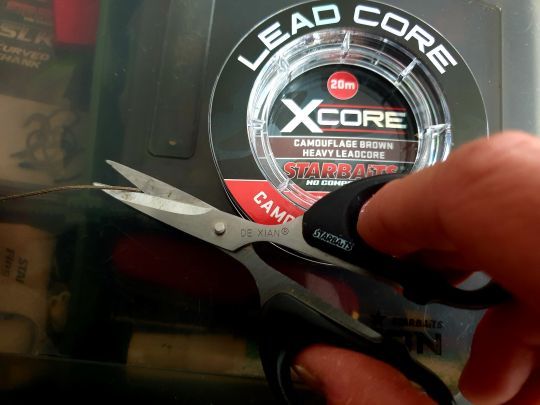
2- To make the splice, it is necessary to remove/cut several centimeters of lead core. Be careful, if you want to make a splice at each end, remember to remove the equivalent of two lengths of lead core. To make two splices, 20 cm of removed lead core will do. Basically, for each splice, you need to remove 10 cm of lead wire.
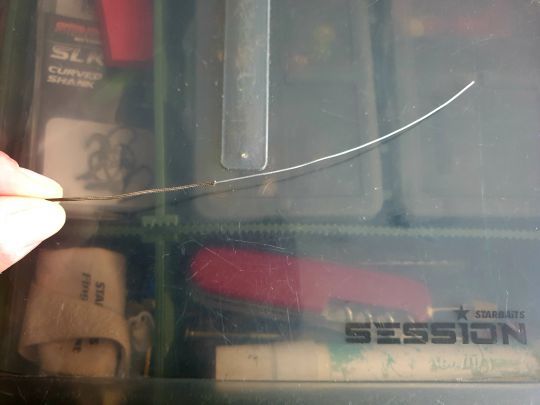
3- On the part that has become soft (without the lead core), prick your needle (by the rounding then pivot) to pass it over 3 or 4 cm maximum before bringing it out.
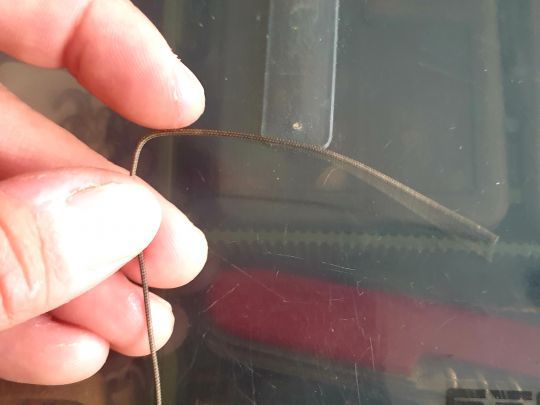
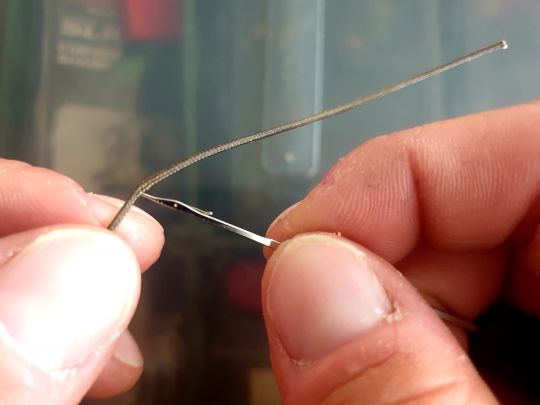
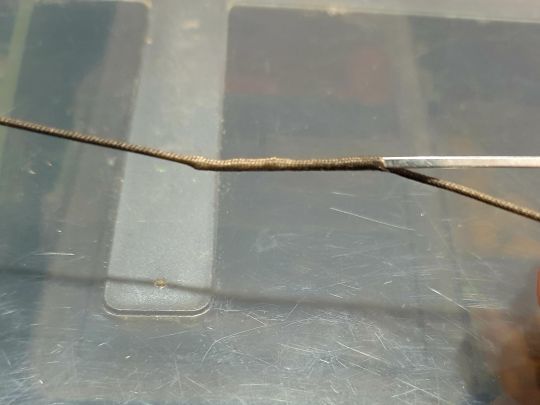
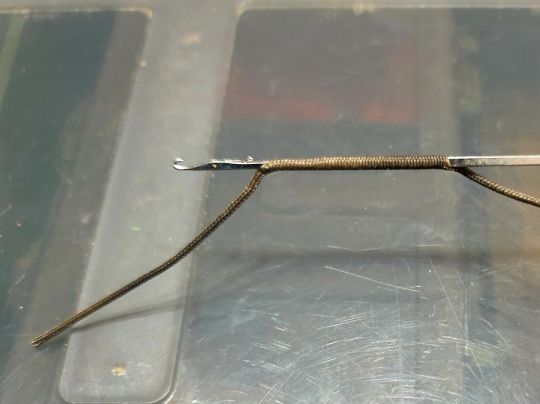
4- Crochet the excess soft Leadcore (close the needle) and pull it through the needle path. Adjust the size of the loop you want.
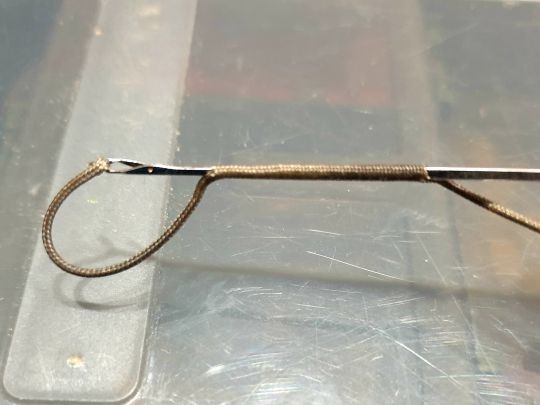
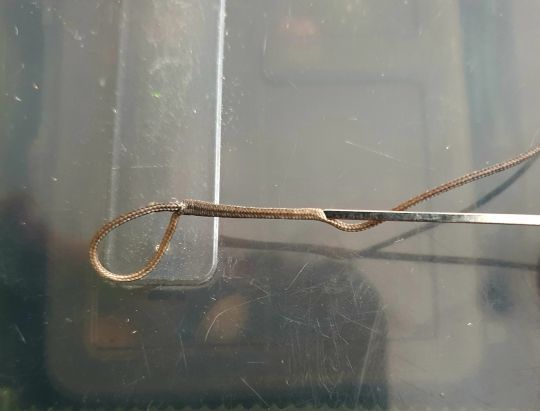
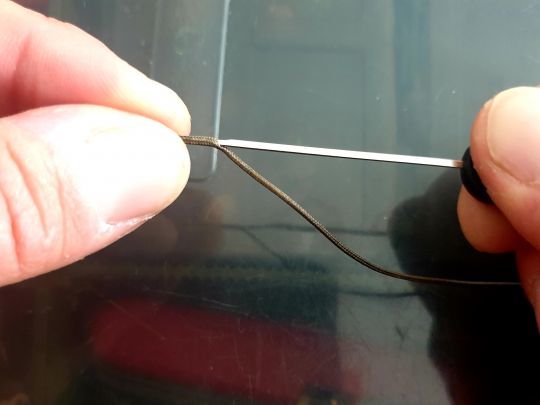
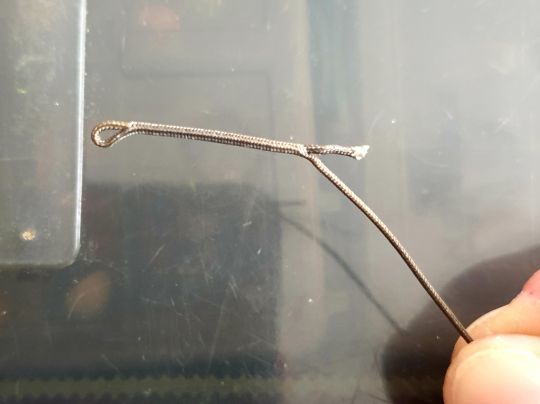
5- Cut the end flush with the entry/exit point (you can burn for a perfect result).
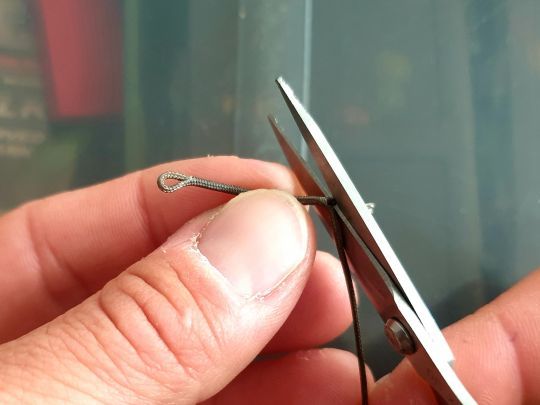
6- If you want to make a second splice, remember to push the lead core back to the first splice. This way, you will have a flexible part at the other end of your leadcore that will allow you to make a second splice if needed. It is advisable to remove the necessary length of lead wire for the two splices from the start.
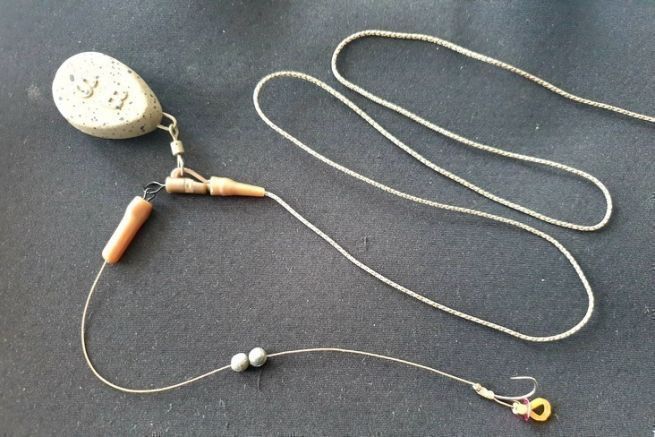
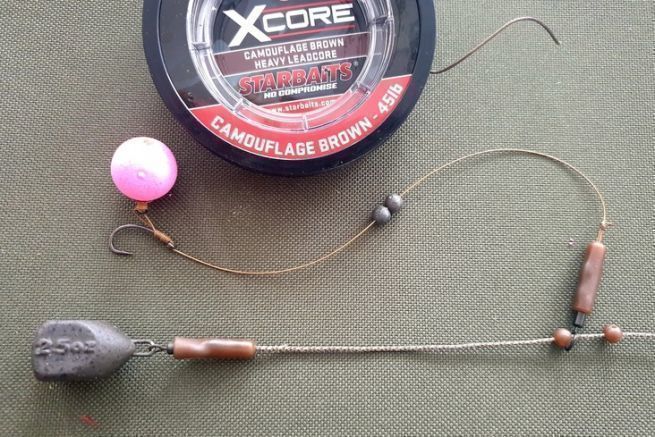
The splice greatly facilitates the use of Leadcore to make anti-fishers or technical assemblies. It will allow you to connect your Leadcore to your line body (nylon or braid), to insert upstream a swivel for a leadâeuros¦ clip assembly (to be put before doing the reverse way of the needle).
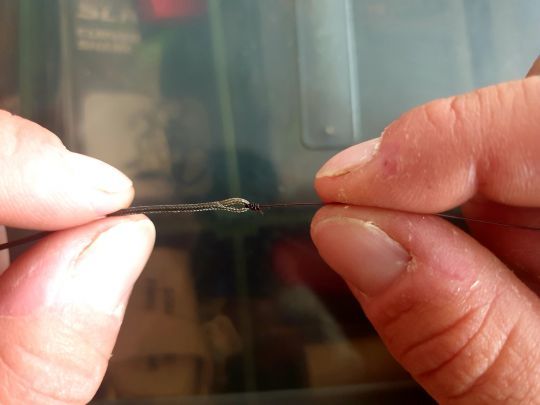
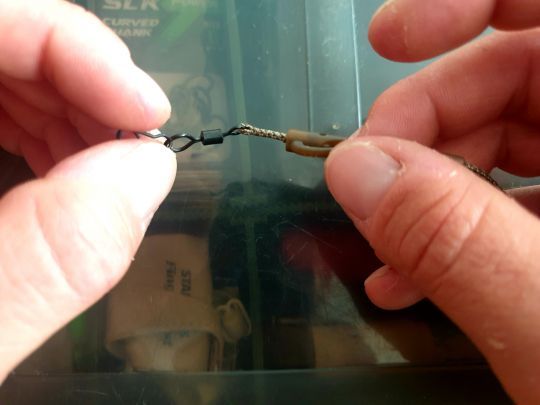
All this with an incredible resistance.
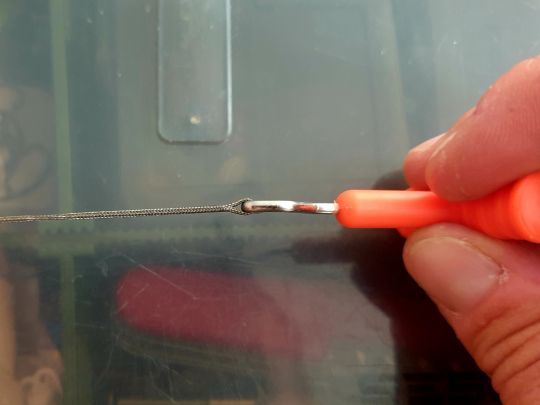
Now you know how to make a splice. It's up to you.

 /
/ 