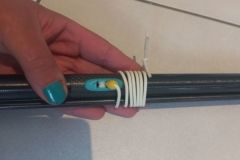
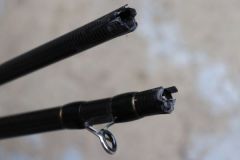
Mark the position of the rings
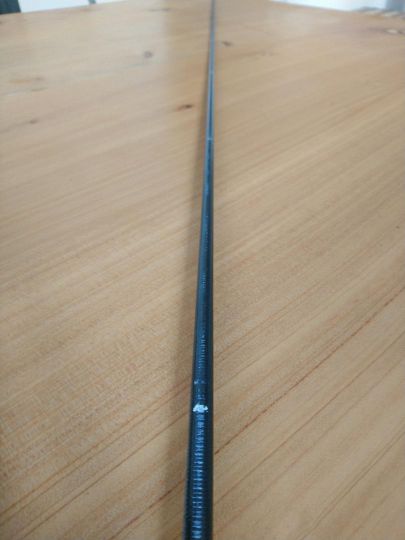
First of all, before tying the rings, it is necessary to know where to position the rings . Nothing could be simpler: just refer to the specifications supplied by Fuji, which you can find on the Rodhouse website. After slipping the head ring onto your blank, simply transfer and mark the distances using a tape measure and your white pencil. To assemble this rod, I used the specification for a 7.6-foot blank mounted in Kr Concept.
Secure the ring temporarily
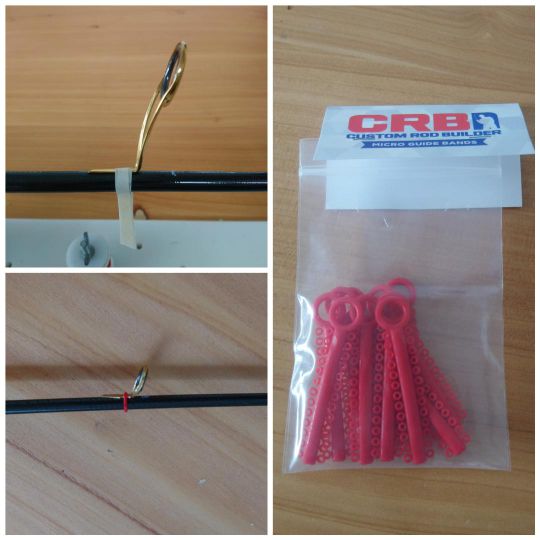
The first step in tying a ring is to fix it temporarily to the blank. To do this, I use a piece of painter's tape for the reduction cone rings (the first 3 largest rings) and a useful accessory for the tunnel rings: simple mini rubber bands.
It's important that the bottom of your ceramic ring is aligned with the mark made with the white pencil, and that it's roughly tied to the spine, to limit handling afterwards.
Borrow the thread
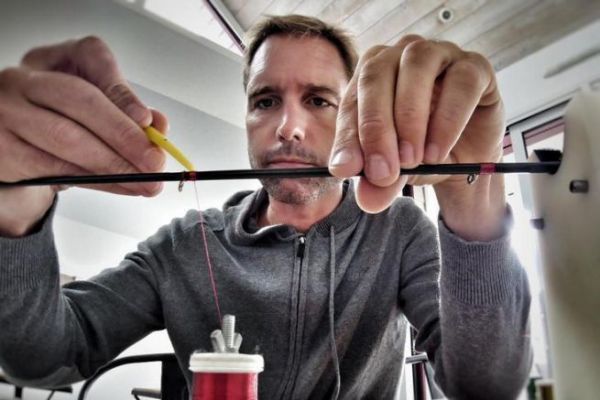
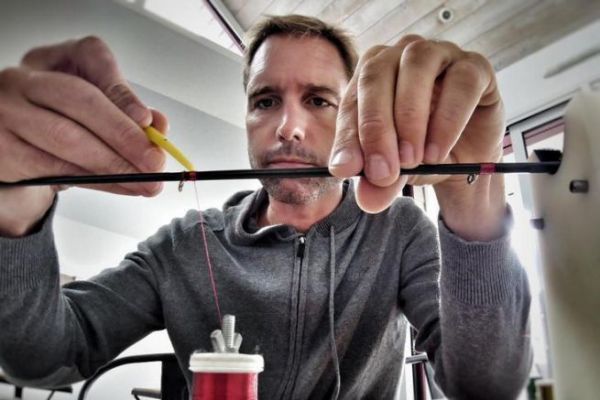
Ligature can now begin, and its secret is to be knot-free... The wire will be trapped under itself, which is enough to hold it in place. There's no need to over-tighten your ligature, as you'll have trouble moving the ring afterwards to perfect the alignment. It's the combination of ligature and varnish that will hold the ring in place like reinforced concrete.
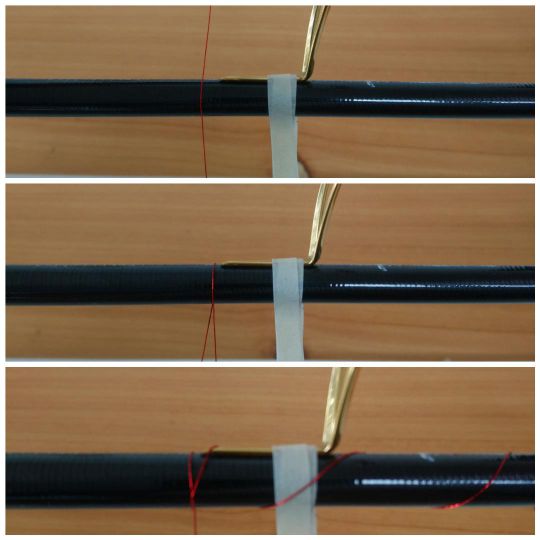
Here's how to get started:
- Pass the wire over the blank (about 2 mm in front of the ring lug)
- Take a tour of the blank
- (You can tape the free strand of thread to keep it taut, but it's quite sufficient to wrap it around the blank and keep a finger on it).
Block the free strand
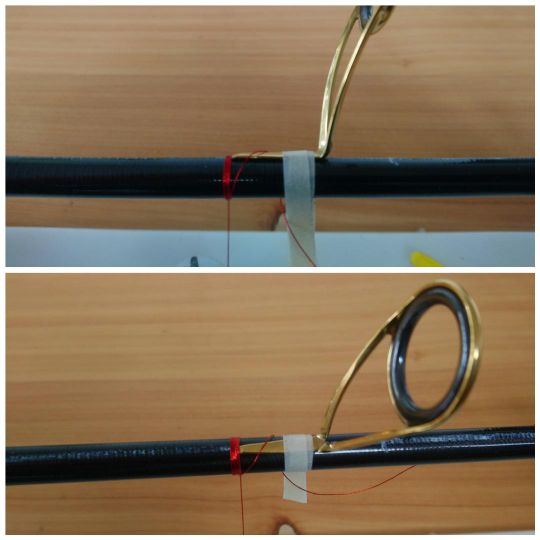
- Keeping the tension on the free strand, start turning your blank so that the line wraps around the blank, the free strand and climbs up the ring lug.
- Be sure to make tight turns.
- After 3 or 4 turns, you can release the free strand; it will be held and trapped under itself.
Trim excess
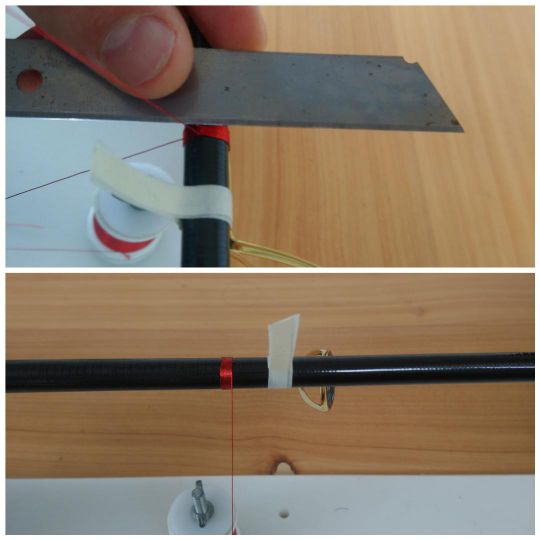
- Make about ten tight turns.
- Using a sharp cutter blade or scalpel, trim off the excess loose strand.
Continue and "packetize" the ligature
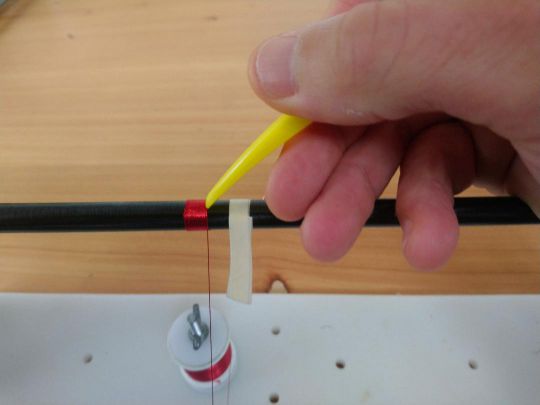
At this point, you can pick up the pace and move your ligature forward, making sure to pack the coils tightly. If you can use your fingernail, but the use of a burnisher is recommended.
Cut the tape
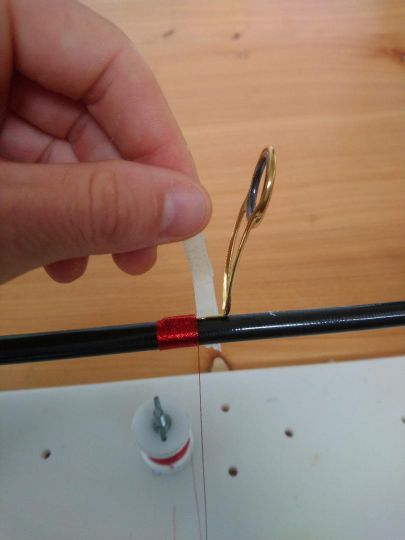
Continue tying, and once the ring's leg is well covered, it's attached to the blank. Cut the elastic or carefully remove the tape without letting the ring slip.
Lock the ligature
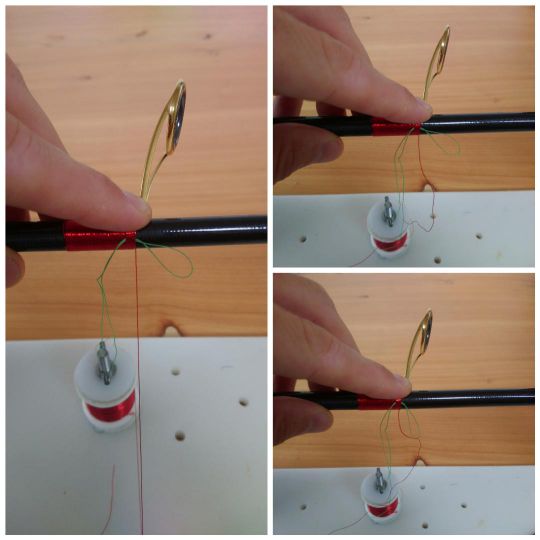
About ten turns before you reach the end of the ring leg, secure a loop of wire (of another color, it's easier) under the one used for your binding.
- Finish tying to the end of the ring leg.
- Using your index finger, hold the wire against the blank to prevent the ligature from unwinding.
- Cut the ligature wire, leaving about 10 cm free.
- Pass the thread through the loop, maintaining tension with your index finger.
Slide the wire under itself
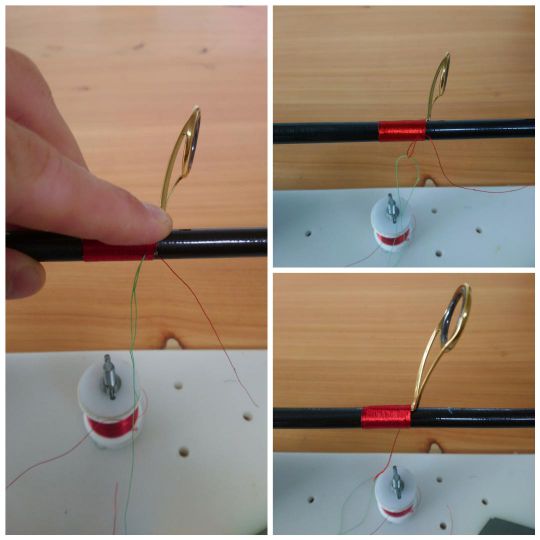
Gently pull on both ends of your loop (green) until the thread (red) is completely underneath itself. Your wire is now locked by itself without any knots, so you can now remove your index finger.
Cut and finish
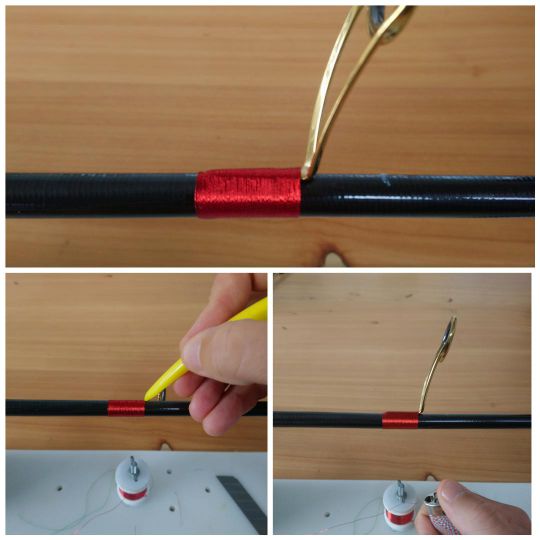
- Cut the wire as flush as possible.
- Packetize and homogenize your ligature using the burnisher.
- Quickly run a lighter flame over any protruding wires to burn them off. This way, your binding will be smooth and your varnish perfect.
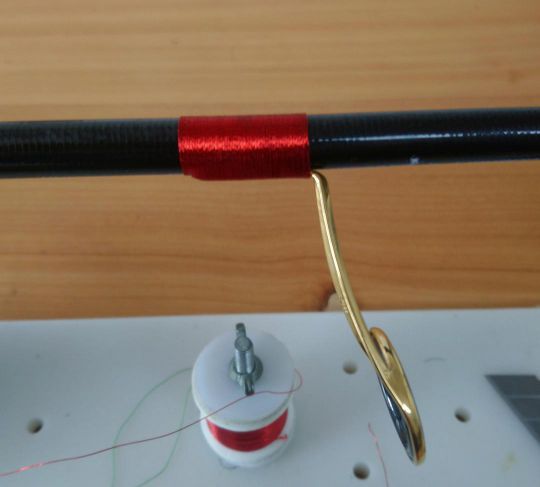
Your binding is now complete. Do the same with all the following rings... Except the scion ring, as you'll need to align it first.
Ligating the rings is the most time-consuming operation when you're just starting out, but with practice and simple, no-fuss ligations, you should be able to ligate the whole ramp in 2? hours.

 /
/ 