Reel seat components
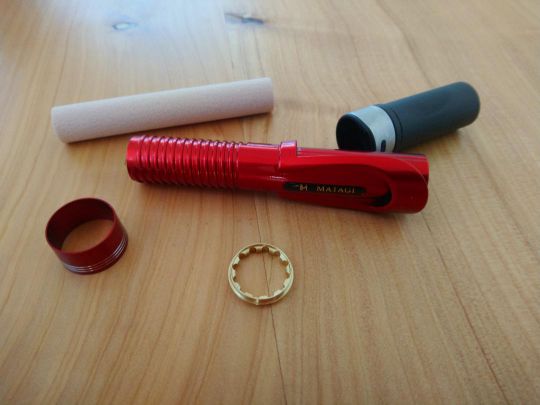
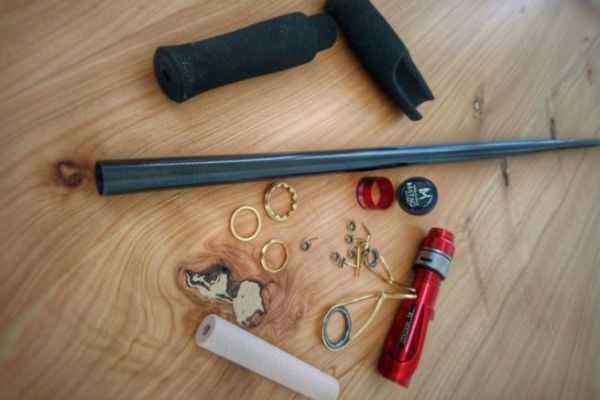
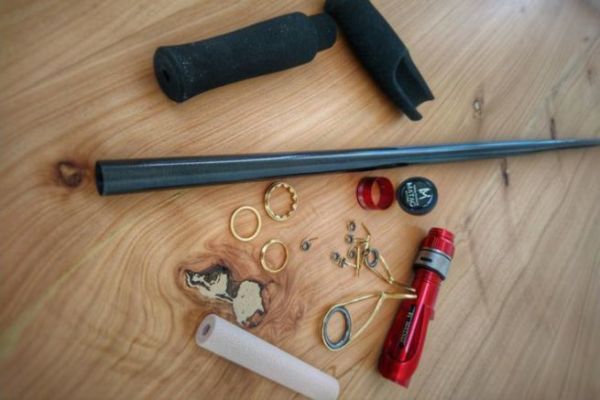
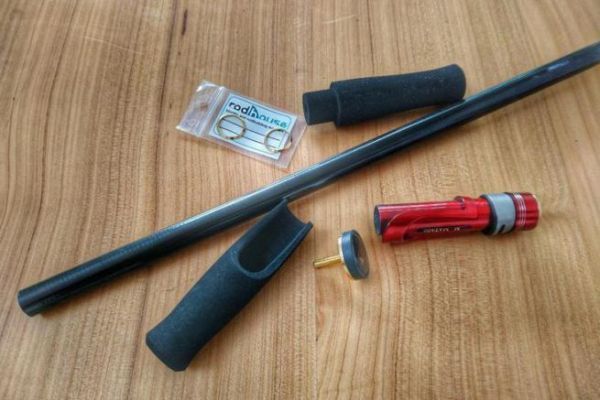
The reel seat consists of a number of accessories:
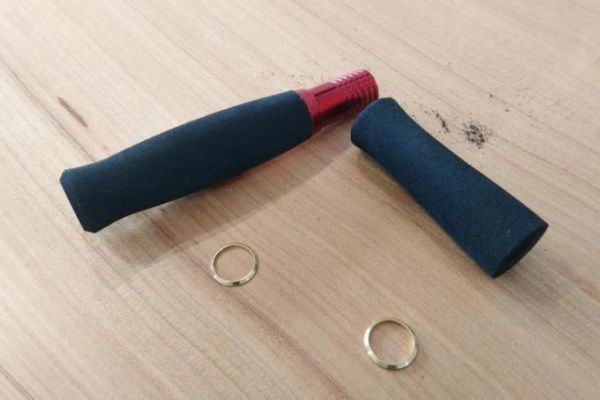
- The reel seat itself. In this case it's a Fuji IPS reel seat to which we'll glue an EVA grip at a later stage.
- A Quicklock (fuji KDPS), which is the mobile part that screws onto the reel seat.
- Finishing rings. Here, Matagi K16-ST12 and K16 CBTOP rings.
- A shim is a hard foam cylinder designed to reduce the internal diameter of the reel seat. You'll need it 95% of the time.
Step 1: Cutting the KDPS
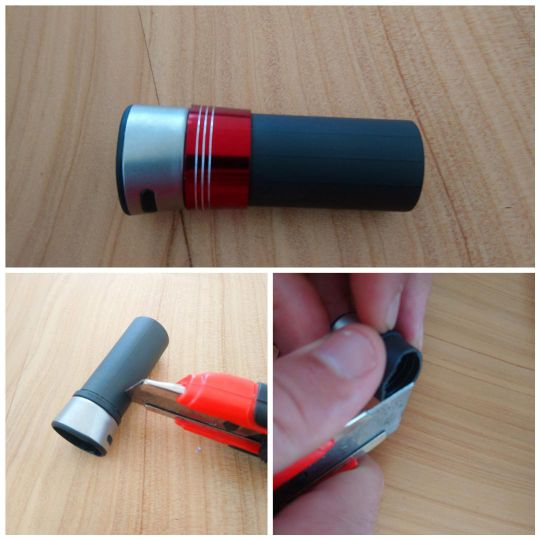
The first step is to cut part of the Quicklock's plastic tube. There are different lengths of finishing ring, so we need a product to suit them all.
This step is extremely simple. After sliding the ring onto the Quicklock and marking the right spot with the blade of your cutter, you make the cut 1 mm lower. This operation requires a sharp blade.
Step 2: Cutting the thread
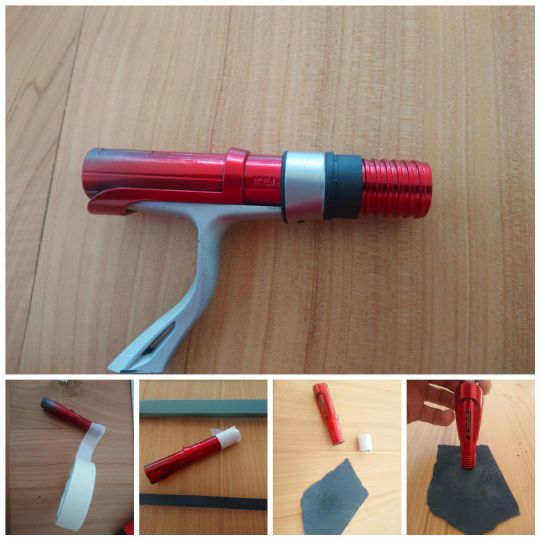
After screwing the reel onto the reel seat and tightening the Quicklock as required, use your cutter to make a mark on the thread to mark the exact location of the cut-out.
Use painter's tape to mark out the cutout around the perimeter of the thread, making sure to stick it straight on and not to follow the thread... Then cut with a hacksaw.
Finally, finish off with a cutter blade if necessary and sand with fairly fine paper for cleanliness. I recommend sanding flat on your table to maintain a level cut.
All cut-outs are finally ready
Step 3: Bonding the KDPS
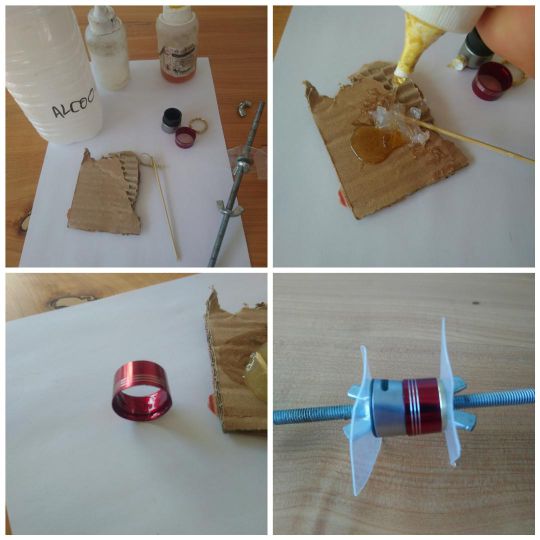
Now all that's left to do is to glue all the Quicklock components together. For this operation, we use two-component adhesives that need to be mixed 50/50. But this is only theoretical and approximate. Personally, I let component A run for X seconds, then component B for the same number of seconds... As far as I can see, it works just fine!
There are slow-drying glues (3-4 h), such as Tuff Glue, which is extremely resistant, and a fast-drying glue (30 min) for those in a hurry, which is very strong, but not "indestructible" like the former.
Once mixed, simply coat the inside of the ring, slide it onto the Quicklock and press it into place, either with painter's tape or with a threaded rod and two wing nuts.
Important: Clean up excess glue with rubbing alcohol for a perfect, clean finish!
Step 4: Adapting the inside diameter
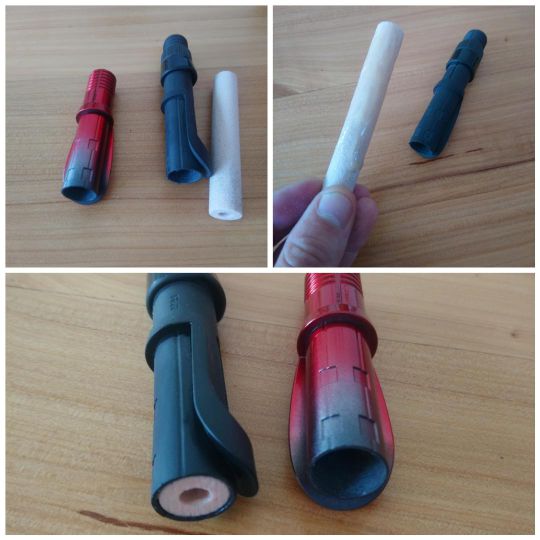
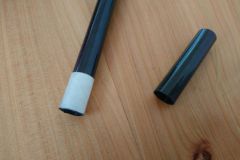
On the rod I'm assembling for this series of tutorials, the IPS reel seat is almost the right diameter (I just adjusted the inside diameter by half a millimeter using a reamer). Most of the time, however, it will be necessary to glue on a shim (still using two-component epoxy glue). Simply coat the shim with glue, insert it into the reel seat and clean off any excess with rubbing alcohol.
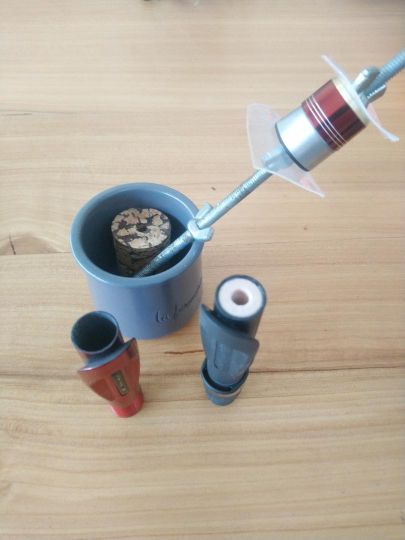
Duration of these operations (excluding drying time): 20 to 40 minutes.
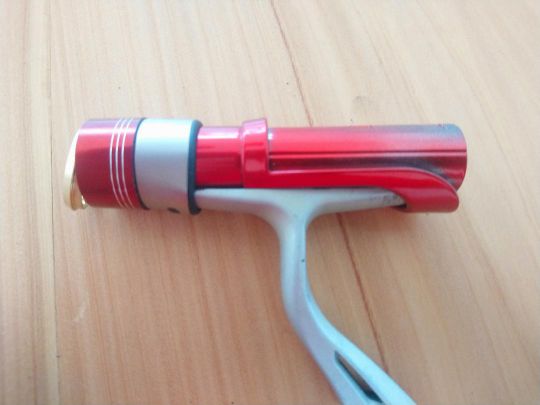
All you have to do is wait for it to dry! This gives you time to find the thorn for your blank...

 /
/ 