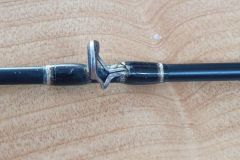
To carry out this phase of assembly, you need only one tool: your eyes! And yes, the best and only way to align your rings correctly is to use your eyesight and take the time to align them one after the other.
I advise you to do this in several stages and in different light conditions. Putting your rod down for a few minutes and letting your eyes rest is the best way to get the job done as easily as possible.
On the other hand, don't worry if there's a micro-lag and you don't feel you've achieved perfection. A closer look at commercial rods should reassure you...
Step 1: Align the first ring
First things first... The first and biggest ring!
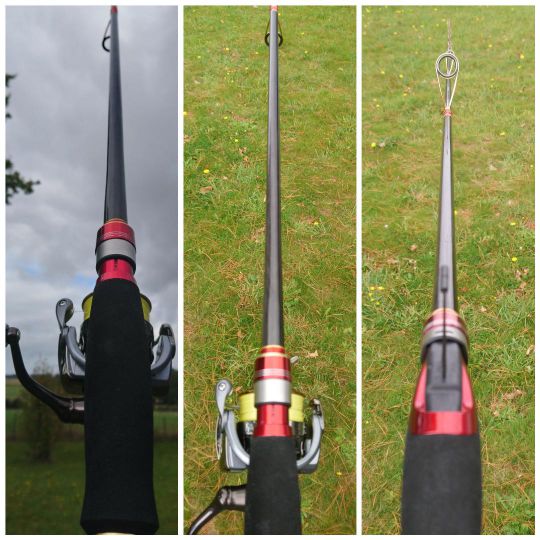
To perform this step, mount your reel on the rod and hold your rod so that the blank separates the spool into two equal parts. This perception, or image, will be your reference for alignment, since the rings must be in line with the reel's axis.
As you can see from the photo on the left, the ring is not centered at all. Then, by carefully moving it (by the ring's tab and not the ring itself) you will gradually center it to obtain the view visible in the central photo. You can see that the ring's ceramics (and the void inside the ring) are symmetrical on either side of the blank.
You can also use a guide (discussed in tutorial 4) to check alignment (photo right). While this view (rings on top) may give you the impression that it's easier than with the rings under the blank, it's an illusion: it's just for checking! The best method is to keep the rings down and gradually "straighten" the rings one by one in relation to the axis of the blank.
In the photo on the right, you can see that the first ring is aligned, but not the second.
Step 2: The rest of the ramp
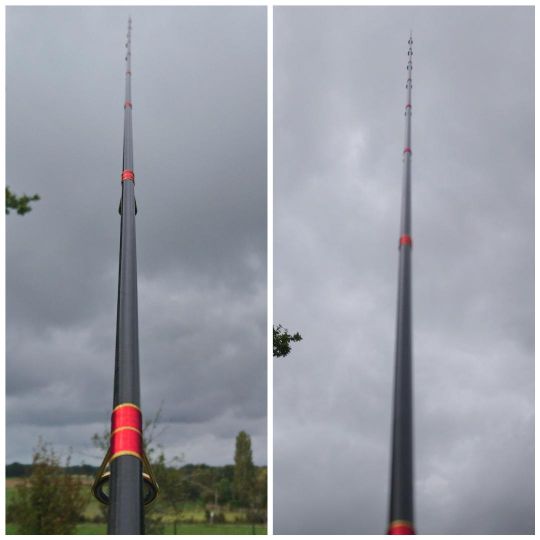
Now that your first ring (the stripper) is aligned, you can move on to the second, then the third and so on...
The principle is always the same: you must ensure that the same amount of material (and daylight in the ring, when it's visible!) is present on both sides of the blank.
What you need to know :
- Your reference is now the first ring.
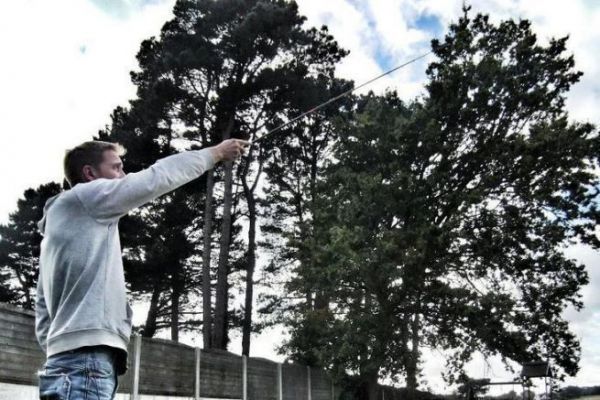
- I like to proceed in two ways: by looking at the whole cane (as in the opening photo) and by placing my eye just behind the previous ring to get a "zoom" effect. I alternate between the two methods to perfect the alignment of the whole cane.
- Ideally, I work in daylight, and I like a white sky for the best possible contrast.
In the photo on the left, the first 4 rings are now aligned... All that remains is to finish the ramp to reach the stage shown on the right.
Step 3: Verification
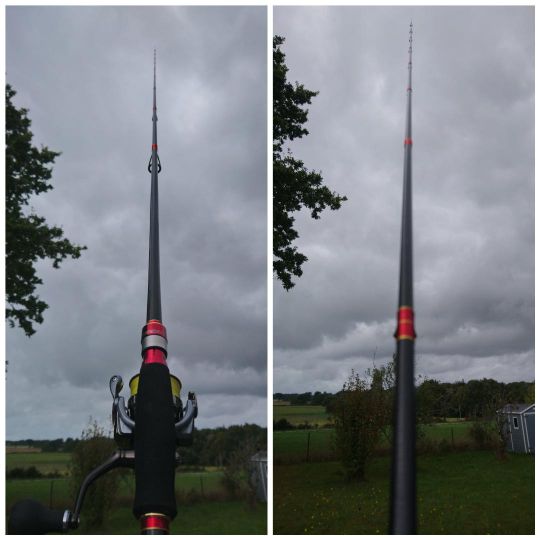
Once you've lined up the whole ramp of rings one by one, let your eyes rest for ten minutes or so, then check. Once, twice, three times, if you need reassurance!
Now all you have to do is attach the head ring!
Step 4: attach head ring
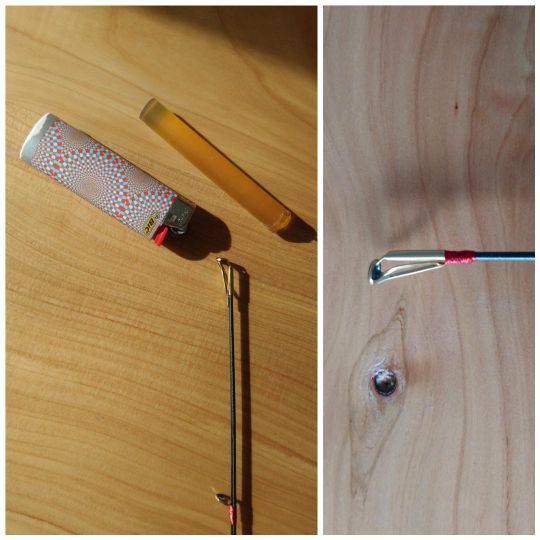
To carry out this step, I use a stick of hot-melt glue. I melt it with a lighter and place a small drop on the scion. Then I slide the head ring on before the glue has hardened. You can then remove the excess with your fingernail.
To align the head ring correctly, quickly heat the ring flange with your lighter flame to soften the glue, then plane the ring like the previous ones so that it's correctly aligned.
Once this step has been completed, all that's left to do is to tie the ring, in the same way as described in the previous tutorial. The glue only serves to immobilize the ring for the duration of the binding...
Final rendering

Your rod is now almost finished... The grips and reel seat are glued, all the rings are tied and they are perfectly aligned. All that remains is the final step, which we'll look at in our last tutorial: varnishing!

 /
/ 