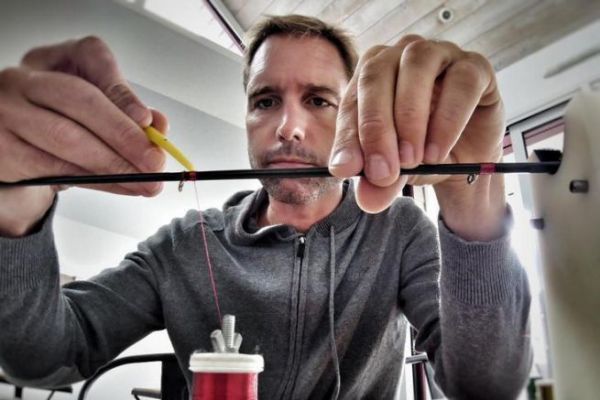
This is rodbuilding's fourth DIY fishing rod tutorial. After having assemble and adjust the reel seat then found the thorn in our blank in this section, we'll assemble the various parts of the fishing rod.
Butt preparation
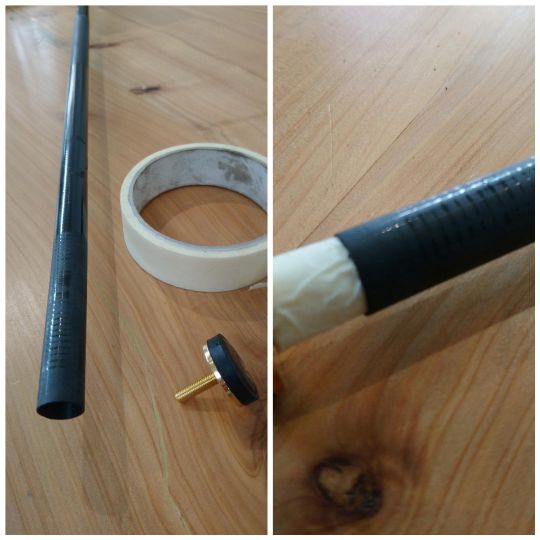
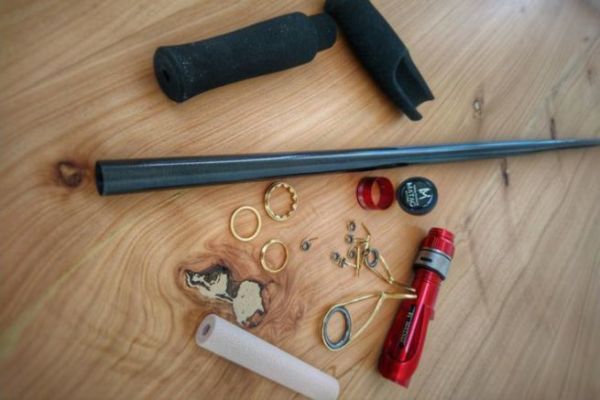
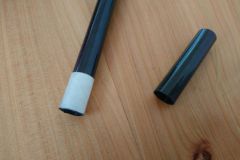
The butt I chose has a small-diameter stem. Smaller than the internal diameter of your blank. There are many possible solutions for increasing this diameter until it matches that of your blank. These include the use of a piece of shim, but for me the simplest and best solution is to wrap painter's tape tightly to the desired thickness.
The advantage of this solution is that it gives you room to manoeuvre, should your re-priming not be perfect. What's more, painter's tape absorbs glue well and offers good resistance.
Here we go, sticking on the heel!
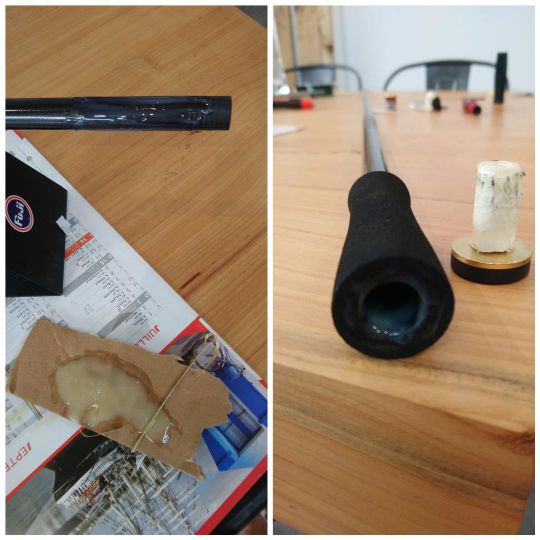
Once you've prepared your 50/50 two-component glue, coat the part of your blank that will receive the heel. There's no need to apply glue all the way to the bottom of the blank, as the sliding grip will distribute the glue evenly and you'll have less excess glue to clean up. In the same spirit, apply a thin layer of glue!
Thread your grip along the blank. Then apply glue to the inside of the blank before inserting the butt.
Clean up excess glue with rubbing alcohol!
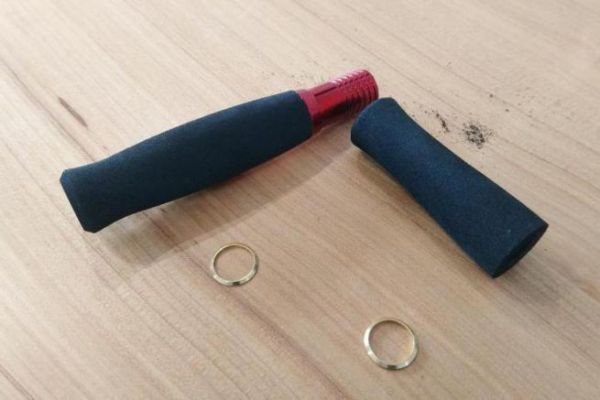
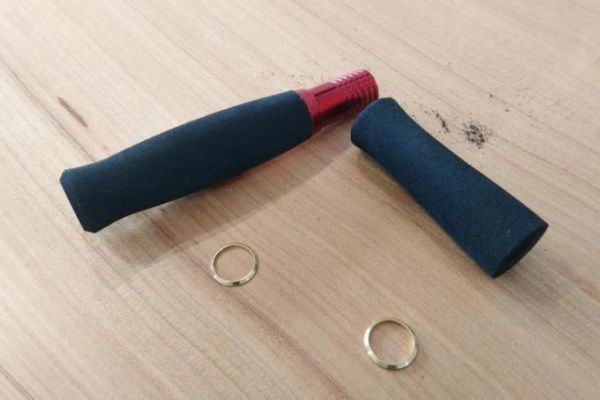
At this stage, don't forget to put on the finishing rings.
Gluing the reel seat
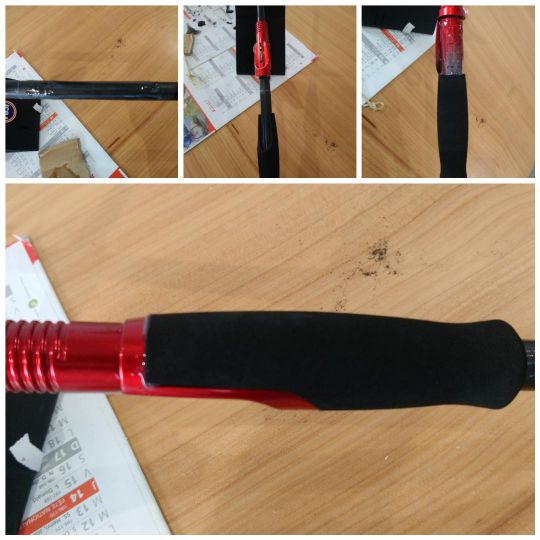
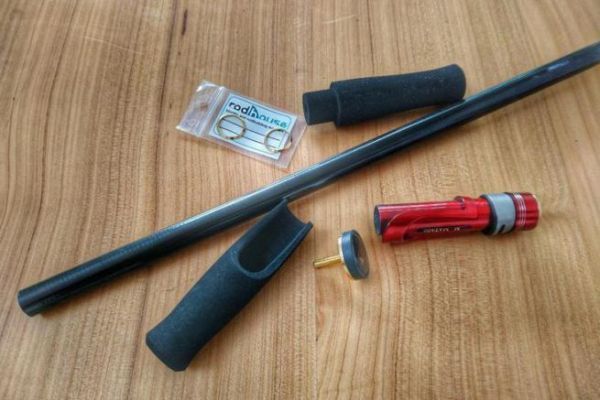
As in the previous step, coat the blank with glue, then insert the grip. Next, slide your reel seat onto the blank up to the previous grip and spread glue over the different parts (blank and part of the reel seat in contact with the grip). Once the glue has spread, insert the IPS reel seat into the grip and clean off any excess glue.
Align the reel seat with the spine
A step not to be forgotten!

Now you need to align the axis of your reel seat with the spine you've traced on your blank. To do this, you can use a handy alignment guide sold by Rodhouse.
I advise you to pressurize your blank again to check that the guide fits perfectly into the hollow of your blank when flexed.
Gluing the rings
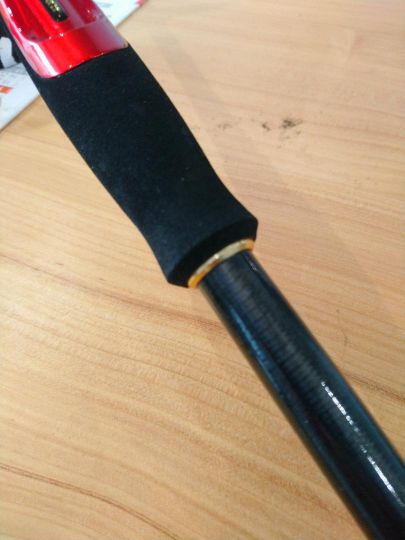
Using a toothpick, apply a small amount of glue to the grip and glue the rings in place. And don't forget to clean up any excess glue.
Finally, some pressure...
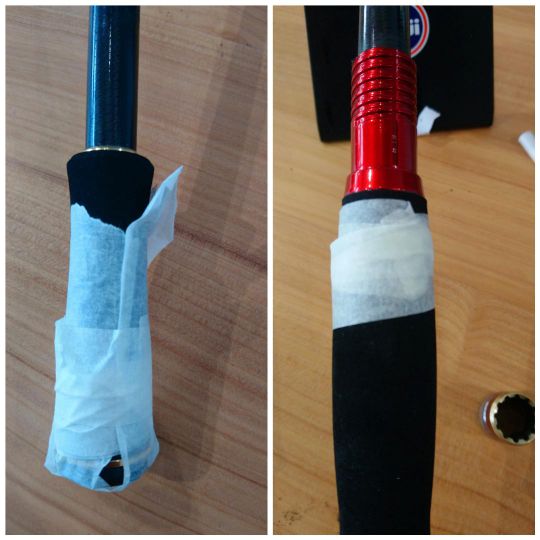
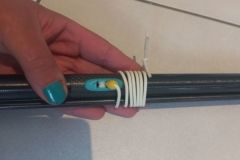
For a perfect finish and to ensure that everything lines up properly, use painter's tape to press the butt against the heel grip, after having centered it. Do the same with the IPS grip and reel seat.
Place your scotch tape tightly and clean one last time with methylated spirits. This step is only necessary with an IPS reel seat and this type of butt insert.
All that's left to do is let the whole thing dry, having remembered to center the finishing rings as well as possible (always remember to pay attention to detail). For my part, I like to let them dry vertically, so that the rings remain well centered and there's a little weight pressing on the butt. When everything's dry, we can attack the ligatures.
Duration of this stage : 30 minutes approx

 /
/ 