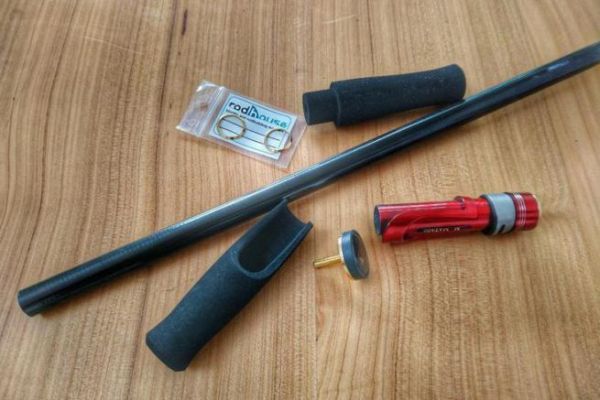
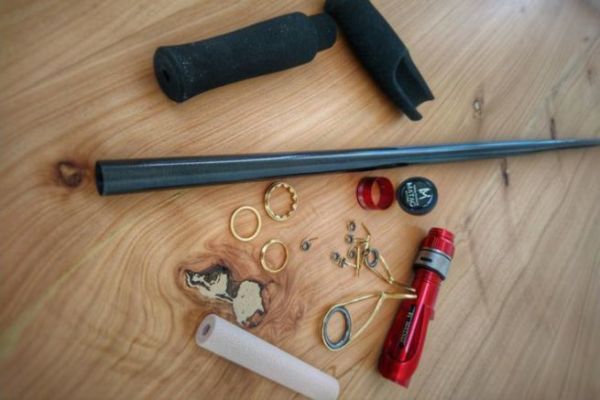
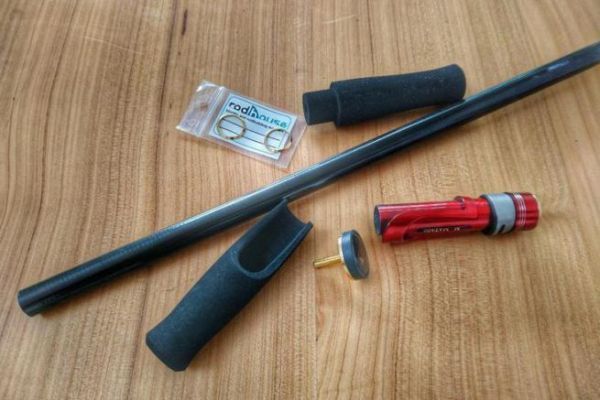
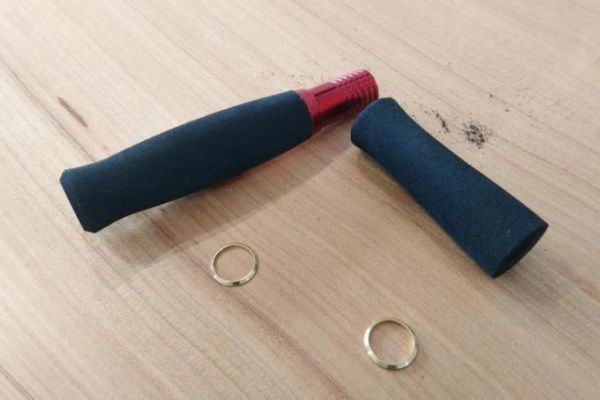
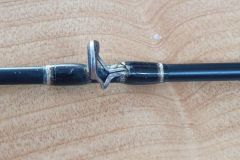
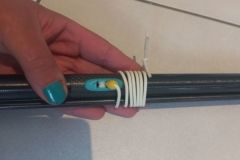
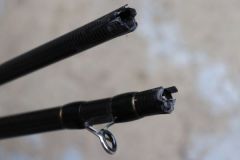
This is rodbuilding's third DIY fishing rod tutorial. After finding the thorn in our blank now we can concentrate on adjusting the reel pore and grips.
Prepare your work plan and equipment
You're about to carry out two successive steps: reaming your grips and gluing them. You're going to need several tools, and I advise you to prepare everything and even organize your workspace in chronological order. It's annoying to realize in the middle of a job that you've forgotten to take out a tool. Even more so with glue in your hand.
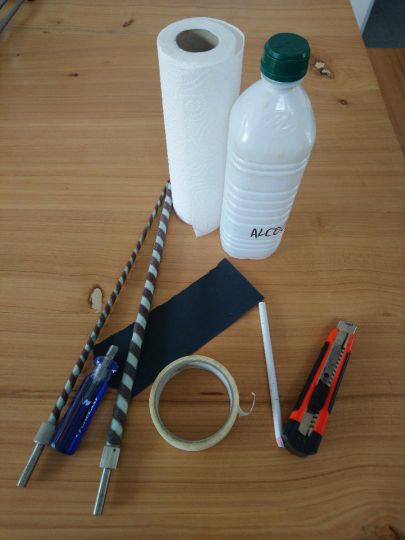
You will therefore need the following equipment:
- a cutter
- sandpaper
- your reamers and possibly an electric drill/driver
- your own two-component epoxy glue, plus mixing and spreading materials (I like to use skewers and toothpicks)
- painter's tape
- your white pencil
- paper towels and methylated spirits
- one meter
Cut the grip tenon
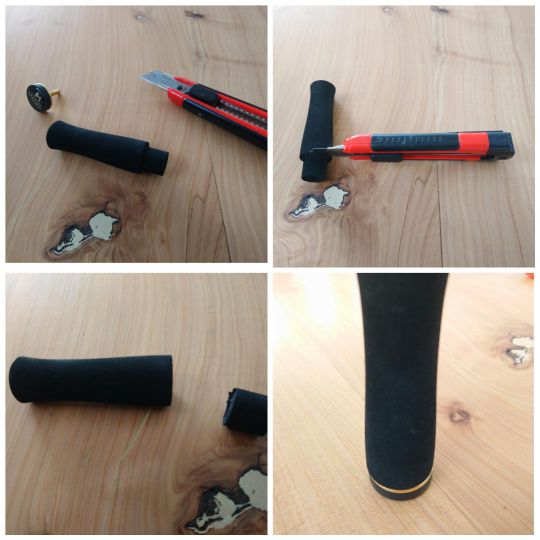
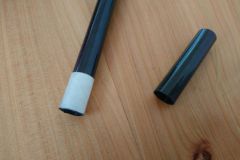
On the EVA grip I've chosen, there's a tenon, i.e. a thinner part that normally fits into a butt (in EVA or cork). Since I don't need one, because I want to combine it with a Matagi grip, and since by chance (of course not...) their respective diameters are 27 mm each, it's possible!
Just cut the tenon gently with the cutter and sand lightly if there are any irregularities. Sand flat on a table to make sure you don't bevel your piece!
Mark the location of the grips
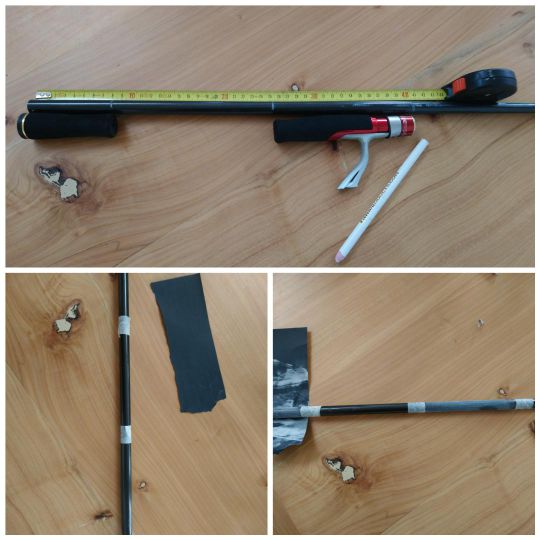
With the blank on the table, place all the components right next to it so that you can see where they will be positioned and mark them with a white pencil. What determines the placement of your reel seat is the length of heel you want... If sometimes it's necessary to make a long or short heel, the universal standard is the length of your forearm. In my case, 35 cm!
No need to measure your forearm! Simply take your blank in hand where you'd like to place your reel and draw a mark on it. Or measure this length on a rod you already own and which fits you perfectly.
Once you've traced the marks, mark out the locations with painter's tape and sand the blank lightly to make its surface irregular and ensure a stronger bond. I advise you to keep a 1 cm margin on each side to avoid sanding a part that will eventually be visible.
Reamer les grips
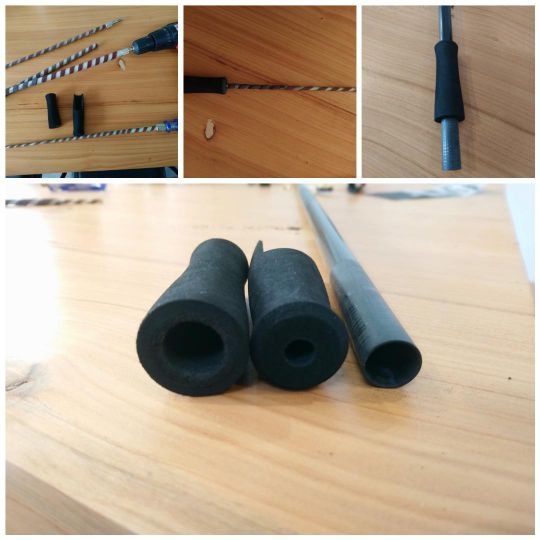
Now it's time to ream the inside diameter of your grips to fit your blank. To do this, you need to use reamers, which are cylinders covered with sanding paper. You'll need a set of reamers of different diameters to adapt to the different blanks you'll be mounting.
You can ream your components by hand or with a drill, although the second option is quicker.
Here are a few tips to help you complete this step:
- Work gradually, and regularly check how far along you are by sliding your grips over the blank. You can also use a caliper.
- Once they've been re-damped, your grips should fit tightly. They will slide easily with the glue, and the fact that they are tight will increase the strength of your assembly. So ream until your grips can be inserted up to 2 cm from the defined location.
- To ream straight, take it one step at a time and rotate the grip a quarter-turn at a time. If you keep the same position, you risk reaming at an angle.
- If your reel seat is fitted with a shim, you'll also need to ream it, but shim sands very quickly, so you'll need to go slowly and gradually. For greater precision, I advise you to do this step by hand and not with a drill.
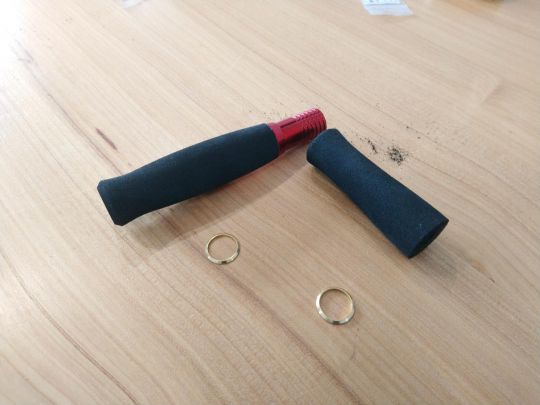
This adjustment stage takes about 30 minutes. All your elements are now ready to be glued to your blank.

 /
/ 