Even making a carp fishing leader seems complicated for a beginner angler. Between the choice of materials and the choice of the leader itself, it's easy to get discouraged. The suggested terms don't help.
It's true that the Internet gives beginners access to a plethora of information, but when you don't know much about it, you can quickly miss the essentials. We "specialists" have too often made simple things complex. So which leader should you choose to start out with in the midst of Chod Rig, Spinner Rig, Blowback RIg, Multi Rig and so on?
What material should I use to make a simple leader?
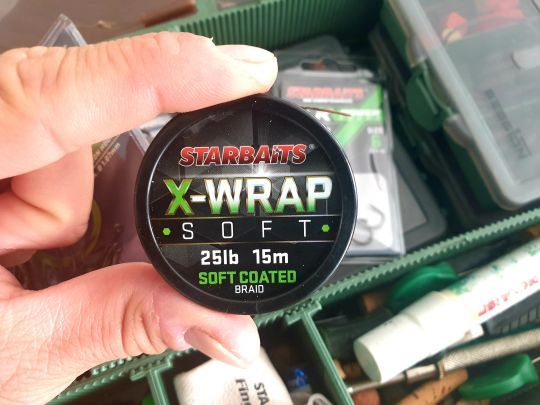
For a beginner, I recommend sheathed braid. For me, this material allows a certain evolution. It allows you to make simple (but effective) leaders, but also more technical leaders that respond to specific situations and conditions.
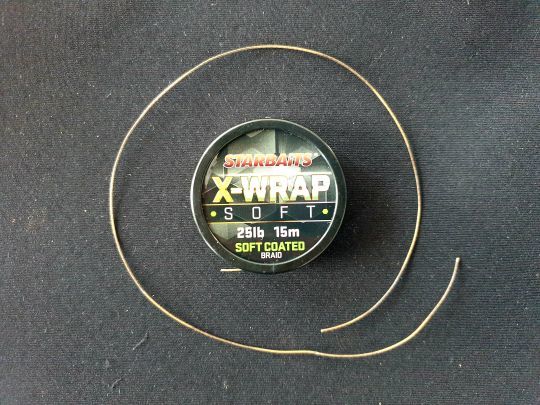
What's more, it's a fairly easy-to-use material that combines a certain suppleness in the making with sufficient rigidity in many situations (casting, undesirables in small quantities...). Starbaits' X-WRAP Soft sheathed braid is perfect for this purpose.
Which leader to start with?
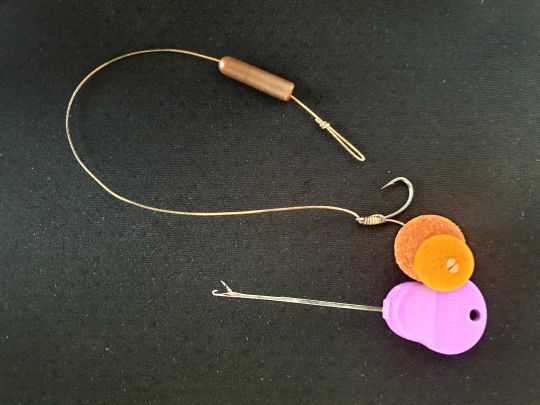
To catch carp right from the start, it's best to make a leader using a knotless knot and to make up the leader/vein assembly with the same material and in the simplest way possible.
A length of 25 cm is a good compromise. To begin with, no fuss, no tricks that might inhibit your pleasure and efficiency. Make the most of your time on the water, not spend hours building a complex rig that you'll use in unsuitable conditions.
And what about the hook?
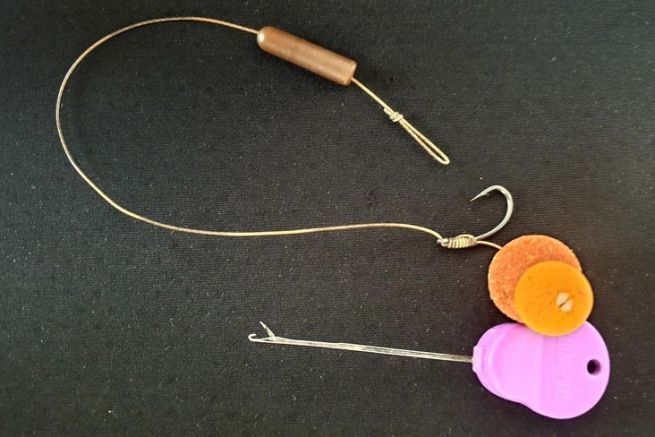
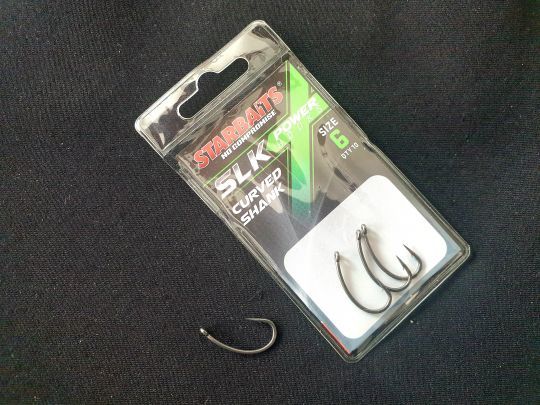
Mounted in the simplest way, I recommend a hook with a slightly recessed eye and a fairly large shank. Once again, this type of hook will allow you to develop your technique while starting with the basics. The Curved Shank Starbaits in n°6 is the model for you.
This size is ideal for canals, ponds, small rivers and gravel pits. You'll even be able to fish with a dense bait, detached (floating) or snowman (dense + floating). In short, it's the choice of simplicity for versatility. Great for a head start.
What you need
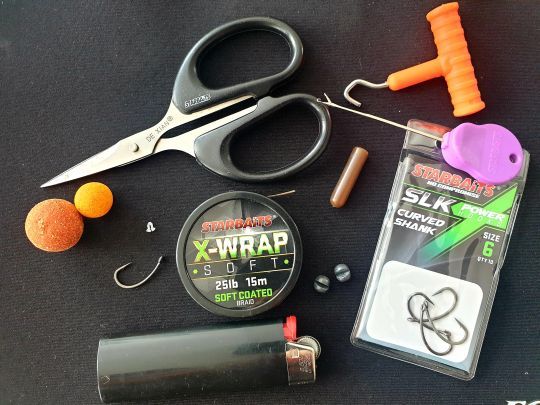
A 25lbs sheathed braid, a n°6 hook, a bait stop, a knot puller, a chaste needle, an anti-fender sleeve to hold your leader on your swivel (universal clip). And to complete the package, a small pair of braiding scissors and why not a lighter to burn the excess.
Production stages
1- Cut 45 cm of sheathed braid. Even if your leader is only 25 cm long, you'll need to leave some extra for the loops and knotless knot.
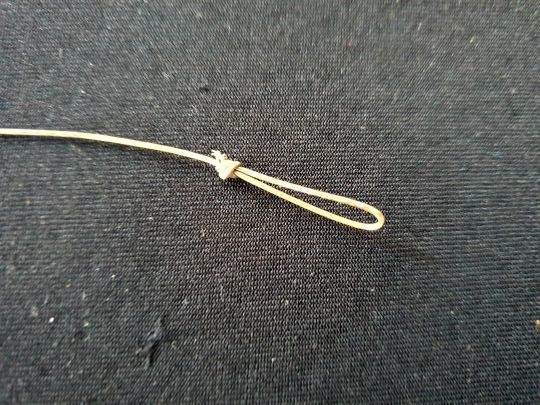
2- Make a small loop. This will be the terminal part of your hair (the part where your bait is located) and will house the bait stop.
3- Start by baiting your chosen bait. Insert your bait stop into the loop and push your bait into the stop. This way, you won't have any surprises when you get to the water's edge. The hair will be the right size.
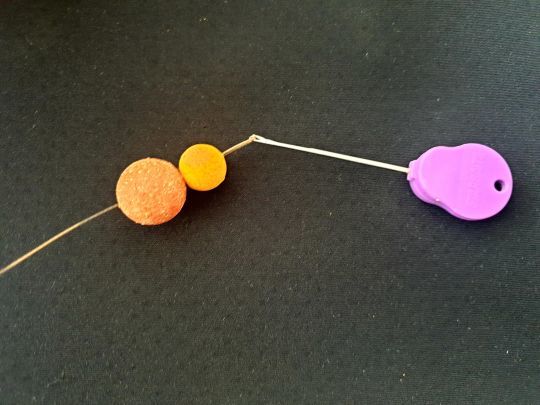
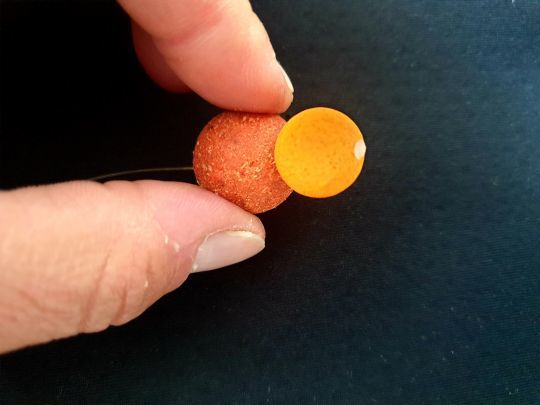
4- Pass the end of your braid through the outside of the eyelet. Set your bait so as to leave a slight gap between the curve of your hook and the bait.
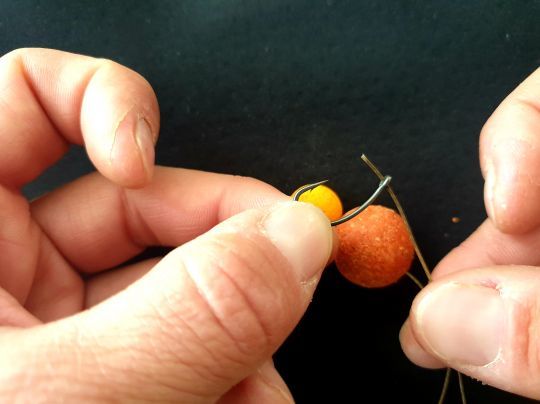
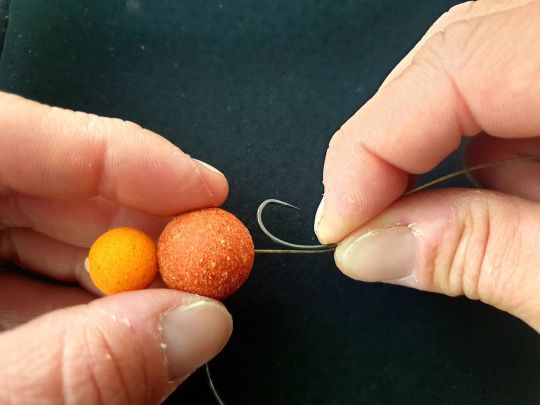
5- Once the bait is in place, tie the knot without a knot by twisting your braid in turns around the shank without crossing, then pass back through the eyelet from the outside (if you don't, tie it upside down). Make your turns up to the hook point.
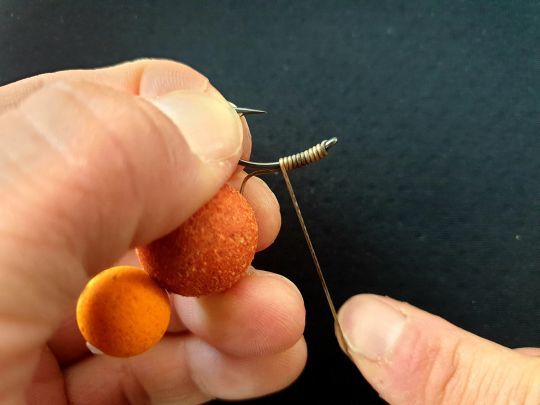
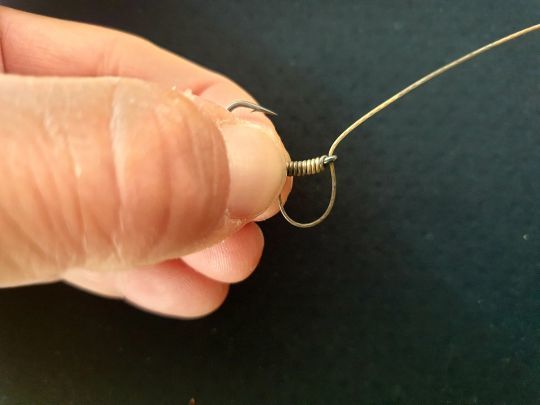
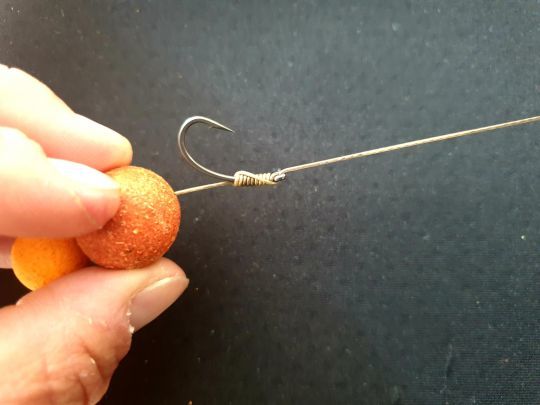
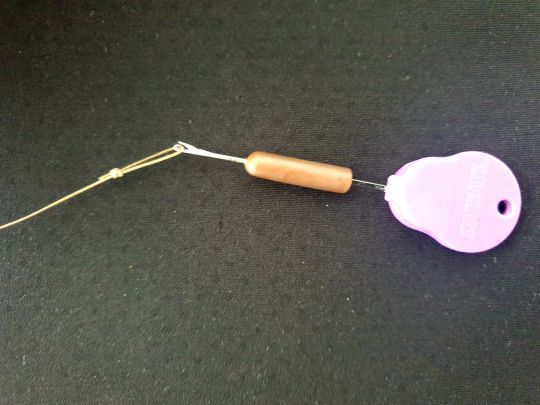
6- Make your loop and insert your anti-fender sleeve to attach your leader to a universal clip, for example.
To fish with a floating bait, simply pinch one or two split shot at the desired distance.
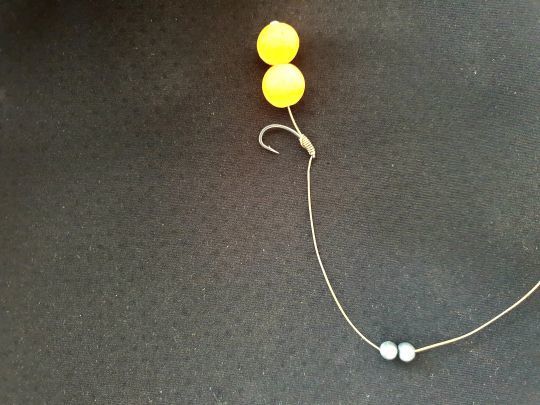
You're ready to go with this simple, versatile, efficient and, above all, upgradeable leader.

 /
/ 