The tying bench: the essential
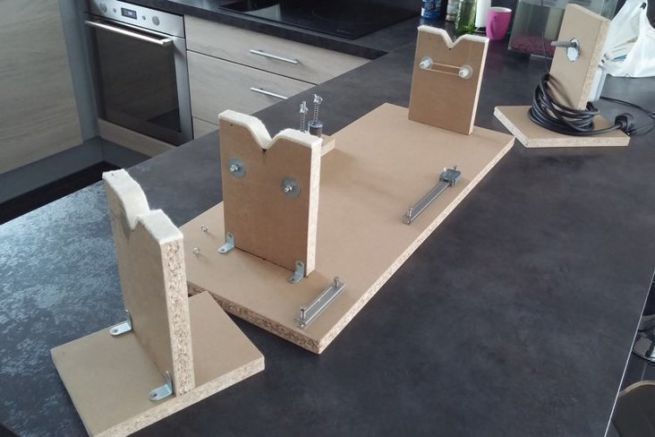
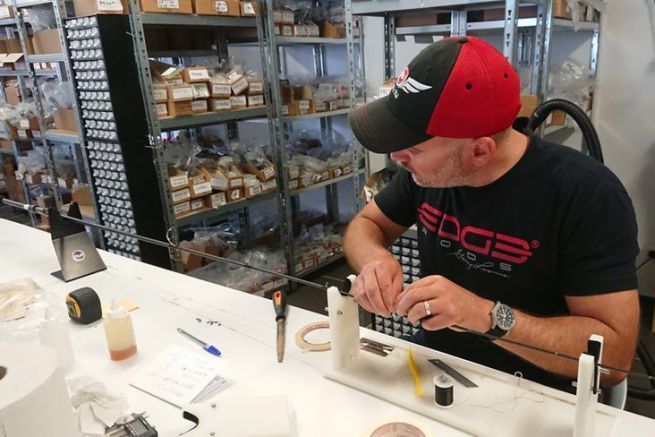
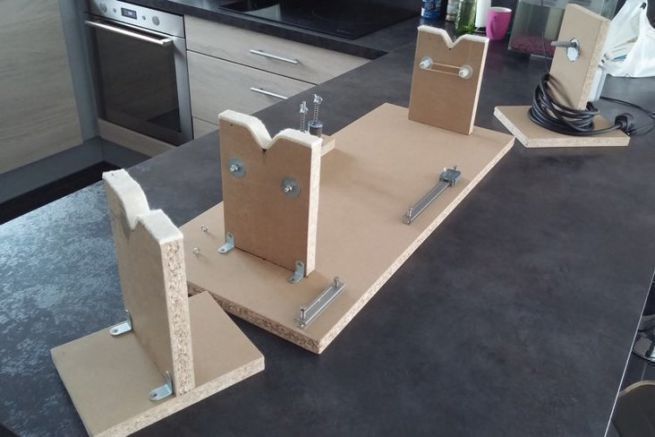
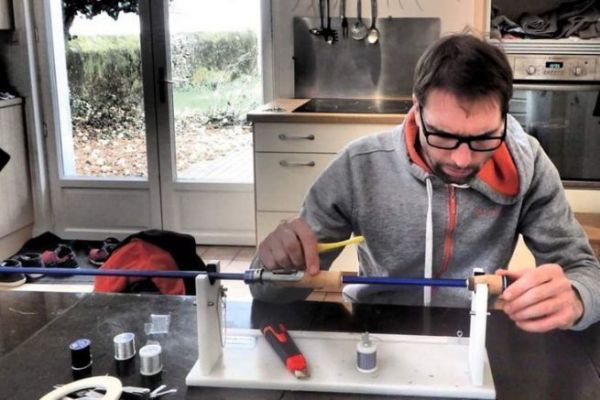
The rodbuilding bench is the first investment you will have to make to enter the world of rodbuilding. If it is quite possible to get one on the Rodhouse website, you can also make one yourselfâ?¦ You are getting into a manual activity, so start with the bench by following this very simple plan :
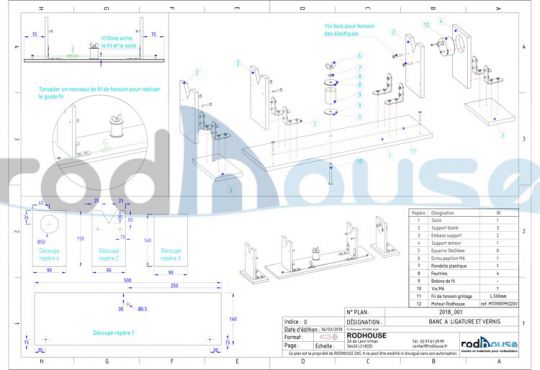
Find the PDF of the plan here.
With the binding bench, you also need a dryer which is a support equipped with a motor that will allow you to make your varnishes. If it is possible to recover a motor from a spindle or a microwave, a new motor costs 15 euros on the site rodhouse.fr...
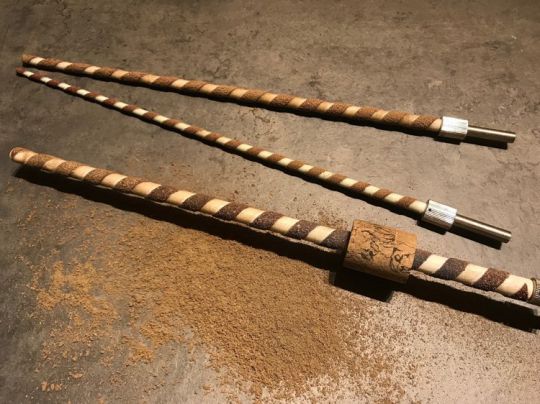
Reamers, specific tools
Reamers are cylindrical and conical tools covered with sanding paper that are designed to adjust the inside diameter of the grips and reel seat to match that of the blank. It is often necessary to have a complete set of reamers to allow you to have all the diameters necessary for the assembly of several rods.
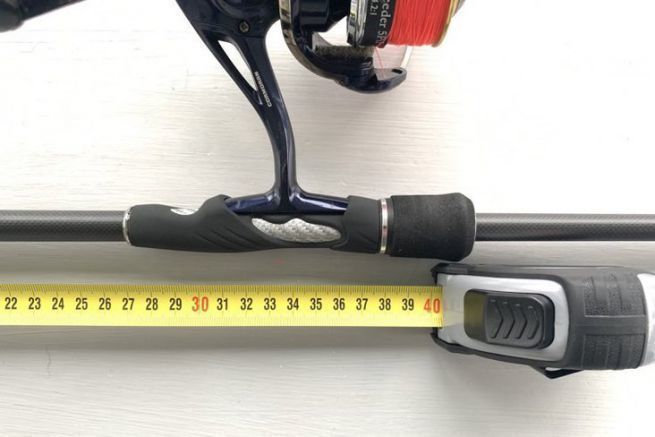
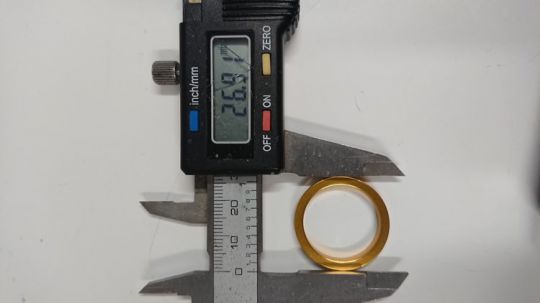
The best friend of reamers is the caliper! It will allow you to know how far to ream your grip.
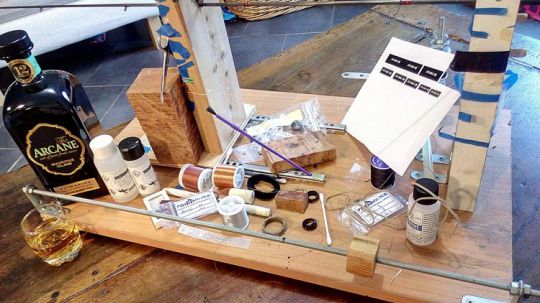
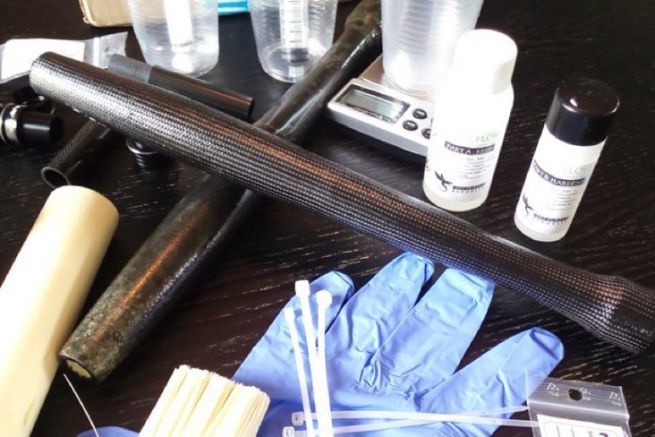
Glue and varnish: two-component!
You have understood that assembling a rod means sanding, winding wire, but also gluing and varnishing, so you will need specific products that are easy to work with and require a 50/50 mix. For the glue, you will have the choice between more or less fast setting and for the varnish, I advise you to start with "high build" which is easier to work with.
For varnishing, you can also invest in an alcohol lamp, but you can easily replace it with a lighter.
Practical little tools
In order to work with maximum comfort, you will also need :
- a white pencil for the spine of the blank and the positioning of the rings
- a hot melt glue stick to glue the head ring
- a burnisher to make compact ligatures
- brushes and cups for clean varnishing
- a cutter or scalpel
Household alcohol and painter's tape: your best friends
But above all, the real essentials are masking tape and methylated spirits. The first one, to delimit the places to be sanded and glued on the blank, to put pressure on all the pieces during the drying and to maintain the rings during the binding. And the second to clean all the glue and epoxy burrs.
If you take the time to make your own tying bench, the initial investment is about 120 euros. However, you can significantly reduce the cost by sharing the investment and the material with one or more friends.
