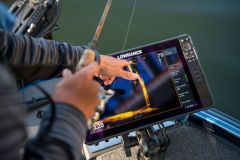
The Side Imaging (SI) technology invented by Humminbird is a revolution in prospecting with fishfinder handsets.

What is Side Imaging?
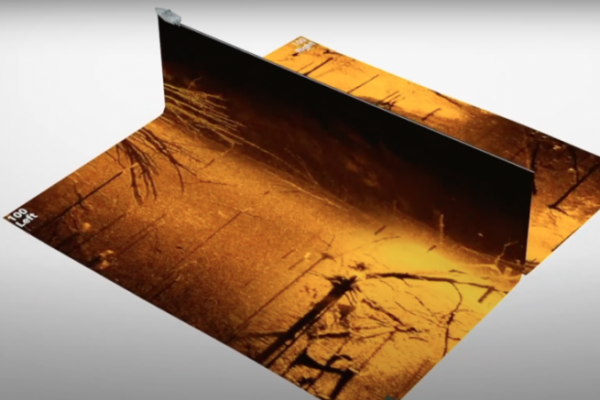
This technology, invented by Humminbird, makes it possible to prospect on the sides of the boat, moving in a straight line.
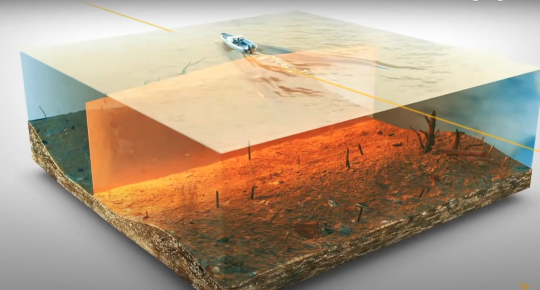
Interpretation
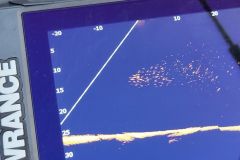
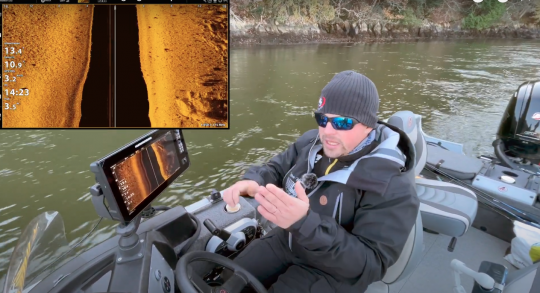
We imagine we're cutting the water in two. In effect, we have a flattening of reality. The surface is materialized by the white line.


The black part represents the depth on either side of the white line. Then we have the background on the left and right.
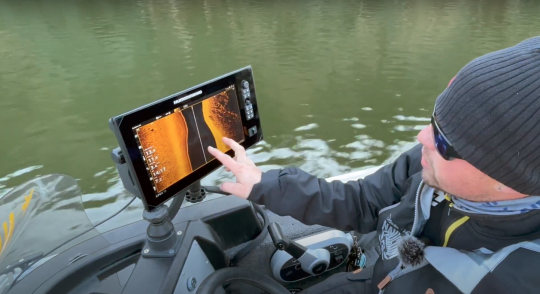
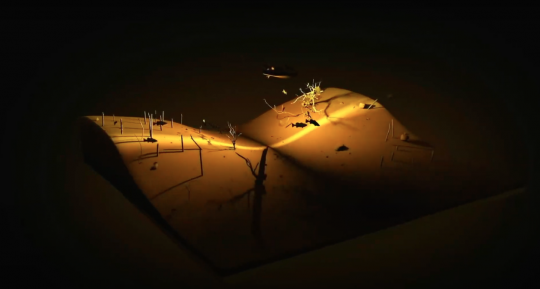
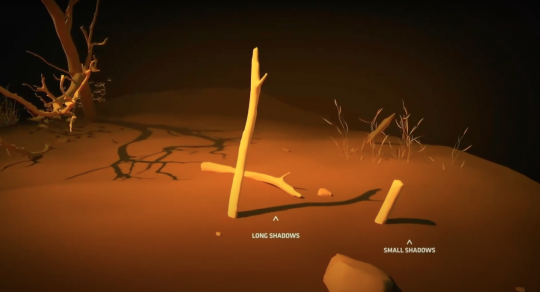
To popularize this technology, let's imagine lighting with a torch on each side of the boat. As on land, there will be areas of projected shadow (cast shadows). The stronger the shadow, the greater the obstacle. The weaker the shadow, the smaller the obstacle.


Basic settings
There are 3 frequency ranges:
- Mega Side Imaging
- The 800
- The 455

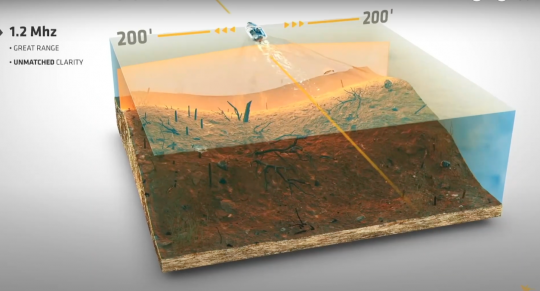
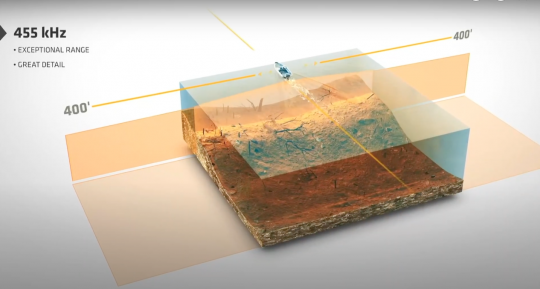
The higher the frequency, the less range you'll have in the water. The frequency must therefore be adapted to the water depth.
Mega Side Imaging: used from 0 to 15 m. Open the frequency from 1000 to 1300 in freshwater. You gain in sharpness and precision.
The 800: +15 m to 20/25 m.
Le 455: + 20/25 m.
Side Imaging is effective up to 60/70 m. However, this depends on current conditions (strong wind, etc.).
Lateral reach
Auto mode : depending on the depth, the device knows how much it can "see" on each side of the boat.
For more precise prospecting or on uneven terrain, it's best to turn off auto mode (scale changes too frequent). Otherwise, images may become distorted.
Manual mode : we'll block a range even if it's greater than the device is capable of.

Sensitivity/contrast
Before adjusting anything, we put the sliders back in the middle.
Contrast
We avoid burning out or saturating the image. Basically, we'll work from 10 to 14/15. We look for the sharpest image.
Sensitivity
You need to be able to easily distinguish targets (pebbles...). Here again, as with the DI, change the contrast and sensitivity settings when you're about 5 m away (put the cursor back in the middle and repeat the setting).
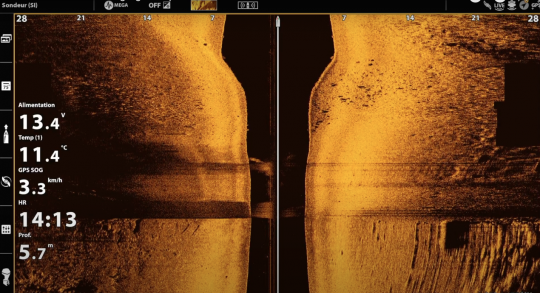
To familiarize yourself with Side Imaging (SI), it's best to focus on areas you know well and which are visual (striking structure...). Your understanding will be accentuated.

Beware of the shadow created by the motor shaft (transom). To avoid this problem, we recommend mounting the motor again, or working with two probes if you prefer.
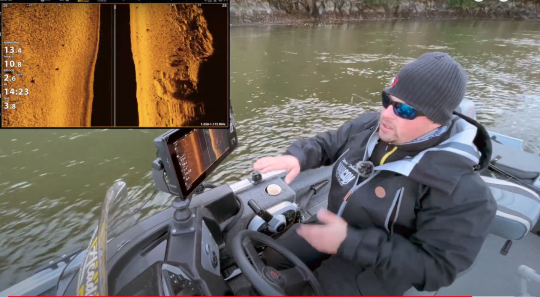
With a Humminbird sounder combo featuring Side Imaging in addition to Dual Spectrum and Down Imaging technologies, you have an ultra high-performance tool for prospecting your fishing grounds.

 /
/ 