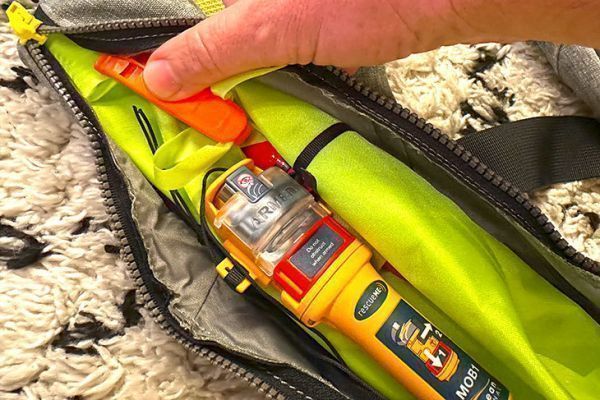
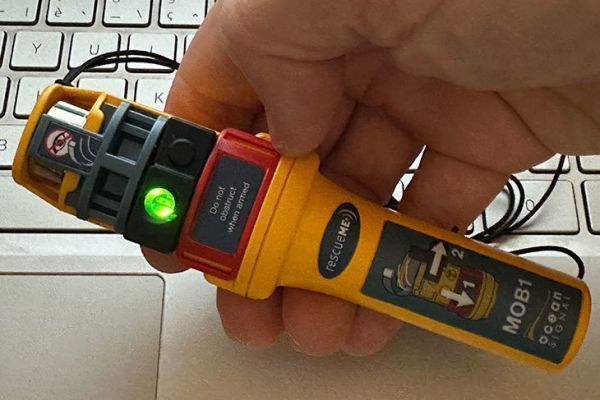
Once your beacon(s) have been configured, it's time to insert them into the lifejacket. It works on an automatic vest which, when inflated, releases the beacon's cover in order to deploy its antenna and emit a signal. This tutorial is based on a Spinlock Lite lifejacket. It works in the same way on other automatic vests.
Good to know: you can receive your Spinlock vest with the MOB-1 beacon installed and configured
Interdist sells Spinlock vests and MOB-1 beacons. So, when ordering a beacon with a Spinlock vest, you can ask the distributor to set up the MOB-1 beacon and insert it into your vest before delivery.
1 ‚euros Slide down the red plastic cover
If you left it down when programming, leave it that way.
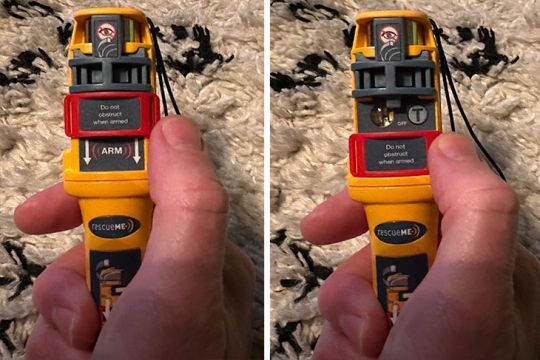
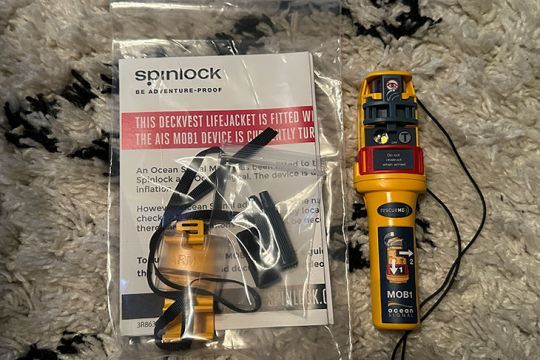
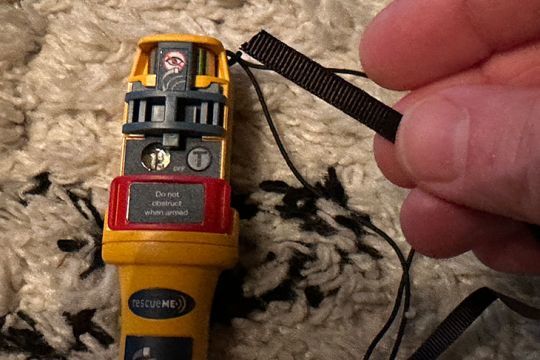
2 ‚euros Careful operation: pass the strap through the activation slider
Slide the activation slider very carefully to the right, by 1 or 2 mm. If you go too far, the metal antenna will release and deploy, activating the AIS warning signal. In this case, roll it up and press T (test/off) until the LED flashes red twice and goes out.
Insert the strap over the grey activation slider clip.
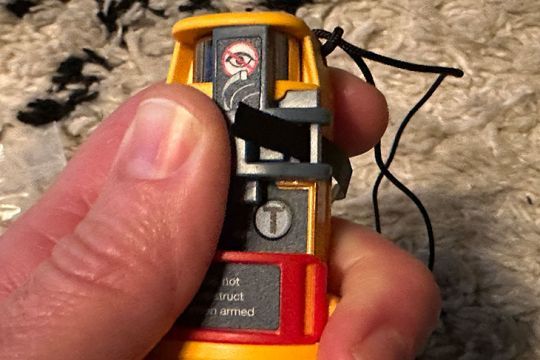
Return the grey activation slider to its central position.
WARNING FOR FURTHER ASSEMBLY
From steps 3 to 5, we leave the red arming button down. You can slide it up to prevent the beacon and antenna from being triggered while the strap is attached. But in step 6, remember to slide the red button back down.
3 ‚euros Pass the strap through the clamping tube
The strap is supplied with a tightening tube on one end.
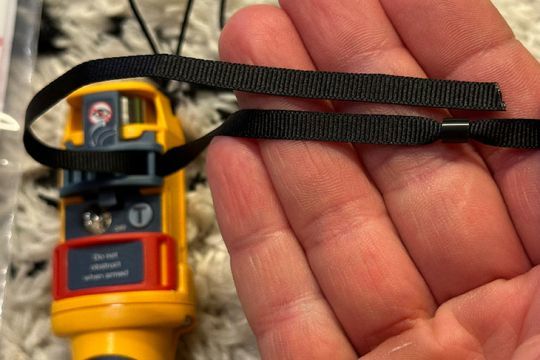
Now it's time to pass the other end of the strap through this clamping tube. A toothpick-type tool is a great help.
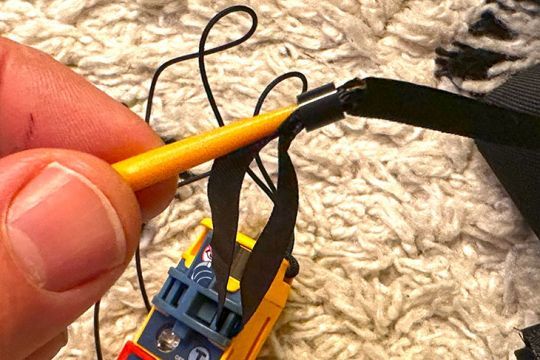
Once the 2 ends are in the tube, tighten to the activation slider attachment, leaving 5 cm to spare.
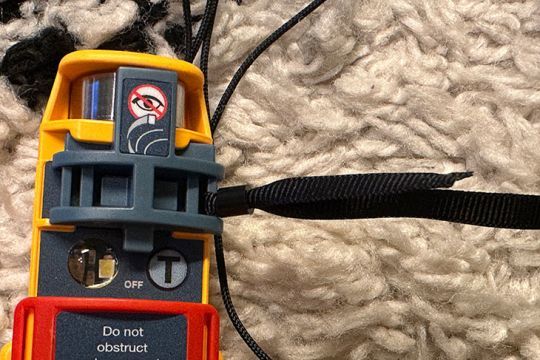
Pass the end of the strap back through the buckle before tightening completely.
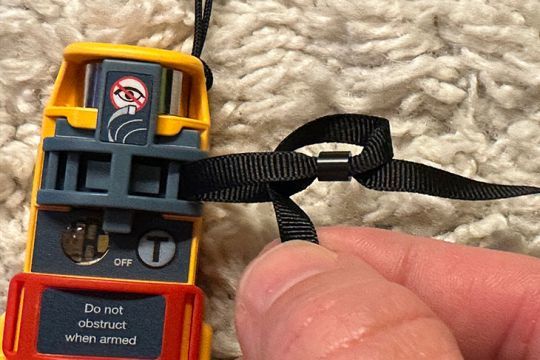
Remember to keep the grey activation slider in the center to avoid triggering the beacon.
4 ‚euros Attach the other part of the strap to the MOB-1 mounting bracket
The other end of the strap is attached to the MOB-1's main bracket. Pass the strap through the 2 eyelets to secure it. See step-by-step photos below.
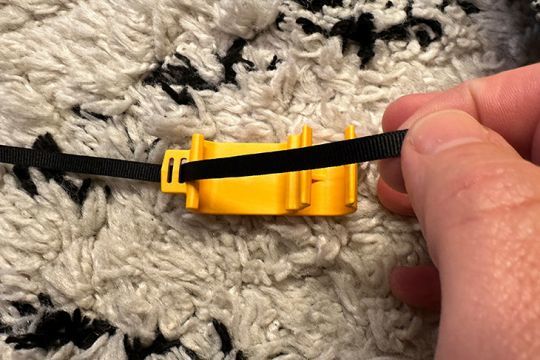
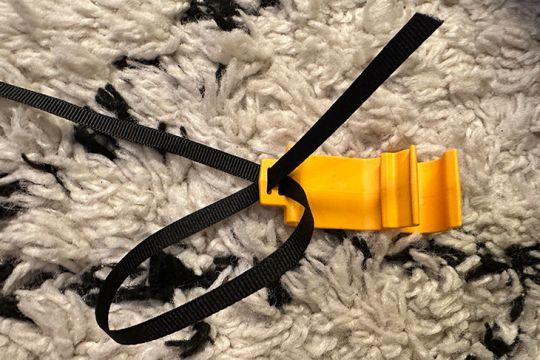
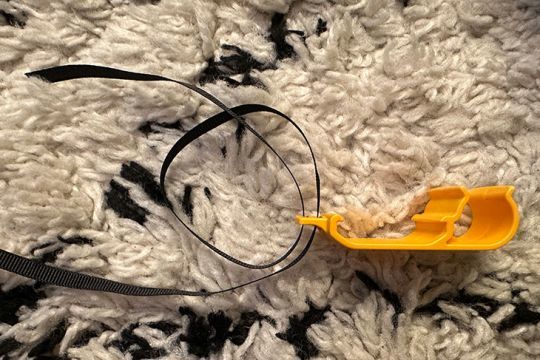
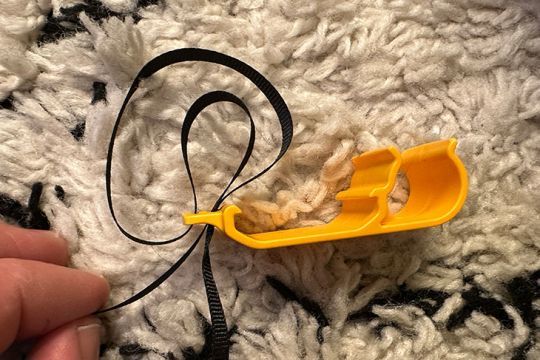
5 ‚euros Place MOB-1 attachment bracket on manual inflation hose
First place the yellow attachment bracket on the vest's red manual inflation hose.
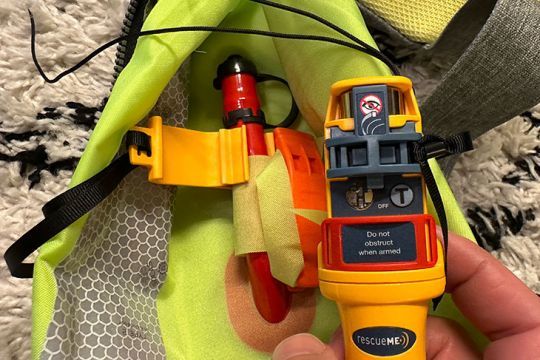
Then wrap the MOB-1 beacon around the inflatable yellow membrane of the vest, before clipping it onto the holder. Take care to keep the strap straight and in place.
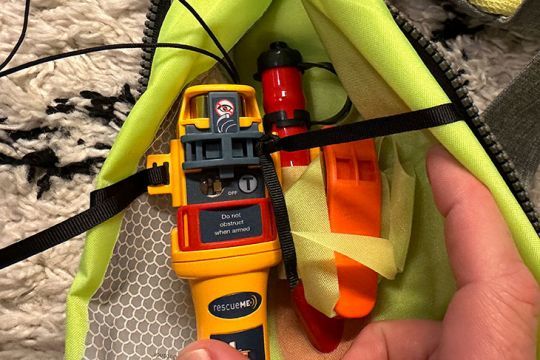
6 - Place the transparent protective cover
A transparent protective cover prevents accidental activation of the MOB-1 in the lifejacket. After fitting the MOB1, please insert this protective cover, check that the red arming slider is in the armed down position, then press to clip the transparent protective cover onto the grey arming slider.
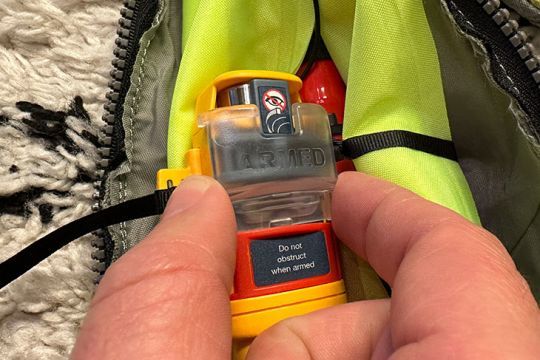
Please check that both sides of the cover are securely clipped in place.
Tighten the strap so that you can insert your finger between the strap and the neon yellow bladder.
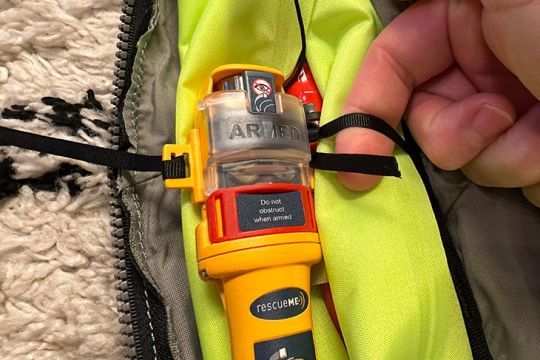
7 ‚euros Attaching the safety cord to the vest
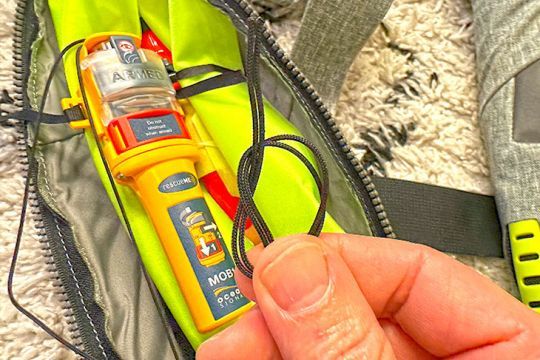
Find a place on the vest to attach the beacon's safety cord. This way, if the beacon comes loose from its holder when triggered, it will still be attached to the vest. Find an attachment loop on the vest, as shown in the photo below, and thread the cord through it.
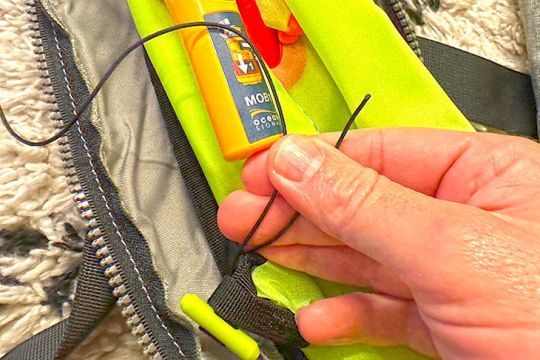
Tie a loop knot and tighten firmly.
8 ‚euros Closing the vest
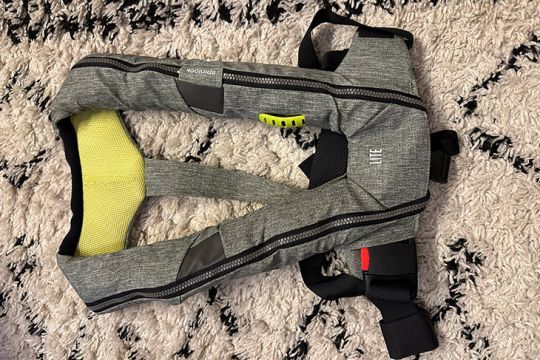
Close the vest gently with the zipper.
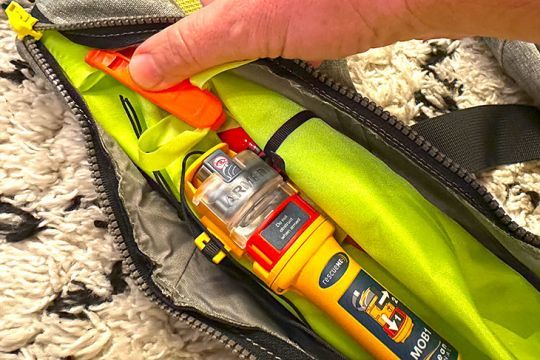
The small beacon is slipped into the vest without thickening it. You're geolocated in the event of a fall, and your safety is considerably enhanced!

 /
/ 