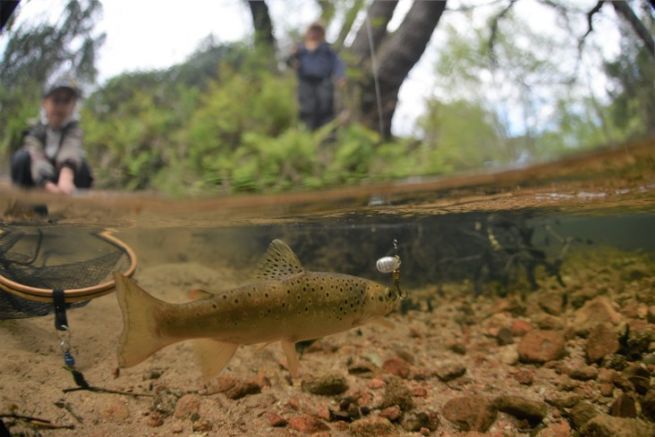
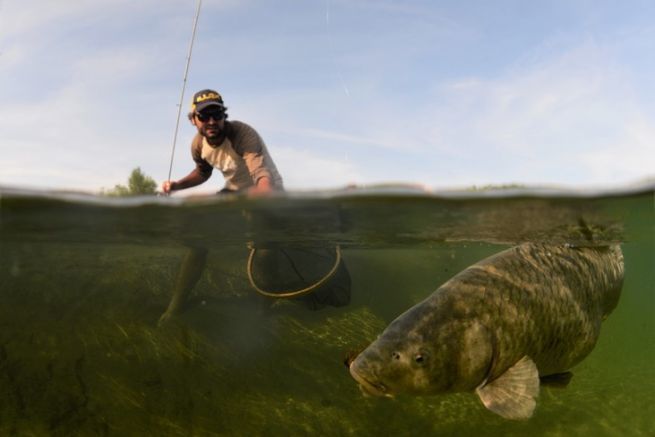
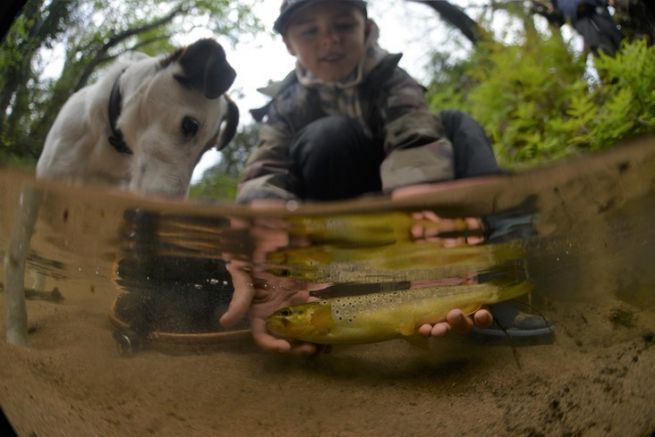
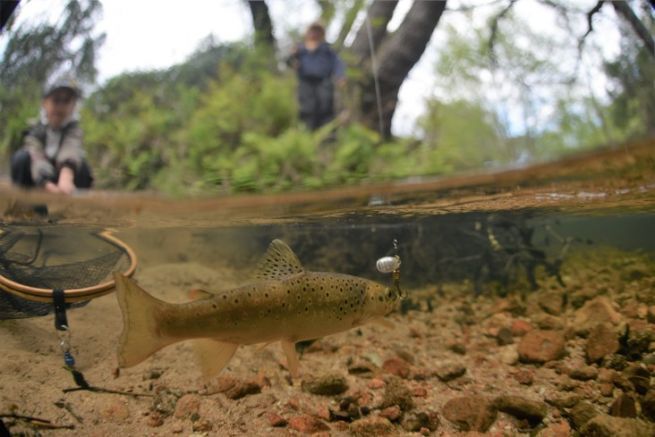
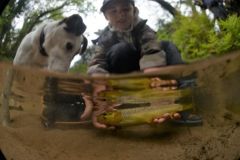
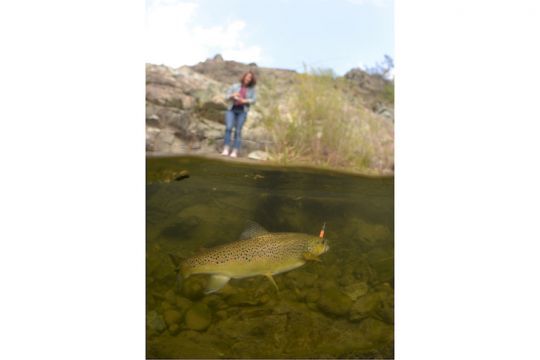
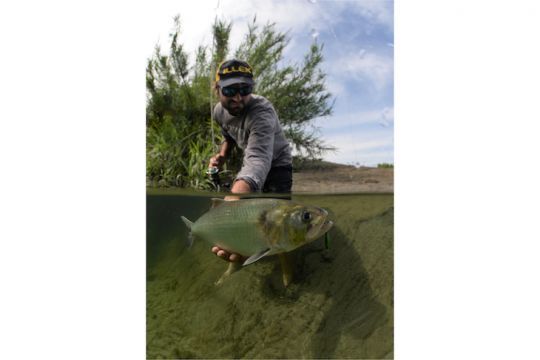
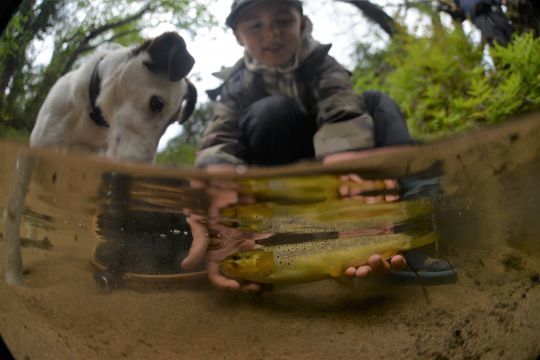
As we have mentioned in a previous article the half-air half-water photo allows you to capture an image of what is happening above and below the water. The difficulty lies in the ability to have a clear image, with a good luminosity both underwater and on the water.
What is a photo exhibition?
Before launching yourself, there are still many steps to succeed in a beautiful photo half air half water. The settings are almost always done in manual mode and not auto, you must master the exposure. A well exposed image is an image with just the right amount of light. Too much light and your image will be "burned". The light areas will appear white. Not enough light and your picture will be "blocked", dark and dull.
Exposure can be defined as the amount of light that is captured by the sensor to make a photograph.
Three parameters allow to play on the quantity of light . You have to find the right balance with these 3 parameters. This is called the exposure triangle.
The ISOs
The ISO characterizes the sensitivity of the sensor. The more sensitive your sensor is, the more light it captures. But do not believe that it is enough to put the ISO to full to have a beautiful bright image in the night‚?¶ It is not so simple. Indeed, the more you are going to push the sensitivity of your sensor, the more you are going to solicit it and generate "digital noise". These are microstains/color aberrations that affect the sharpness of the shot. So don't put too much ISO. The lower you shoot in ISO, the cleaner and sharper your picture will be. It is therefore necessary that there is enough light.
The opening
The aperture refers to the "opening" diameter of the lens diaphragm. It is like a round window through which light passes to the sensor. The more it is open, the more light it lets pass to the sensor. Here again, it is not enough to open all the way to get a successful photo! The larger the aperture, the more the image is blurred except at the point of focus. This really allows to disengage a subject from its environment and to have an aesthetic side appreciated. But in half-air half-water, we want to see under and over the water. An aperture that is too large offers too much blur on what is happening on the surface and that is a pity. For the half-air half-water, an aperture too large is also complex to manage. You need to focus perfectly on the fish, otherwise it is ugly‚?
A small aperture offers a lot of depth and sharpness in all planes, but the image tends to get darker.
The speed
Finally, the last parameter on which to play to expose its image is the shutter speed. Here again, the more the shutter remains open, the more light is captured by the sensor and vice versa. But again, it is not about leaving the shutter open for a long time to make a successful shot‚euros
Indeed, when the sensor remains open for a long time, the slightest movement of the camera or the subjects will become blurred. To photograph a moving fish, you need a relatively fast shutter speed so that the moving fish does not appear blurred.
My basic settings
For a photo focused on the fish with an aesthetic blurred background, my basic settings are as follows:
- Speed 1/350 second not less, because otherwise I have blurs of "movement". The fish is alive, in its environment remains very mobile. Rarely more than 1/350, because I lose in quantity of light.
- Aperture between f4 and f8. But again, it all depends on the photo. Too open (f2.8), you will have a very nice focal length on the fish and a very nice background blur, but you lose the interest of the half-air half-water, namely that the background out of the water is less highlighted. Too sharp (f12) and you need a lot of ambient light or a higher ISO to compensate.
- ISO between 200 and 500. The ideal is to have as little ISO as possible. I avoid going above 500, but some very high end cameras are perfect up to 1500 iso without any problem...
- Autofocus "point" and I'm looking to make the focus on the fish. A high performance lens is a real plus, as you need a fast and accurate focus. This half-air half-water configuration is very delicate to manage for the lenses. What's more for our passion, fishing, where we have to aim at the fish...
- Automatic white balance. I don't bother too much with this setting wrongly. Some green waters could use some adjustments...
I shoot in "burst" mode. I do several bursts. Framing and focus are hyper difficult to get right. You point the camera by instinct and don't really look into the lens, unless you are completely in the water... And even then. I have taken a series of 500 pictures and only got one decent picture! To gain in burst rate, I shoot in JPEG. It is a bias, because many recommend to shoot in RAW to better retouch the photo afterwards. This format, very heavy, makes lose in burst rate. Be careful, it is the same if you record on a low-end SD card.
These settings will vary depending on the brightness, the clarity of the water and the type of shot I want to produce. They will also change depending on the quality of the lens or camera used. This is a good basic compromise to refine according to your needs.

 /
/ 