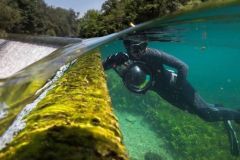
Introduction to half air half water photography
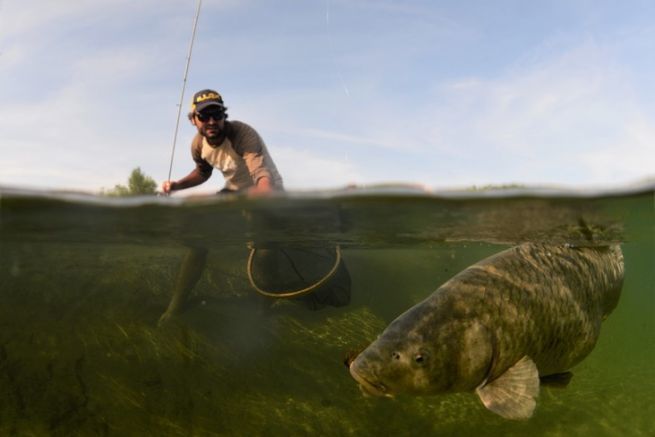
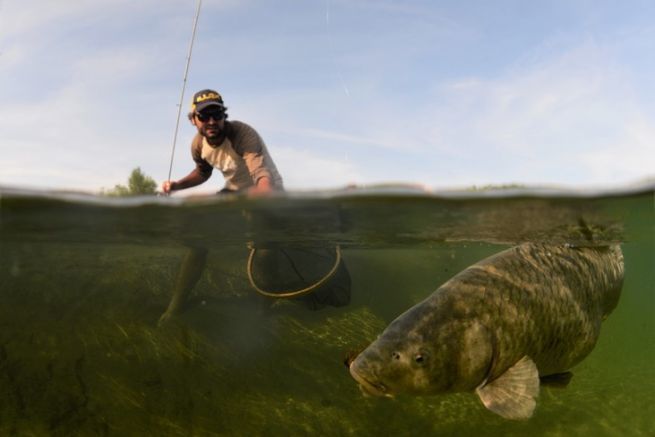
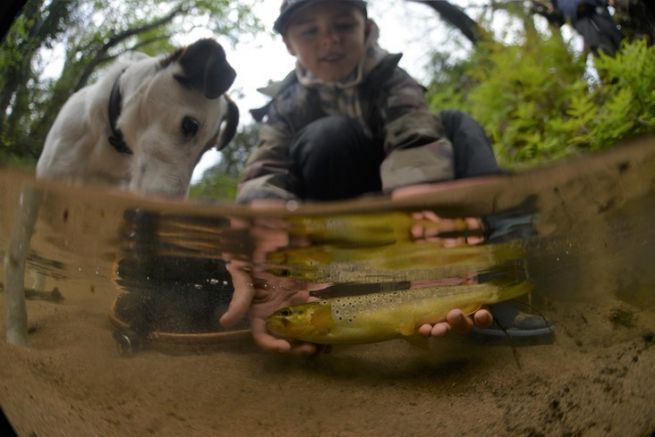
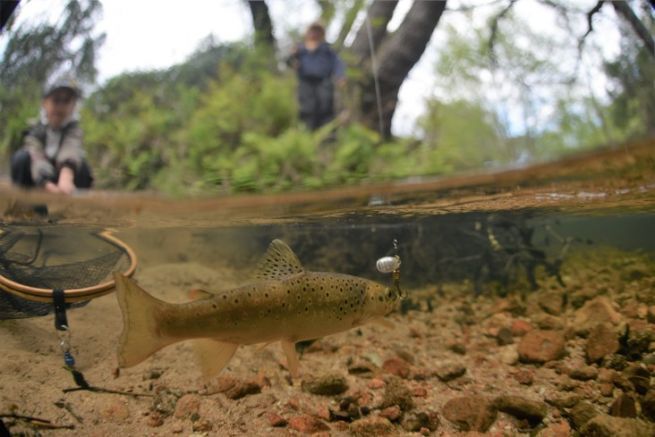
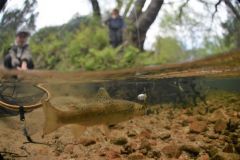
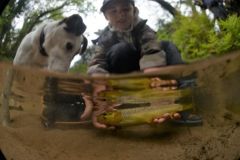
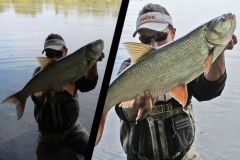
The over-under photo is a type of photography that is slowly developing among fishermen. It allows to highlight what is happening underwater and above in a single shot! Behind these very aesthetic pictures which are enough to capture the moment of the capture of a fish, a very delicate and tedious photo technique is hidden. Let's discover this together, from the essential equipment to the shooting technique, including the necessary basics of photography settings and exposures.
I have always dreamed of taking this type of photo. The first time I saw a half-air half-water, it was in a calendar of the magazine ''Le pêcheur de France''. I must have been 12 years old. I don't remember the author, but I have kept this picture in my head ever since. Finally, I could afford to buy the material which, as we will see, can be very expensive. I then had to discover this shooting technique by myself and I have to admit that there are not many tricks in the book.
I was lucky to find on the internet an article and a reference photographer: Eric Volto. He is a very well known photographer and diver whose playground is none other than Bonifacio in South Corsica, where I work! Even if I never really exchanged with Mr. Volto, I could still be inspired by these pictures and easily realize the difficulties and settings to approach. Moreover, a friend, Jérôme Mirande, is also a specialist of half-air half-water and I could ask him for some advice.
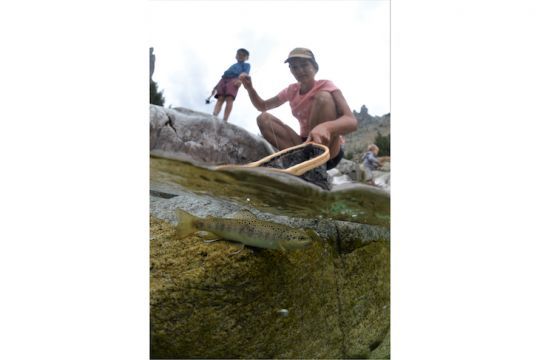
Principle and material of half-air half-water photography
The half-air/half-water photo consists of taking a single shot (without editing) of an image, half of which shows what is happening underwater, and the other half above.
The essential equipment
To do this, it is essential to have:
- a digital camera with a wide or very wide angle lens
- a waterproof housing
- a dome
The rest will not be necessary!
But without this, did not expect to make a clean or usable picture...
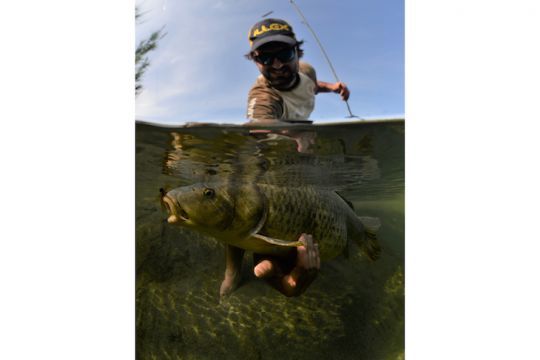
The wide angle lens
The wide angle, understand a focal length (optical distance from the point where the light rays converge to form a clear image of an object on the digital sensor located in the focal point) or rather a focal length of 20 mm to 10 mm, possibly fisheye (refers to a wide angle lens that distorts the lines and disproportionates the image, the shape of a fish eye (hence the fisheye). What is close appears larger and what is farther away appears very far away) will allow you to open the angle of the photo and to fit a large area of view on a photo.
This is essential because you need to see what's going on under and over the water in one image. With a longer focal length, you'll narrow the field and have more difficulty capturing the whole scene. A long focal length means "focusing" on a piece of the scene, not the whole.
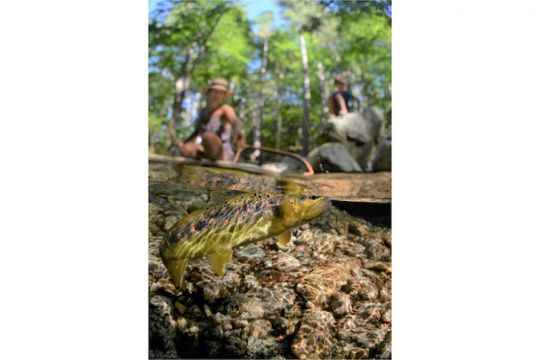
Use a waterproof housing and a dome
The waterproof housing is also essential, because the camera is in the water! We will see that there are several models, some of which are specially designed for half air half water.
Finally, to easily have the fraction on the surface between air and water, a dome is needed. This is a large domed window in which the lens is located. It should be at least 6 inches in diameter (15 cm), ideally 8" (20 cm), but there are domes up to 16 inches, specially designed for half air half water. In addition to the easier fraction to obtain, the dome is essential and goes hand in hand with the use of a wide angle lens. Indeed, with a flat window of small diameter, you will have a phenomenon of vignetting (vignetting is a darkening of the edges of the photo. They are often present in the corners of the image and are progressive. In the case of the use of a box, the vignetting can be brutal and marked on the corners of your photo. Your shot would be so wide that it would also take the inside of the window...!
Example of material and cost
From a material point of view, a simple smartphone equipped with a dome housing or an action cam (go pro...) equipped with a dome will do the trick for half-air half-water photos! Count on a budget of about 400 to 600 euros to start. Some brands such as Axis Go or Meudome develop domes specially designed for the half-air half-water with smartphone.
For those who want to go further, an SLR or compact camera with wide angle lens, housing and dome will be necessary. The budget can go from 1 000 euros for second hand equipment (which I recommend) to 10 000 euros...
As an indication, my material :
Camera: NIKON D610 (advantage, it is fullframe, FF, ''full format'' in French. Designates a sensor of the same size as an analog sensor, 24 mm x 36 mm. It is most commonly found APS-C sensor, smaller and less expensive. Beware, depending on the type of sensor of your camera, the lenses are not the same and not necessarily compatibleâeuros¦), robust and tropicalized: about 500/600 euros second hand (beware, the D600, very close cousins of the D610 is known to have problems of dust on the sensorâeuros¦)
Objective: SIGMA Fisheye 15mm EX DG (Nikon mount of course) : about 500 euros second hand
Casing : IKELITE for D610 (advantage, access to all settings, allows to go down to 60 m depth, disadvantage, very very heavy: 4 kg): second hand 1 300 euros, but very difficult to find in France (knowing that a housing goes only with one type of camera, this type of product loses a lot of value...). I also recommend the Aquatech brand, developed by surfers who have a wide range of relevant products for fishing photography.
Dome: 8" IKELITE acrylic dome with adapter ring: 250 euros second hand, but I advise to buy it new because there are unfortunately always some micro-scratches on these domes bought second hand... The glass is perfect and almost scratchproof, but costs about 4 times more...
Total for my equipment : 2 600 euros

 /
/ 