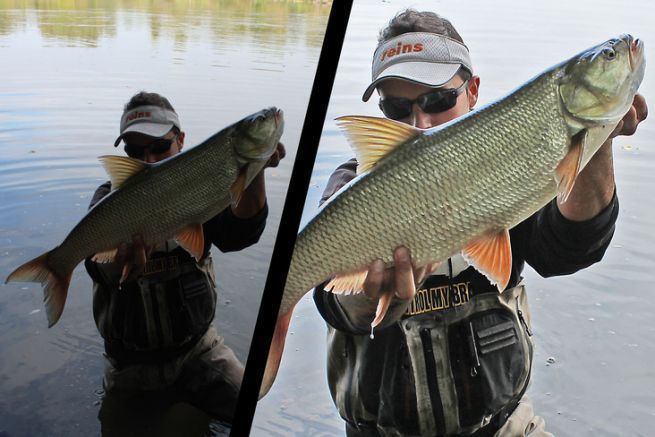
The steps presented are done in Adobe Photoshop but you should be able to find similar functions in the photo editing software you use, if it is not the same one. In this example, I will use the photo below, taken in the shade of a tree, on a very sunny day, which created too much contrast.

1 - Reframing
To begin, I will crop the photo to refocus it on the main subject of the photo and have a nice harmony.

2 - Dark tones / Light tones
This option allows you to accentuate or attenuate the dark and/or light tones. In the case of a photo taken against the light, it is often on the curve of the dark tones that we will play to give color to the parts in the shade.

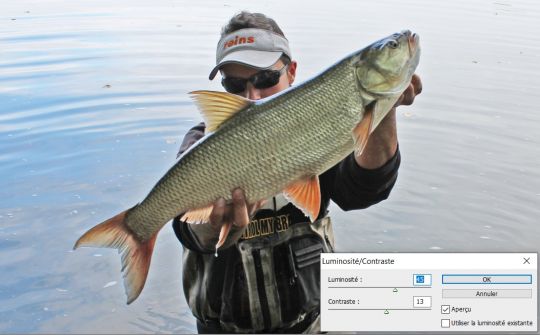
3 ‚euros Brightness / Contrast
The brightness option allows you to give more light to the photo. Thus, after having given color to the previous step, with this setting, we brighten the whole to bring it closer to reality and make the subject of the photo come out of the shadow. The contrast is used to accentuate the light areas of the dark areas, such as the shadows. To use in small doses to give more character to the photo.

4 - Accentuation
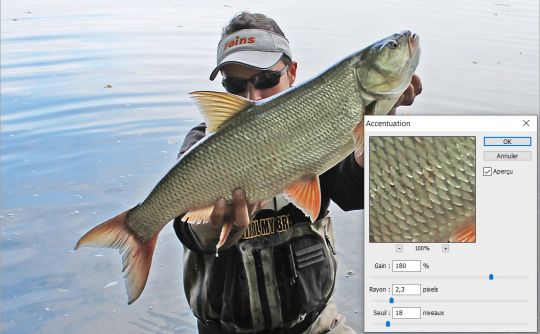
Finally, to correct a slight motion blur, I will apply the sharpening filter. This last setting has the disadvantage of making digital noise appear, so you have to use it sparingly and not abuse it. This one allows to play on 3 criteria :
- The gain: accentuates the contours.
- The radius: corresponds to the number of pixels, around a contour, concerned by the filter.
- The threshold: defines the color difference at which the filter is activated.

Even if the photo loses its naturalness due to these retouches, it is still more pleasant to look at.
I hope these tips will help you save some of your missed shots.

 /
/ 


