Some saltwater and freshwater anglers make the mistake of turning the sonar unit on at the beginning of a trip and off when they return without ever adjusting its settings.
During your trip, you'll fish different areas, different depths, etc. So, to get the most out of your sonar unit, you must consider the following parameters:
- The depth frequency: As we have seen previously, the choice of frequency will differ depending on the depth in which you fish.
- The drift speed we will see later in this article that this factor affects the setting of the scrolling speed.
- A possible charged water will have an impact on the sensitivity.
- The presence of a area exposed to the current and therefore to potential disturbances.
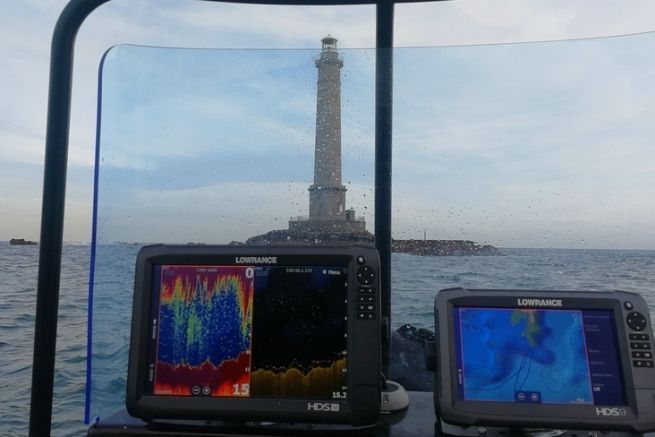
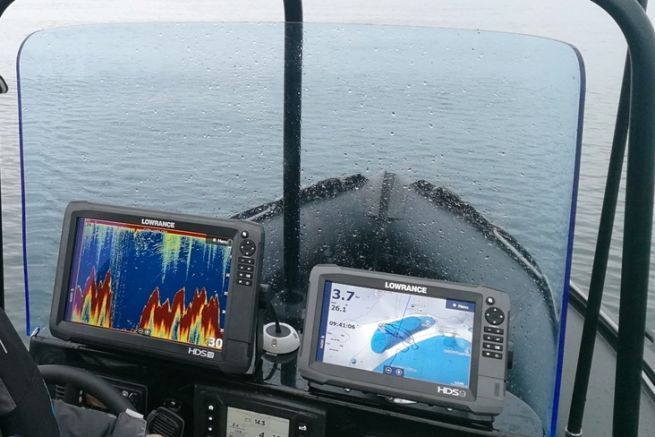
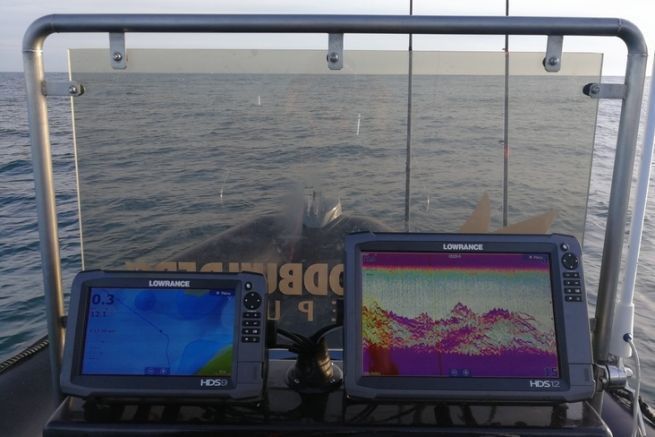
In this case, I'm going to show you the settings I use for offshore use, in areas from 10 to 50 meters deep. The following screenshots are taken from a Lowrance HDS 12 Carbon sonar unit. These explanations are valid for other vendors. Some terms will have different names depending on the brand of your unit.
The filters
Whether it is the surface clarity or the noise rejection, these 2 filters allow to eliminate part of the parasites present to make the image more readable. I systematically deactivate them.
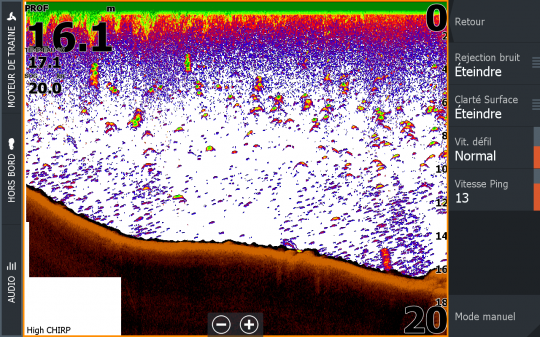
I would rather have a slightly saturated sonar image with noise than lose information.
Sensitivity
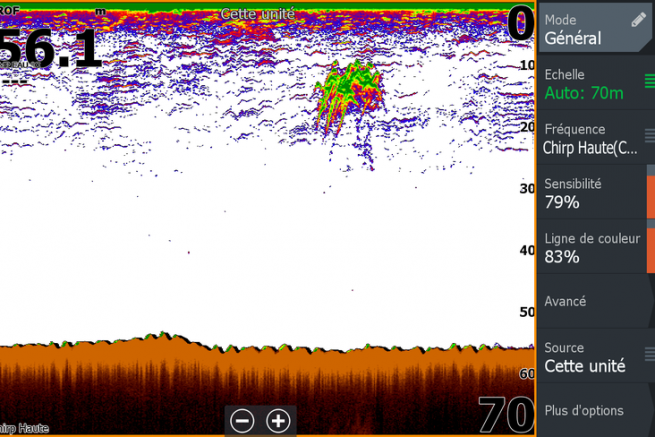
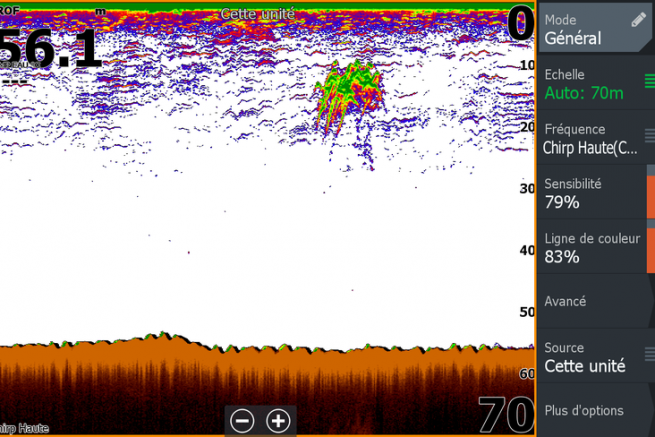
Without a doubt THE parameter to master which is constantly changing as soon as you change the position. This setting allows you to display more or less information on your screen.
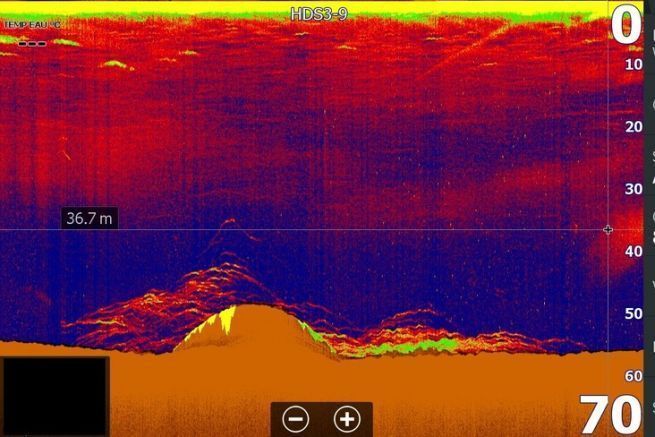
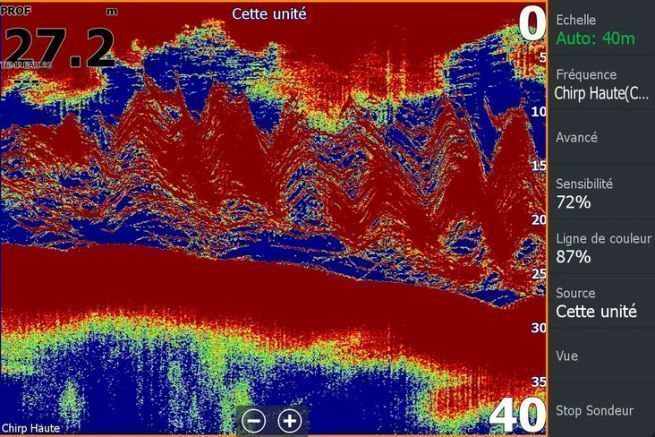
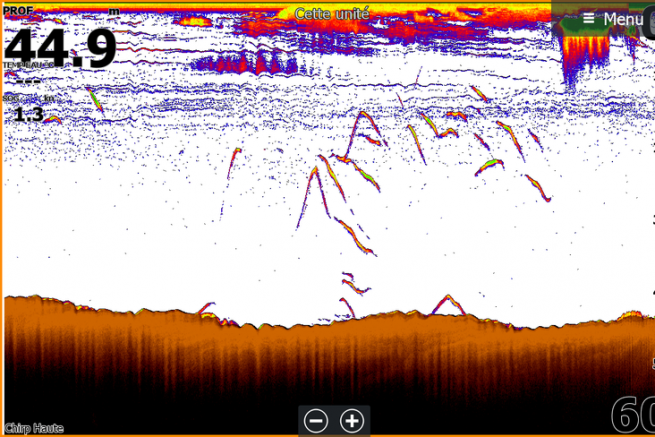
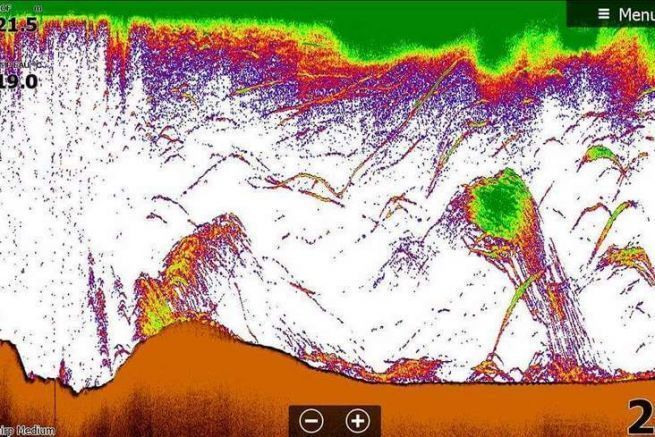
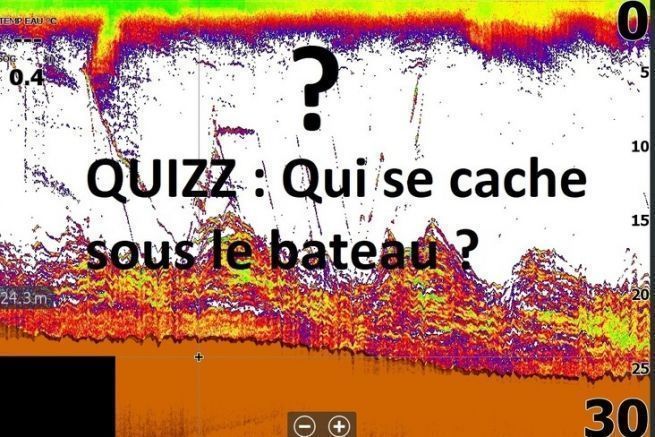
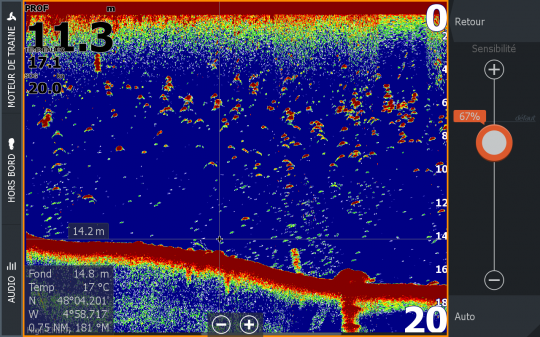
Below, 3 images taken from the "demonstration" mode that reveal the importance of this setting.
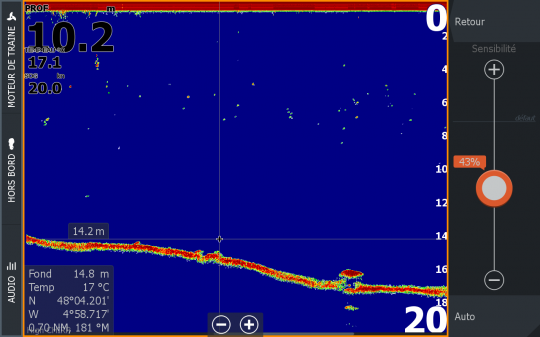
On this first image, the sensitivity is 43%. Very little information is visible. You may as well say that you will see few fish echoes.
Same capture this time with a sensitivity of 67%. This image is very telling. A multitude of echoes appear between 4 m and 10 m depth.
The last image to follow is a situation where the sensitivity is too high, making the sonar screen unreadable
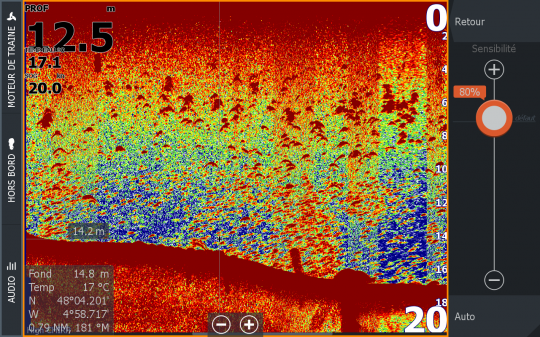
There is no set value for sensitivity, which must be adapted to the spot, the turbidity of the water or the presence of strong currents that cause a lot of noise to appear. In all cases, try to get as close to the highest possible value without it becoming too busy and unreadable.
When fishing deep, you can turn up the sensitivity. The surface will be saturated, but the area near the bottom that interests you will remain visible.
The colorline
This setting affects the contrast of your palette. The same situation with two different color palettes will probably result in a different colorline setting. It allows you to increase or decrease the contrast of detected targets and improve visibility among your sonar's echoes.
This first image shows a too low setting of the colorline.
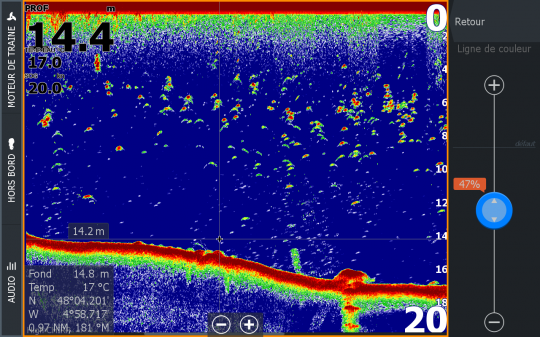
The echoes are certainly visible because of the sensitivity which is well adjusted, but with very little contrast.
The following capture is the opposite case with a too high contrast.
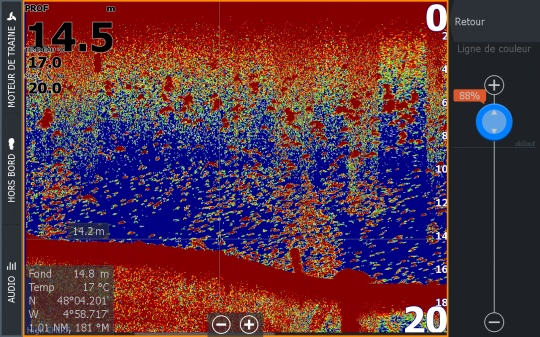
Finally, the last one, the default value of 76 is a good match. This is a parameter I adjust from time to time, not as often as the sensitivity.
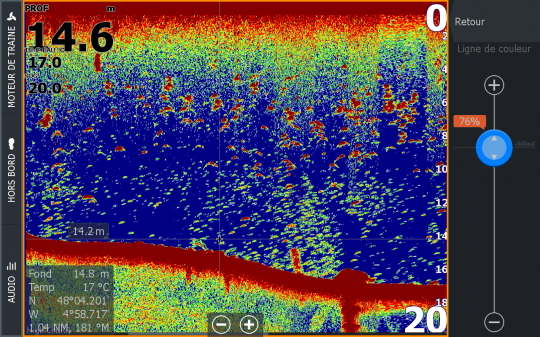
This setting is associated with the sensitivity. You will have to intervene on the 2 parameters in order to obtain the most readable image possible.
Other parameters
The pings
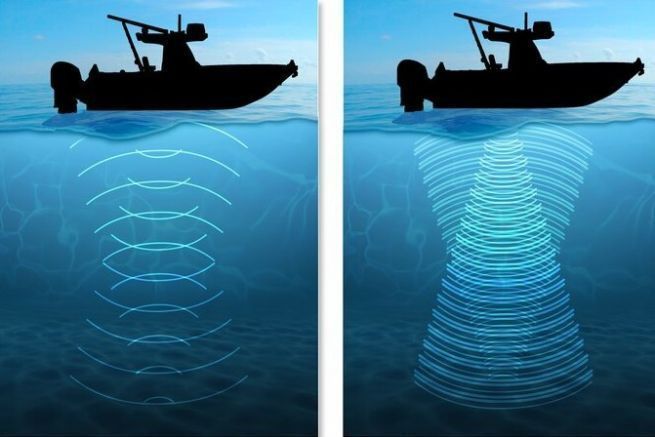
You can set the pings, which are the number of sonar pulses per second.
Personally, I always leave it at 13, which is perfectly suitable for drifting between 5 and 100 m depth. Exceptionally, if I want to do fast speed detection while sailing, I increase it to 18.

Scrolling speed
This setting affects the display, not the detection. The faster you sail or drift, the faster your scroll speed should be and vice versa. Normally, with a drift of less than 2 kts, I leave this setting at "normal". With a drift of 4 kts, I set it to X2.
In summary
As you'll understand from these articles, there is no typical setting for fishfinders. The transducers, fishing areas, depth, fish sought, etc., are all parameters to be taken into consideration to optimize your settings.
If you have to remember one thing, prefer a slightly saturated screen with a slightly high sensitivity because this will allow you not to miss valuable information.
As each spot is different, your sensitivity and colorline settings will be different too.

 /
/ 