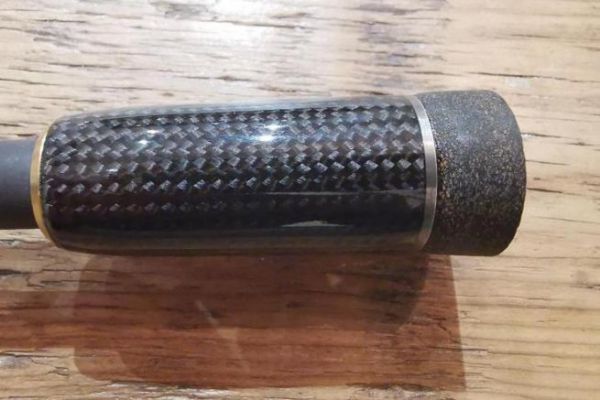
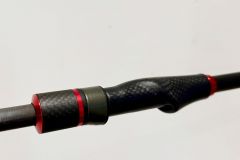
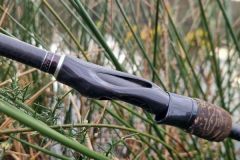
For those of you who have already made a cork grip, I'd like to warn you right away... Doing the same thing with Foam and a carbon sock is much easier! Here's how it's done:
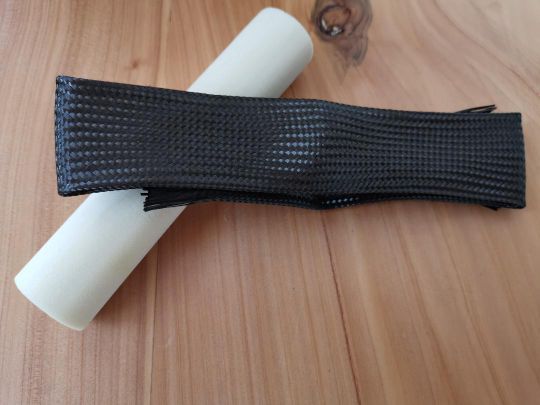
Step 1: Cut the Foam
Foam is a hard foam cylinder that's easy to work with. Cut a piece of the cylinder to the desired length using a hacksaw or cutter.
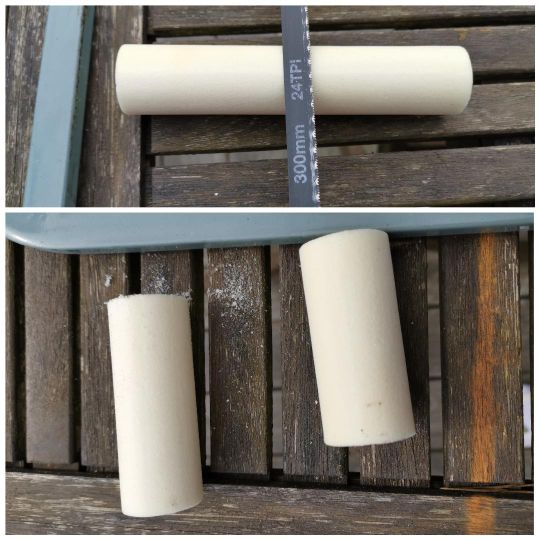
Step 2: Reamer the Foam
Then ream the internal diameter of your Foam to that of your lathe's threaded shank.
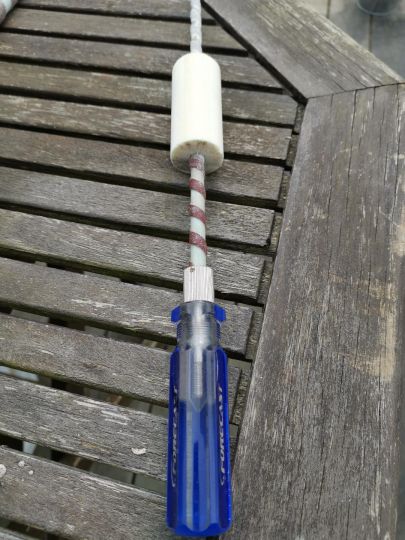
Step 3: Sanding
Before sanding, cover your threaded rod with a layer of painter's tape to hold your Foam in place and prevent the pitch of the rod from eating away at your workpiece.
Sand with a spacer and 500-grit paper. Foam is very easy to work, so work gradually down to a diameter smaller than your butt.
You'll then apply varnish and a carbon sock to create extra thickness, so you'll need to sand your part about 1 mm thinner than the diameter of your butt.
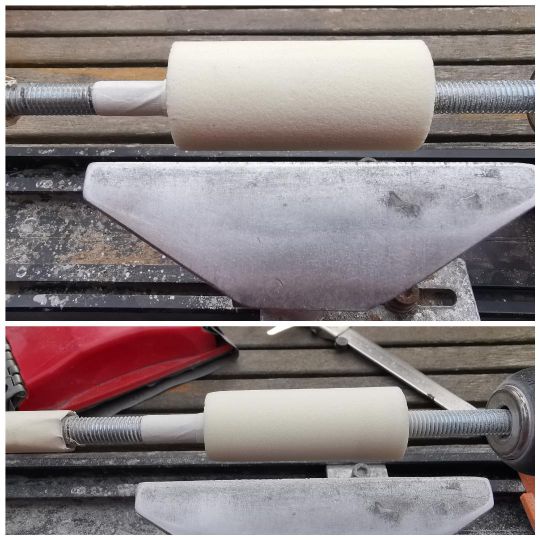
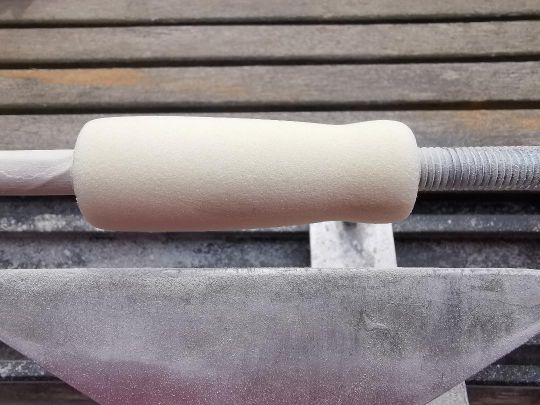
Step 4: Working on the shape
Once you've reached your butt diameter, you can work on the shape of your piece. Give free rein to your imagination, all lengths and shapes are possible.
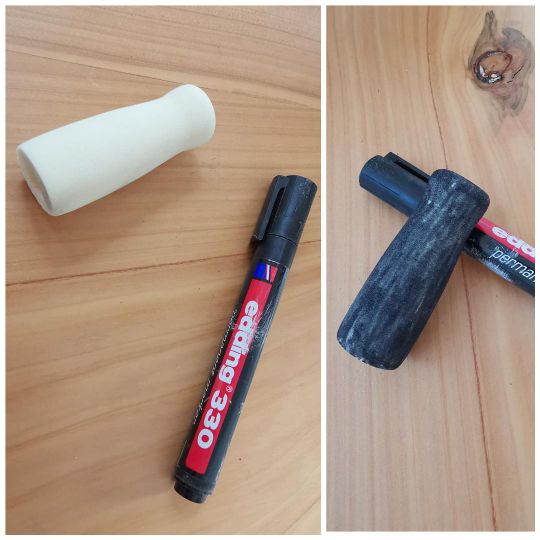
Step 5: Colour in black
Using a permanent marker, color your part black. Once the carbon sock is in place, this will prevent lighter areas from showing underneath.
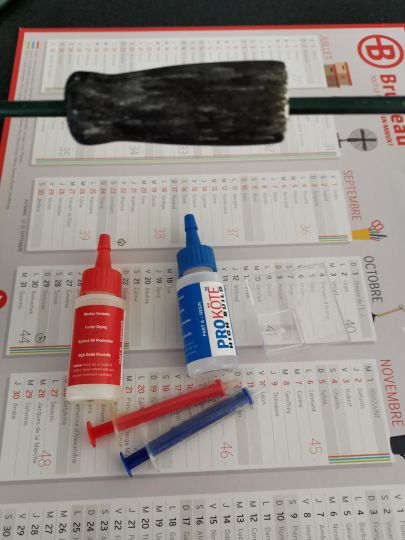
Step 6: Varnish
Then, using a two-component varnish (the one you normally use for your rings), varnish the entire piece. You don't need a brush, just a glove or paper towel rolled over your finger.
There's also no need to debulk.
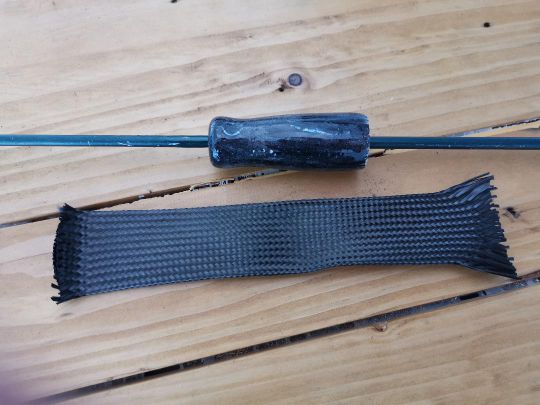
Step 7: Preparing the sock
Once your part is dry (6 to 8 hours), cut a piece of carbon sock larger than your grip.
Step 8: Re-varnish
Slide your grip onto a fairly thin rod (threaded, metal, piece of broken cane) and create an extra thickness with painter's tape. This allowance should be shorter than the length of your grip.
Put a good coat of varnish on your grip. Don't hesitate, be generous!
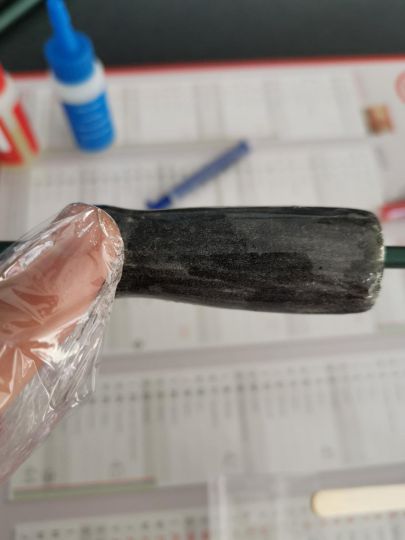
Step 9: Slip on the sock and tie it off
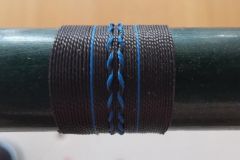
Then slide the carbon sock over your part, trying to keep the fibers in line, and tie with nylon on one side.
Tighten the knots and make several turns, then slide the coils as close as possible to your grip, so that the sock is firmly in place and fits the shape of your part perfectly.
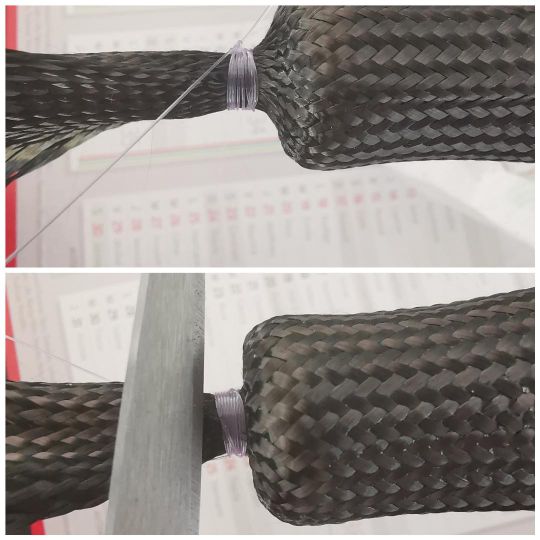
Step 10: Ligating the other side
Repeat the same operation on the other side.
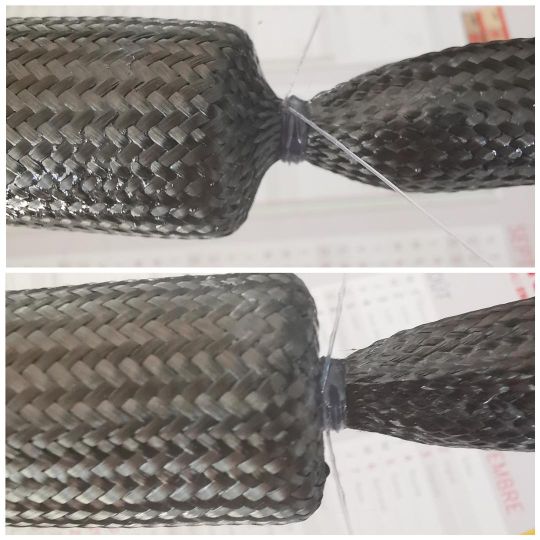
Step 11: Wipe off excess and allow to dry
If you've been generous with varnish, it should leak slightly between the carbon fibers. Clean with methylated spirits and leave to dry.
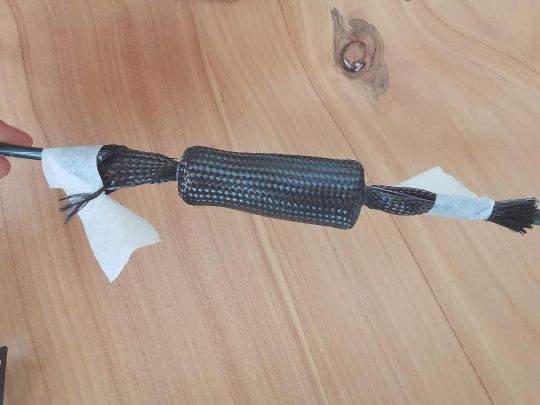
Step 12: Cutting
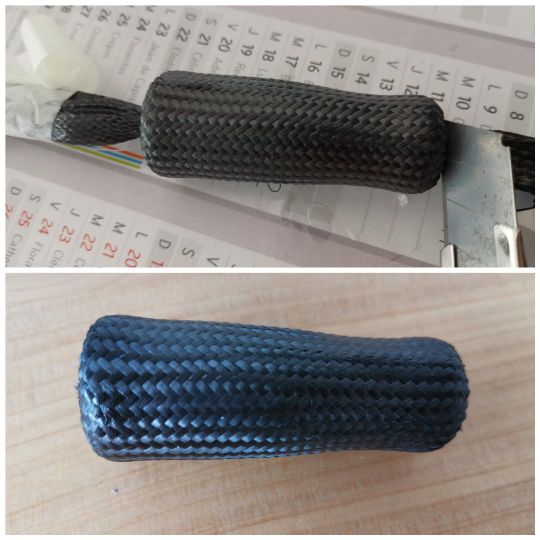
Once your piece is dry, use a cutter to remove any excess threads and sock parts. Then remove your grip from the stem.
Step 13:
Lightly sand both sides to complete the finish, and check that it matches your butt.
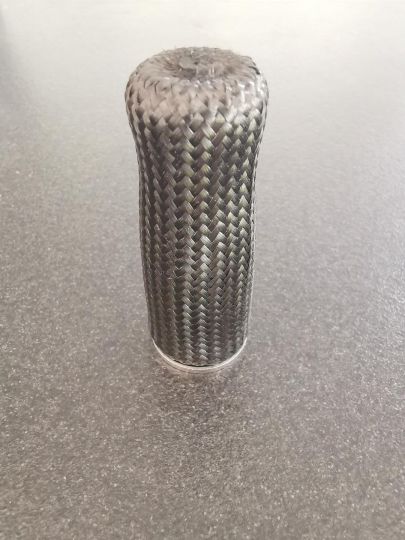
Your grip is now finished. You can use it as is, or varnish it if you wish.

 /
/ 