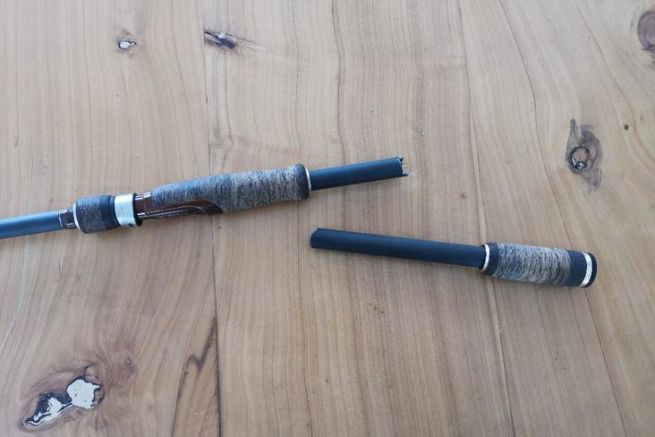
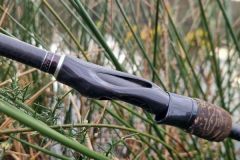
The breakage of a rod, even if one is particularly careful, is unfortunately an accident that can happen during an outing. If the breakage is not too close to the tip, it is possible to repair it. To put it simply, for your rod to be repairable, the breakage must occur in the first half of the blank.
To perform this repair, you will need:
- From a piece of broken blank.
- A bi-component glue
- Of painter's tape
- A hacksaw
- The necessary to bind and varnish.
Step 1
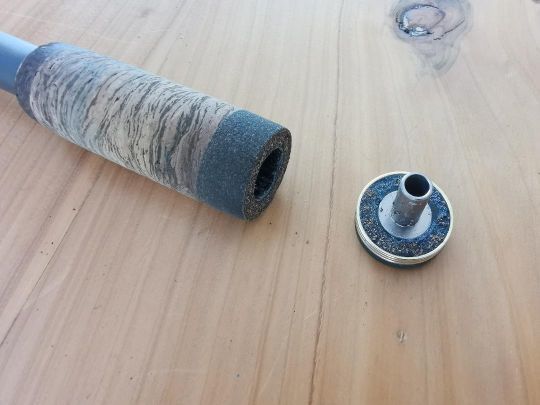
The first step is to remove the butt from your rod so that you can insert the blank from the wider side. To do this, the ideal is to heat it with a heat gun to soften the glue. Otherwise, the hair dryer works very well too!
Step 2
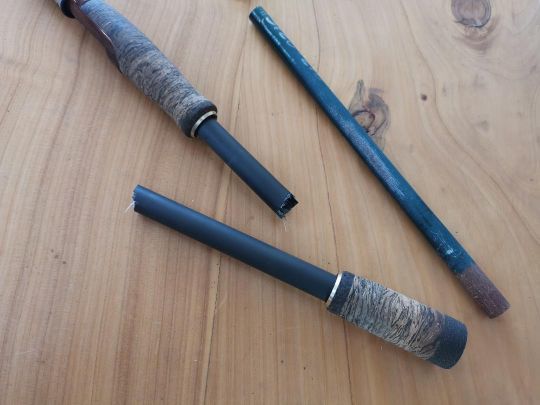
Try different pieces of blank to determine which one has the right taper and which section will be useful to you. Mark off a 12 cm piece (6 cm on each side of the broken area)
Step 3
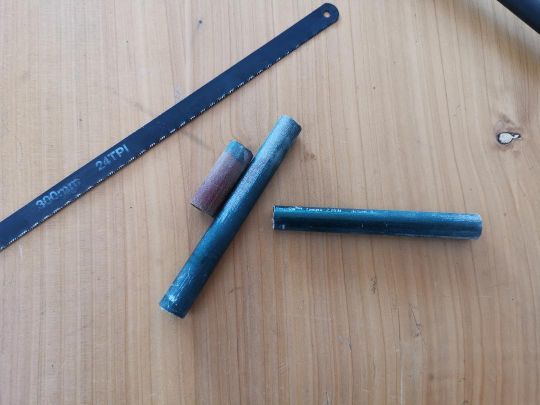
Cut the corresponding piece with a hacksaw blade.
Step 4
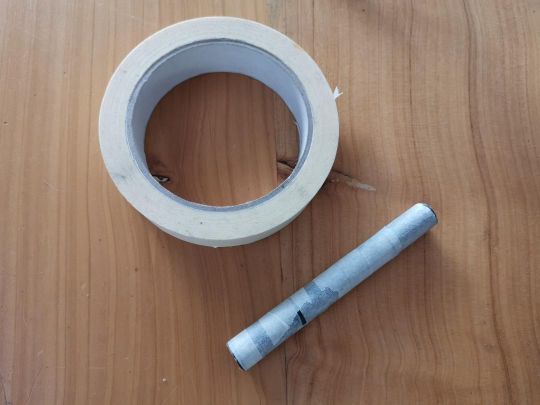
If there is a small amount of play due to a slightly different taper of your blank, you can adjust the diameter and geometry with strips of painter's tape. For your repair to be effective, there must be no play between the sleeve and your rod.
Step 5
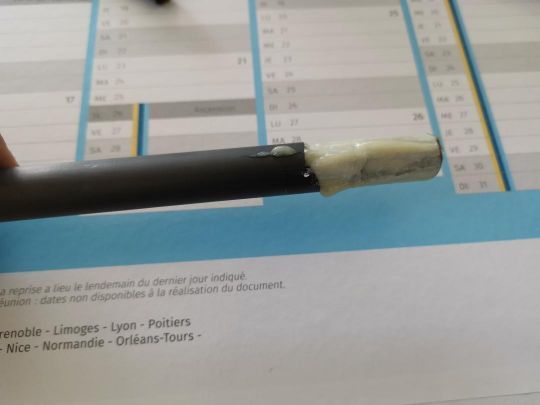
After brushing your insert with two-component glue (I recommend Tuff Glue for this type of repair), insert it into your rod through the butt. You can use another piece of blank or a tube to push it in until it is in full stop and without play.
Step 6
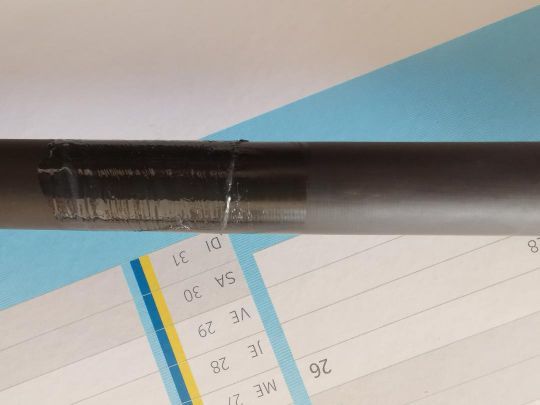
Insert the other part of your cane, aligning the matching parts until they make contact.
Step 7
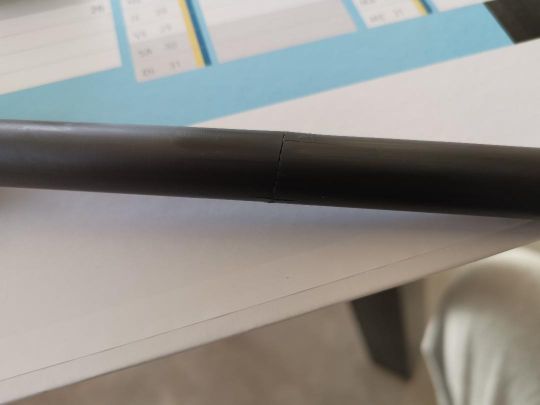
Clean up excess glue with rubbing alcohol.
Step 8
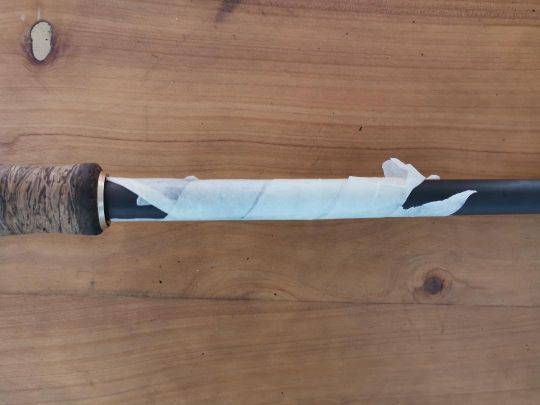
Hold it together with painter's tape, then let it dry until the glue is fully set.
Step 9
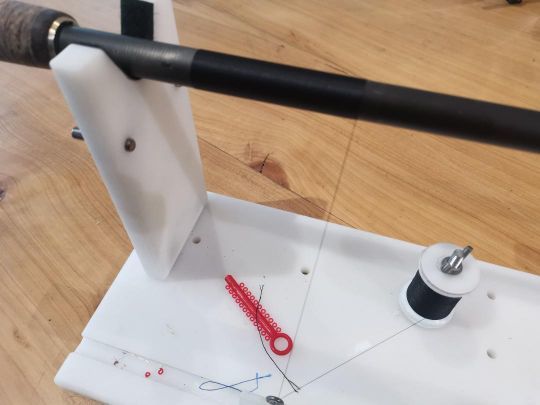
Make a finishing ligature to hide the repair.
Step 10
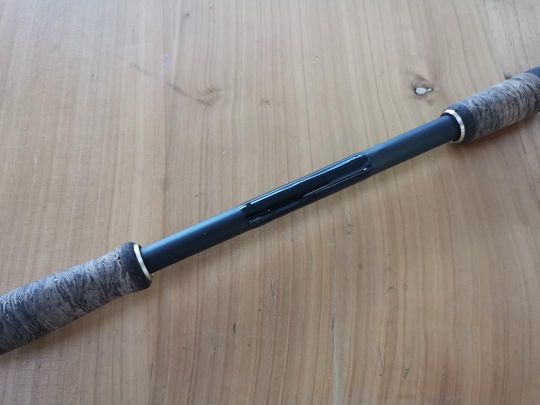
Finally, varnish, then let dry and glue your butt back on. Your rod is now operational for many fish.
