As we have already discussed in a previous topic a blank, the carbon or fiber core of your fishing rod, is made of a sheet rolled on itself and glued. The manufacturing process is obviously a bit more complex than that but this description is an excellent summary and is sufficient to understand its mechanical properties.
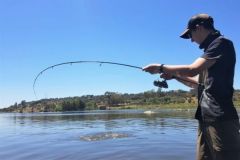
Thus, in some places, there are excess thicknesses which constitute hard points and force your blank to work in a particular direction, this is called the "spine" or natural direction of work of the blank.
It is therefore easy to understand that it is imperative to assemble your rod in this way for better control and more precision when throwing and for great stability during fights.
Single and multi-stranded, a different way
If for a single strand blank, we have already seen in a previous article that it is enough to simply put it under pressure to determine the direction of work, for a blank in several parts it is necessary to use another method because the strongest strands lack "flex" to be able to carry out this operation correctly.
So here's how to do it!
The use of the bowl to mark each strand
Each strand of a blank is made according to the same manufacturing process, so we can consider each strand as a separate entity that has a natural working direction. It is therefore necessary to determine this working direction for each strand and "align" them so that they work together to form the rod.
So, each strand is a sheet of carbon rolled up with its overthicknesses and consequently one side heavier than the other and it is this particularity that we will exploit.
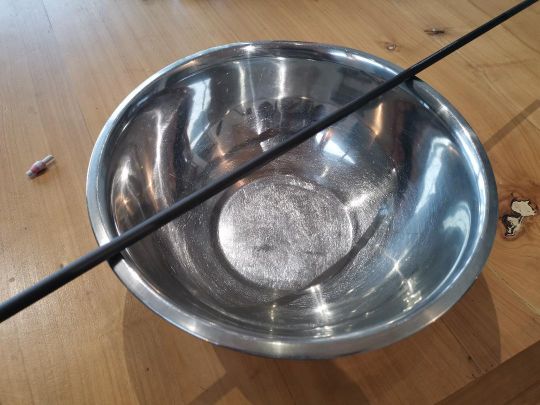
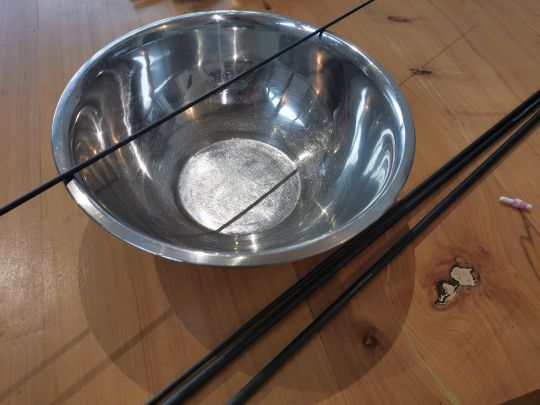
- You must therefore take a metal or glass bowl with smooth edges that allow the blank to roll freely, and place it on a level surface.
- Put the first strand on the bowl and let it roll and stabilize. Naturally the heavier side of the strand (the one where the natural working direction will be located) will be positioned downwards.
- Then draw a mark on the top of the strand.
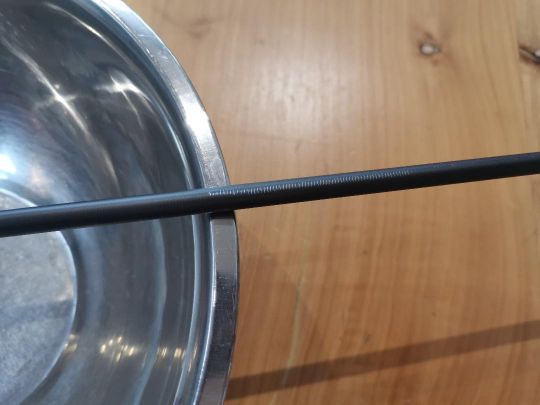
- Repeat with each strand.
Consider the cane as a whole
Once all the strands are marked (in this case 4), nest them, making sure to align your marks perfectly.
You can then look for the spine of your blank, as if it were a single-stranded blank, by putting it under pressure as we explained in a previous topic .
You should then find the natural working direction of your rod opposite to your marks. This is quite normal because your marks correspond to the side where there is the least amount of material and therefore the least stretchable side.
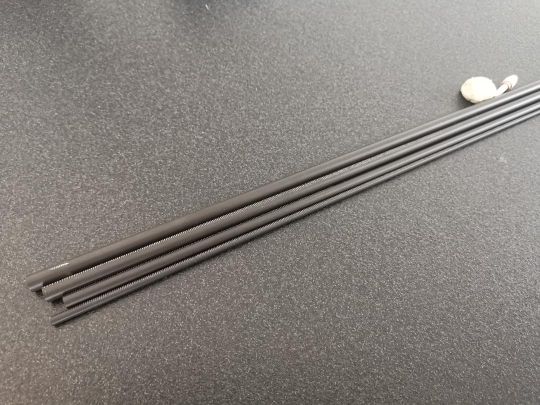
Mark the spine and proceed to assembly
Once the blank is pressurized, all you have to do is mark your spine on the 4 strands and erase the other marks with an eraser.
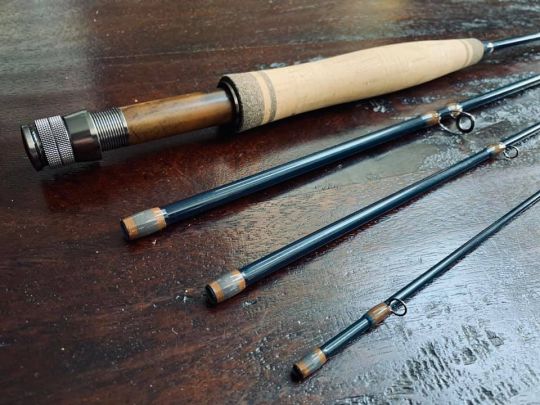
You can now proceed with the assembly!
