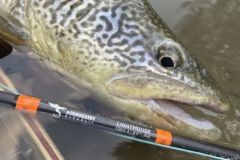
When we build our first rods, we choose simple, standard components. But as time and expertise progress, we often find ourselves wanting to build each element of our rod ourselves, and to tackle different facets of rodbuilding.
Here's how to make a grip with a few slices of cork. There are plenty of different varieties on the market to suit everyone's taste.
To make this grip, I used an off-the-shelf wood lathe, but it's perfectly possible to do the same thing with a simple drill, or even better, to make your own lathe. Plans are available on the Internet, and all you need is a few boards and a couple of ball bearings for better performance.
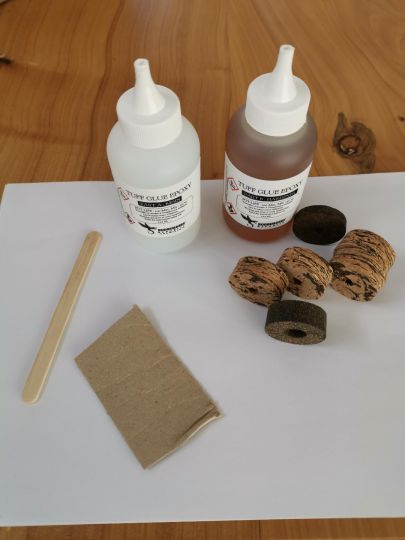
Step 1: Prepare the glue
To glue the washers together, you can use basic wood glue. For my part, I took my usual two-component glue and mixed it roughly 50/50.
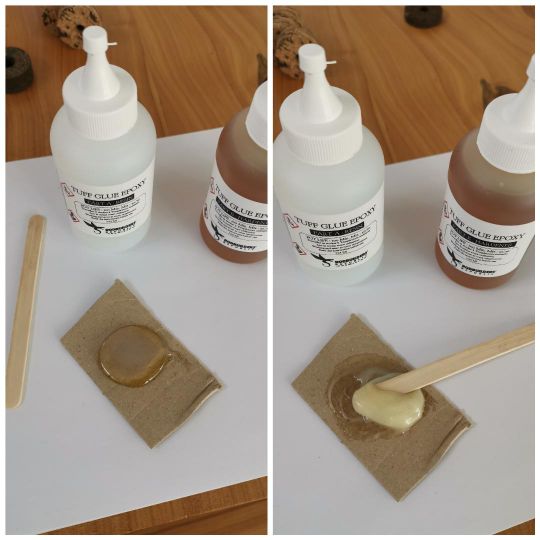
Step 2: glue the washers
Spread a little glue on the first puck. Apply a thin layer to keep spillage to a minimum and save you a long clean-up.
Thread it onto a threaded rod, then do the same with the following ones.

Step 3: Apply pressure
Once all the washers have been threaded on, press them together using two wing nuts, then leave to dry.

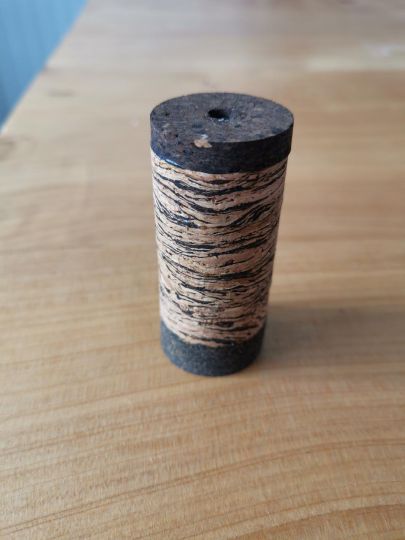
Step 4: reamer
Once you've glued your washers in place, you'll need to resize the internal diameter to the same dimensions as your lathe's threaded rod. In this case, 10 mm for mine.

Step 5: Preparing the tour
Next, slide your washers onto the lathe and secure them with nuts so that they remain firmly attached to the threaded rod and don't wander from right to left during sanding.
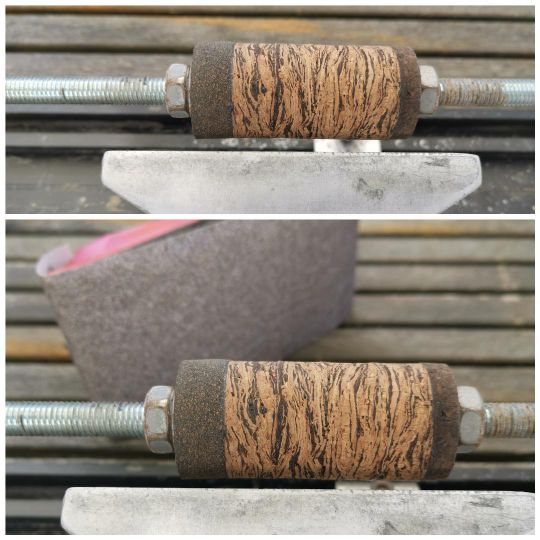
Step 5: Sanding
Using a sanding block and sandpaper, start sanding down to the diameter of your butt. The use of a caliper is particularly recommended!
I start with 80 grit, then 240 for a clean, smooth finish.
Step 6: Work on the shape
Once the assembly has been brought to the desired diameter, work on the overall shape, refining the front for example.
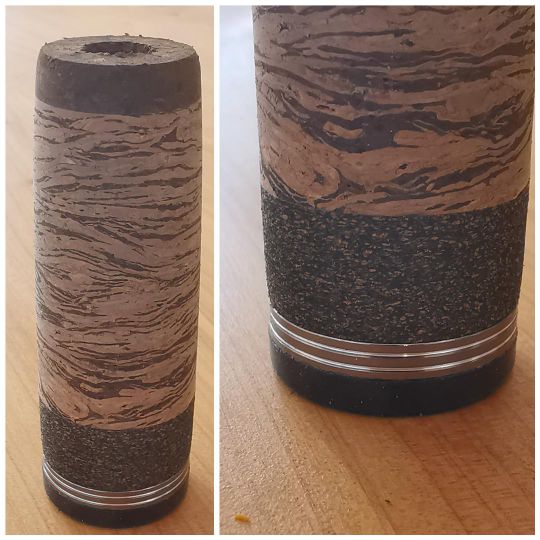
Step 7: Check
Then check that the diameter corresponds perfectly to the butt you have chosen.

Step 8: ream and glue
Now your grip is ready, you can reamer it to your rod diameter and glue it in place.
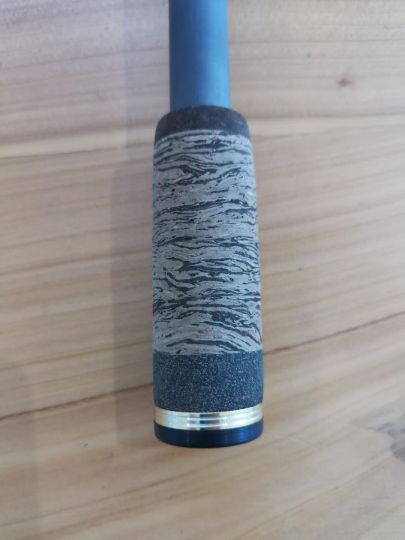
Optional :
To perfect my grip, I used a dremel to insert a ring on the front of my grip.
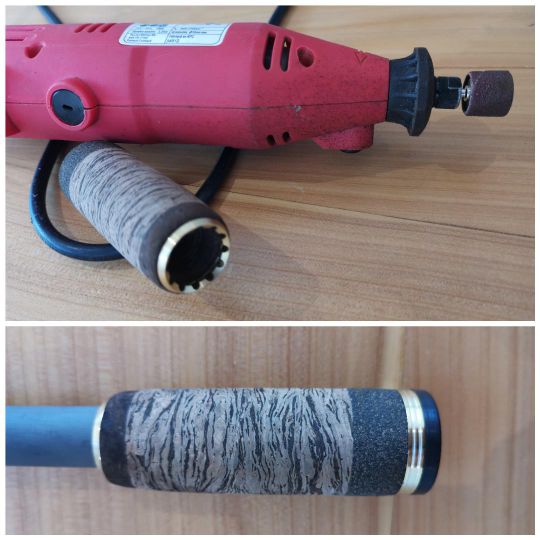
Making a cork grip is extremely simple and within everyone's reach. Between gluing the washers, sanding and finishing, it takes around 30 minutes. So let your imagination run wild!


