The installation of the motor support
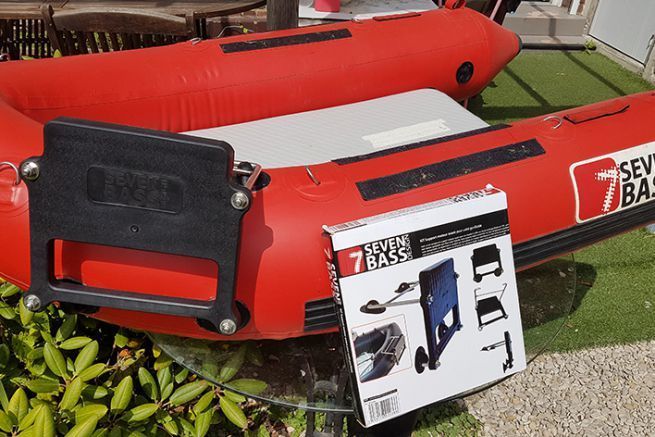
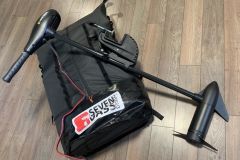
When I bought the motor support I didn't realize that the glue is not included in the installation kit, so I asked at 7 bass where they explained me that you have to use special polyurethane glue for PVC. Don't panic, it's available in all DIY stores, you can find it in small tubes in the repair kits for inflatable pools.
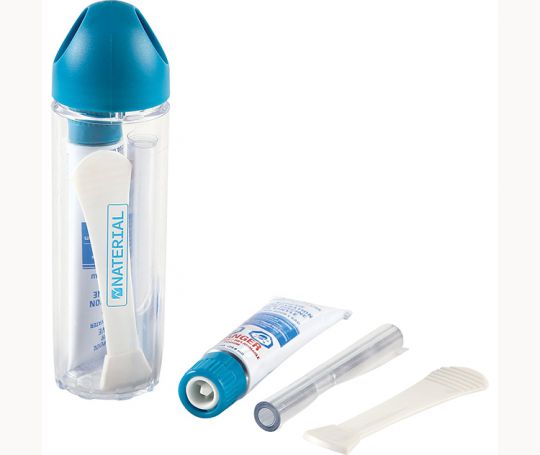
Gluing the pads
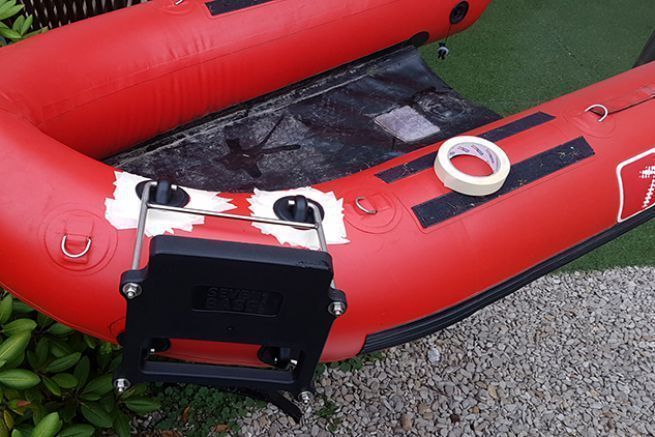
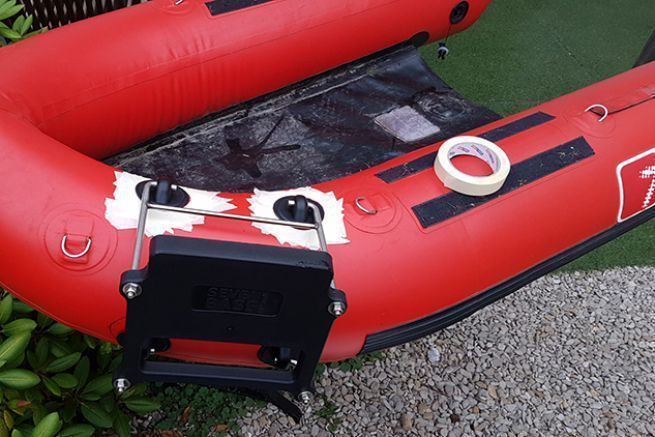
Before gluing the pads, it is necessary to put them on the motor support and to make tests to determine its future location on the float-tube.
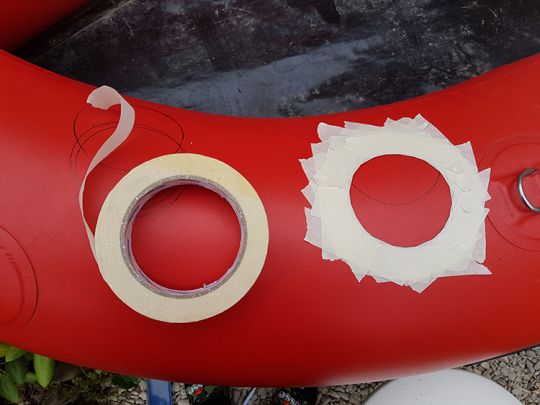
When we have chosen the position, we take a felt pen to outline the pads. Then, we insulate this zone with painter's tape to avoid dirtying the pad with glue.
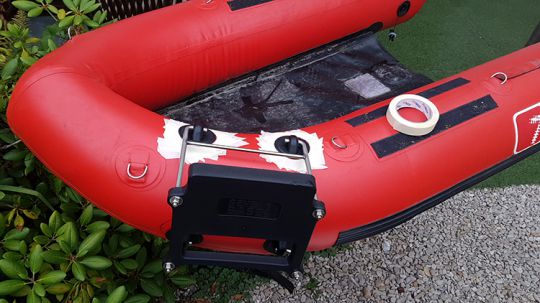
The gluing can begin, we spread glue on the pad and on the gluing area of the float and assemble. If the pads are too stiff and have trouble sticking, the little trick is to heat them slightly with a hair dryer or a thermal scraper so that they are more flexible and adapt better to the shape of the pudding.
The gluing is finished, you just have to remove the adhesive to let it dry between 24 and 48 hours.
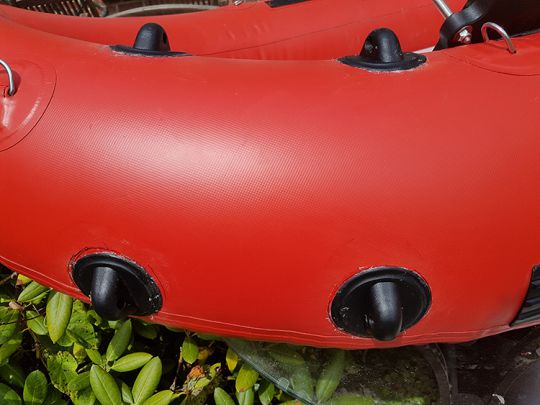
Battery storage and motor connections
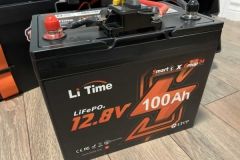
The support is ready, it remains only to come to tighten the engine on it. I store my battery in a bakkan behind the seat.
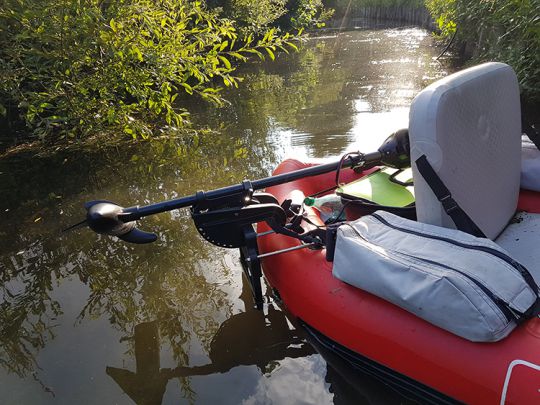
To connect the battery to the motor, I equipped myself with alligator clips that I put on the motor wiring, because the original terminals are not compatible with the battery.
Go on an adventure
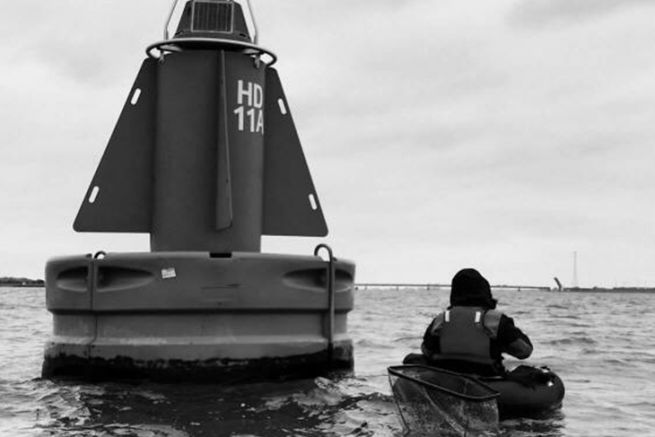
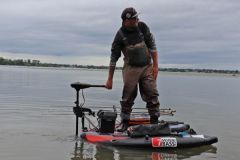
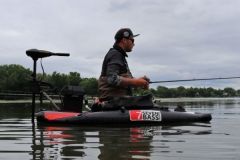
Here it is, the support is ready to receive the motor, it is necessary to make it pass in the pads before inflating the float. The configuration of my installation allows a simple and fast installation to enjoy fishing. Let's go for the adventure, let's go to the great outdoors!
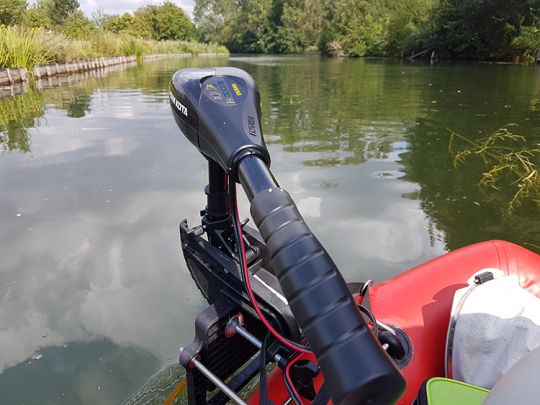
In a next article I will give you my impressions on my first outings in a motorized float, what brought me more, the setting up at the water's edge and especially how I navigate.

 /
/ 