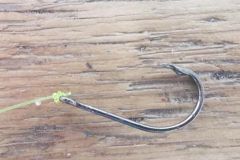
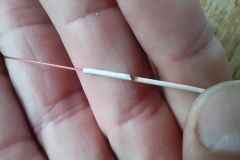
The needle knot that connects your braided line body to your fluorocarbon tippet is inspired, even borrowed, from fly fishermen. In fact, it's one of the solutions commonly used to connect your rat tail (fly fishing leader) to your fly line.
Although this knot requires you to be comfortable and calm, it will be effective for all your outings without the risk of breakage. The prerequisite is to choose a fluorocarbon whose strength matches that of your braid. And it's all the stronger for the fact that the braid is trapped underneath itself, so the knot can't come undone.
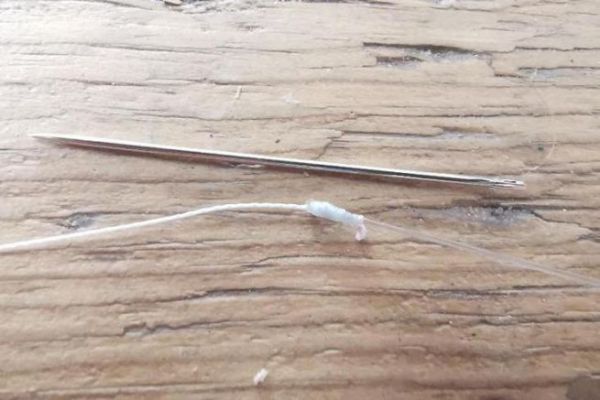
To make it, you'll need a sewing needle with an eye diameter larger than your braid.
Step 1
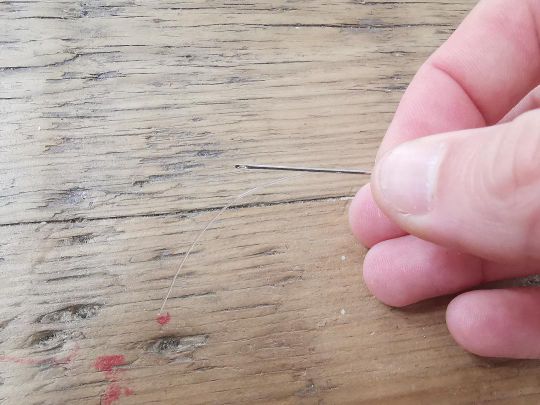
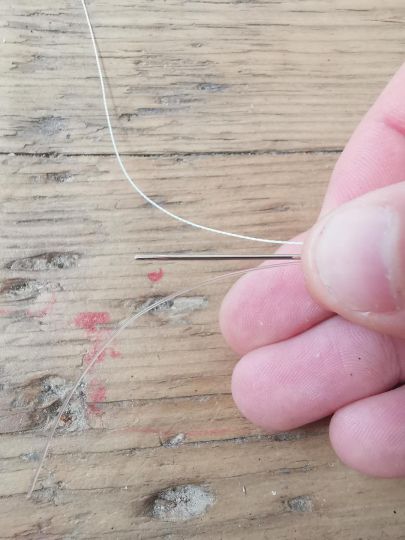
Pass your fluorocarbon parallel to your needle. The free side of your fluorocarbon should be on the eye side.
Step 2
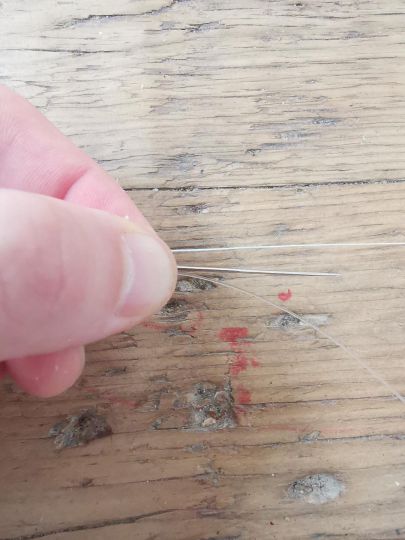
Next, place your braid strand in the opposite direction. That is, parallel to the needle and with the free strand on the needle tip side. The braid visible on the eye side is the part going towards your reel.
Step 3
Take the braid, needle and fluorocarbon between your thumb and forefinger on the other hand.
Step 4
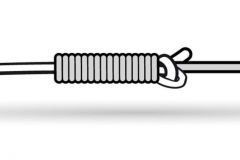
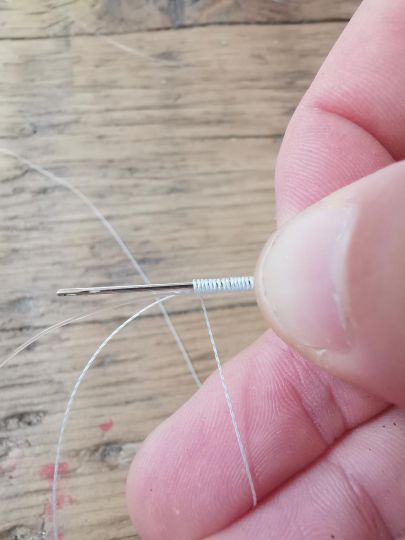
With the free strand of braid, make tight turns (without making them too tight, to make tightening easier later) around the needle, fluorocarbon and main braid strand.
The coils must rise from the needle tip towards the eye.
Make about fifteen coils.
Step 5
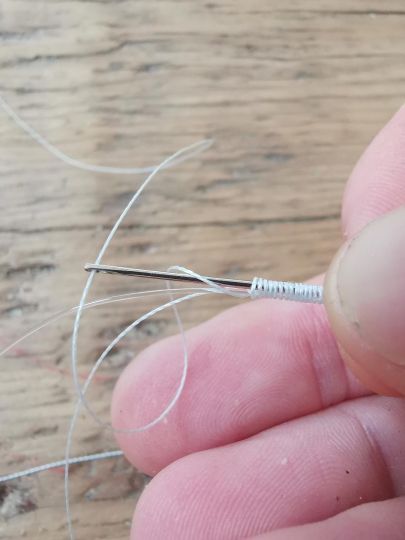
Pass the free strand of braid through the eye of the needle.
Step 6
Pick up the set with your second hand at the eye of the needle.
Step 7
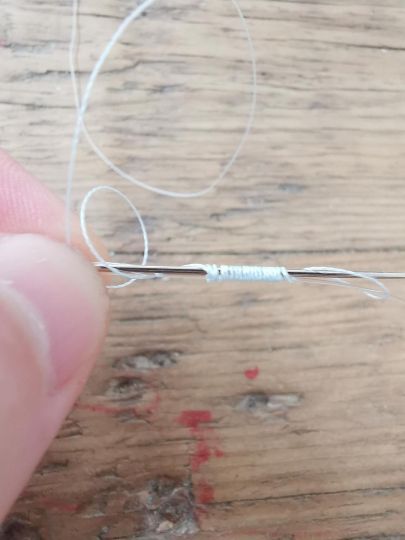
Pull the needle through the point to pass the free strand of braid through the coils.
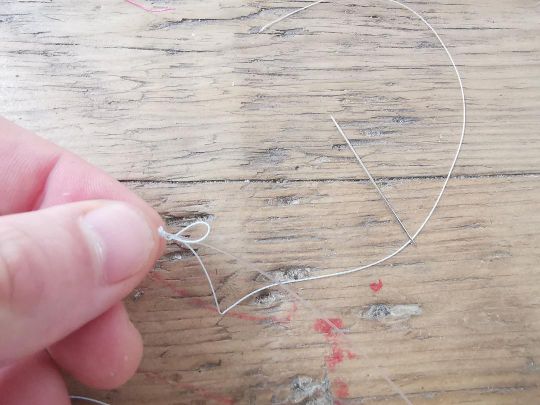
Step 8
Moisten the knot with saliva and gradually tighten by pulling on the two braid strands alternately, then simultaneously.
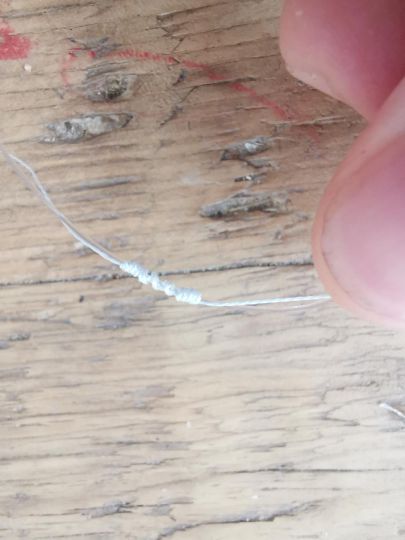
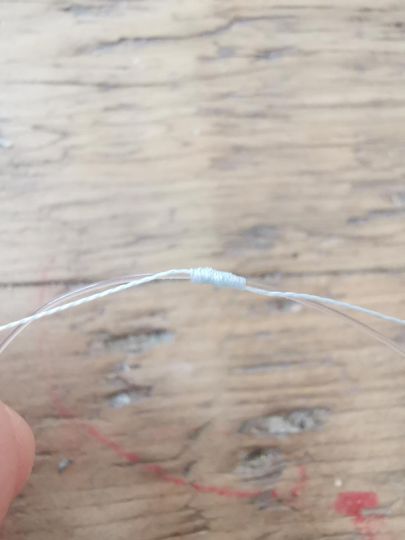
Step 9
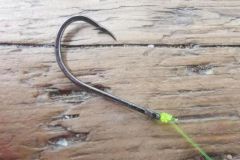
Using your lighter flame, make a mushroom at the end of your free strand of fuorocarbon. This will act as a stop.
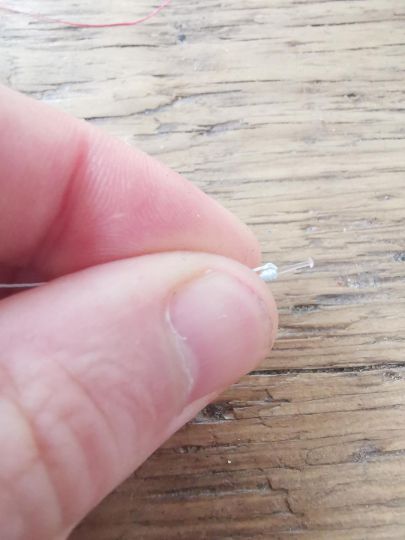
Step 10
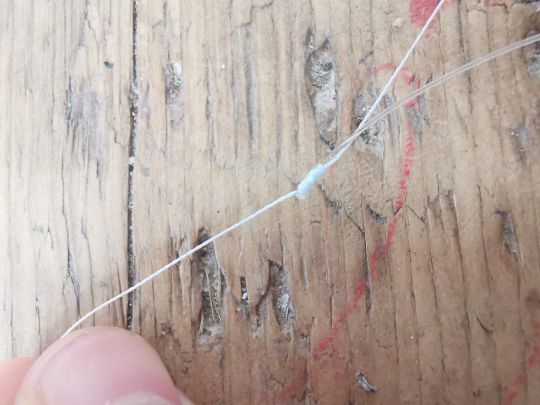
Slide the knot as far as it will go and tighten it firmly by pulling on both strands.
Step 11 (optional)
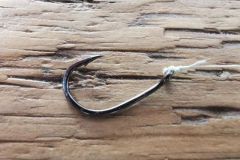
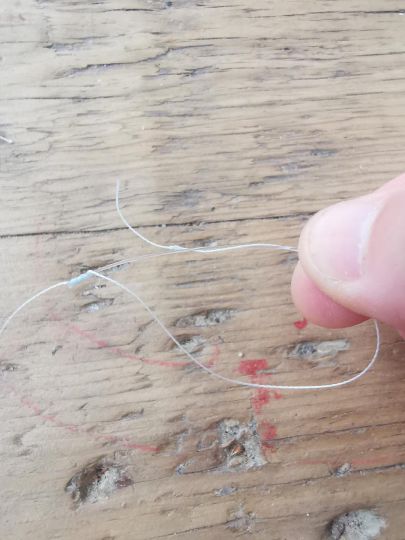
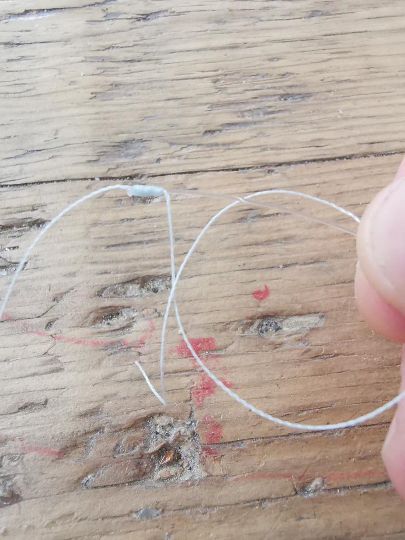
For a perfect finish, make a key with the loose strand of braid.
Step 12
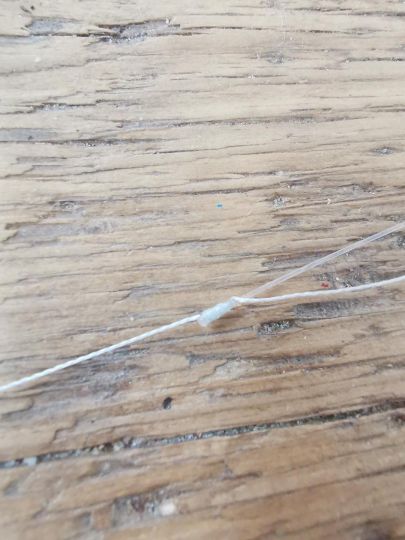
Now that your knot is complete, all you have to do is cut off the excess braid.
Benefits
- Very sturdy.
- Smooth and fine. Passes very well through the rings.
- Secure, because the braid is trapped beneath itself.
Disadvantages
- Takes a little time to learn.
- Requires calm to be realized.


