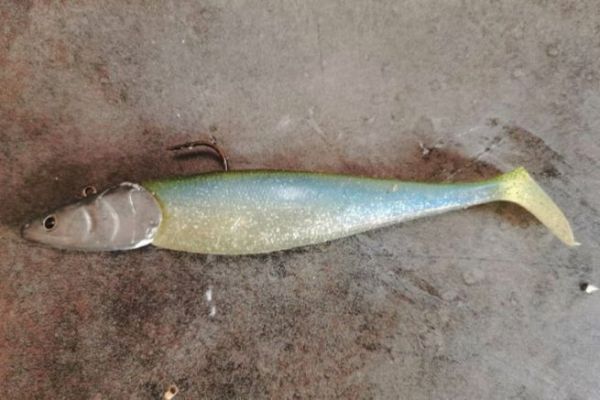
To see how to glue a soft lure to a jig head, let's take the example of a shad lure, i.e. a lure whose body ends in a paddle that produces strong vibrations when swimming. If you've mastered the gluing technique for these lures, you'll have mastered it for all the others out there.
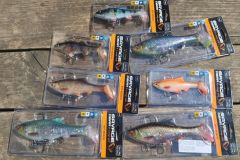
On the soft lure market, there are lures already assembled and others unassembled (with bodies sold loose or in blister packs on one side and the leaded head you wish to associate with it on the other). You are not obliged to match lures of brand X with heads of the same brand.
If the first choice is a guarantee of ease of use, since you just have to take the lure out of the packaging to use it, the second choice offers the possibility of adapting the desired lead head to the lure chosen.
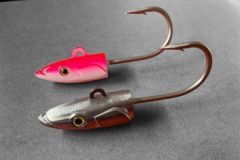
This makes it possible to adapt the weight to the fishing area and allows you to adapt any lead head model to the same lure.
When we take a closer look at unmounted soft lures, we find that some are pre-cut, ready to receive the head, while others are not.
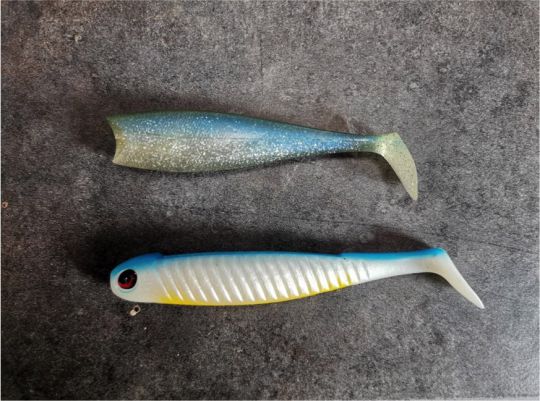
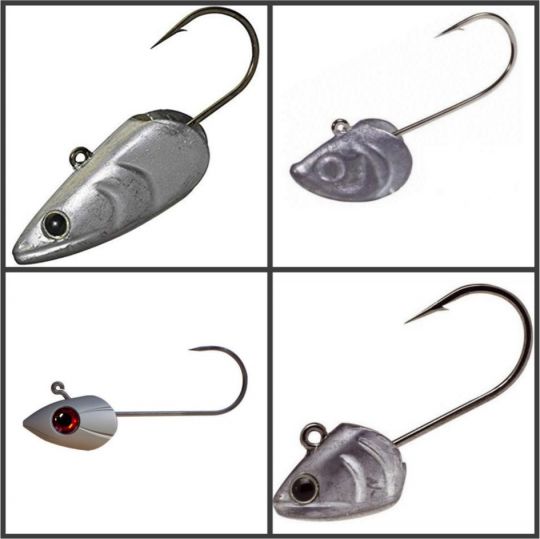
Shads are generally mounted on a jig head with a fish head. The hook is attached to this lead head.
Step-by-step assembly of a pre-cut lure
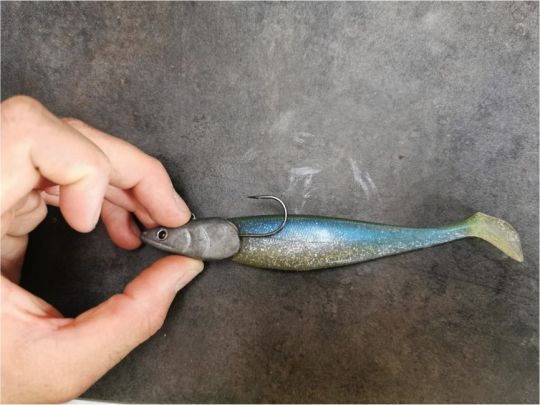
1/ Position the chosen head to determine where the hook will emerge on the lure's back.
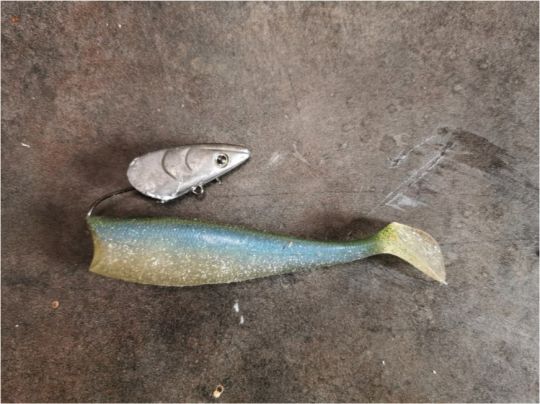
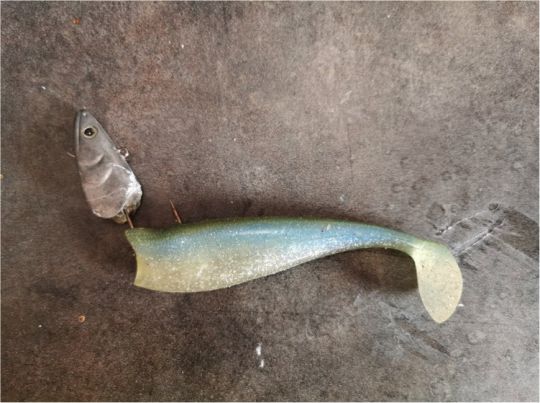
2/ Skewer the lure and bring out the hook in the spot marked beforehand.
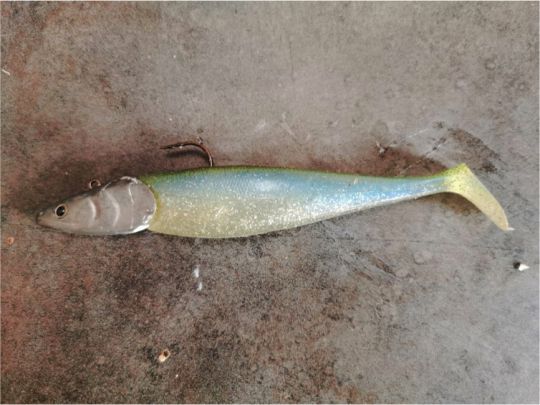
3/ Slide the lure over the hook shank.
All you have to do is glue the head to the body of the lure, as explained below.
Mounting a lure that is not pre-cut
When the lure isn't pre-cut, it's up to you to do the cutting - and that's no problem at all, as you're free to adapt the lead head as you wish.
Here's the technique I use for gilled heads, but the principle is the same for all heads.
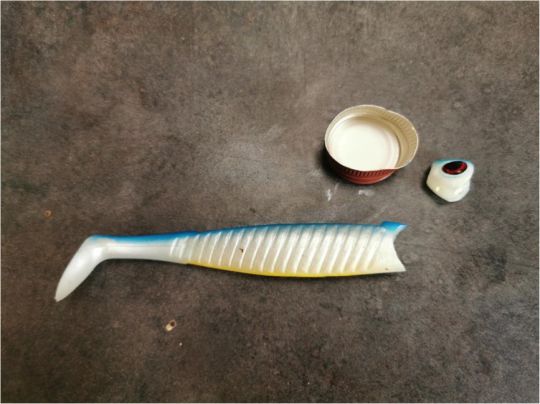
The main tool is a simple metal cork salvaged from a glass aperitif bottle.
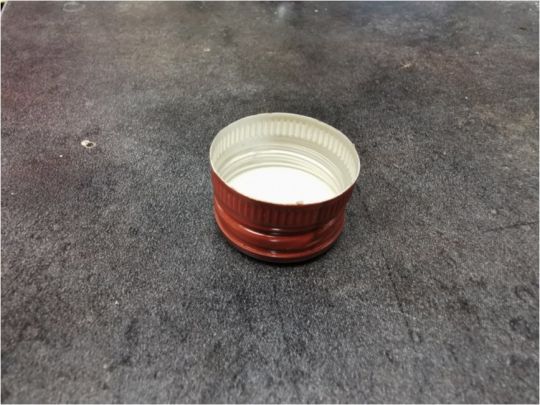
1/ Take the lead head and adapt the shape of the plug to the shape of the gills by rounding it slightly.
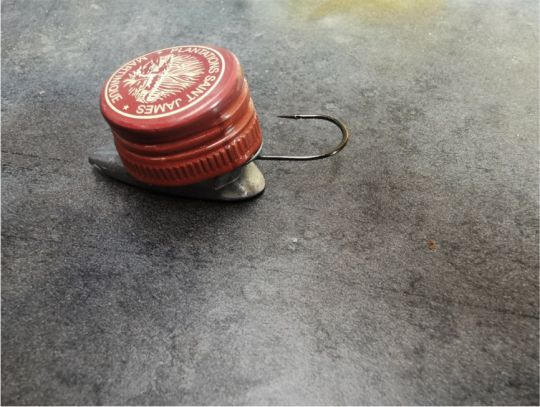
2/ Cut the lure with the cork, pressing as vertically as possible. The cork acts as a die. The location of the head is now created.
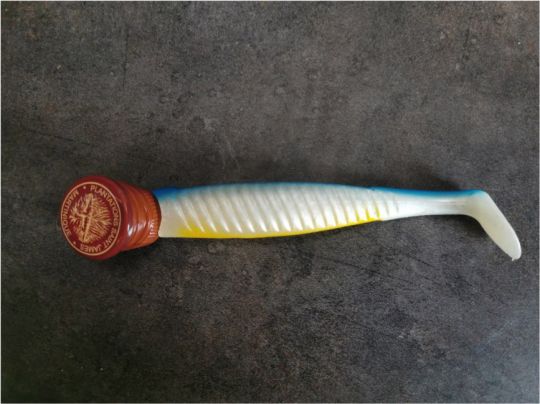
3/ Proceed as before, i.e. position the head to visualize the hook's exit point and thread the lure onto the head.
Gluing, a key step!
Gluing the lure is an important step. The choice of glue is crucial. Nothing is more unpleasant than a tube of glue that is constantly clogged or leaking, or a glue that won't hold in contact with the lure.
Virtually every brand has come out with its own glue model, but the base remains the same: cyanoacrylate. The main property is that hardening is due to very rapid polymerization of the monomer, which begins on contact with water or even ambient humidity. In other words, it's perfect for us fishermen.
The main problem is storing the glue. I've used many different models and the result is pretty much the same for all of them... The tube clogs more or less quickly and you lose a good quantity of product.
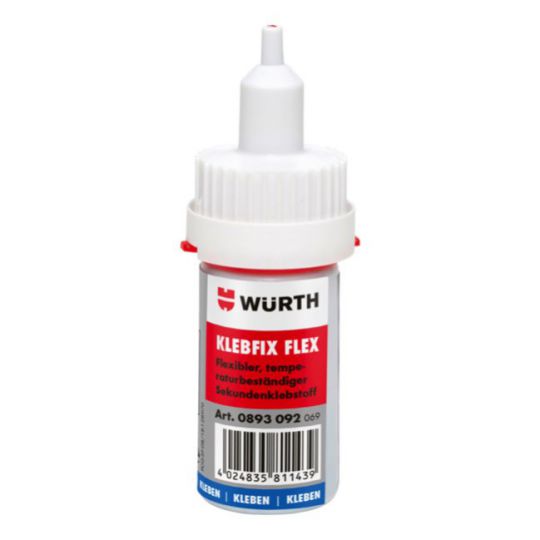
I say almost all, because there's one brand that gives me complete satisfaction, and as surprising as it may seem, I didn't go looking for it in the fishing world, but in the building trade. It's Wurth. What I particularly like about it, in addition to its fast, strong bonding power, is the screw closure system directly adjoining the container. This prevents clogging and ensures a perfect seal.
The hardest part is getting hold of them, as Wurth only works with professionals. However, some retailers are beginning to distribute them.

 /
/ 