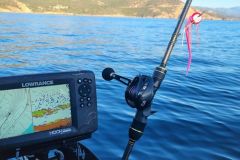
A boat's console is an important part of the boat. Its location and size must be defined as rigorously as possible, especially on semi-rigid boats, which by their nature are lighter than hard hulls and therefore more subject to the distribution of loads on board, as a guarantee of balance and good handling.
My previous RIB, a Bombard 600 Explorer, was a production model. I didn't have a choice regarding the location and type of accessories, namely a small console positioned far to the rear.
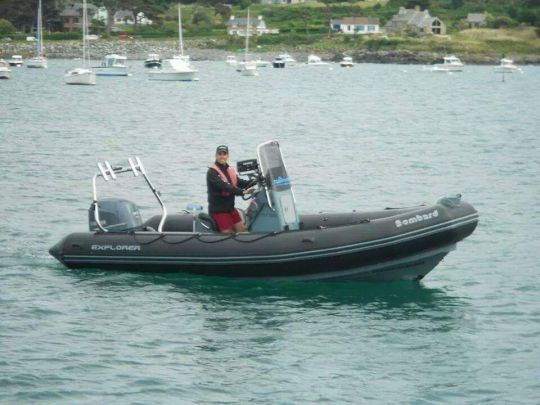
The result of this distribution had an impact on the navigational behaviour of a vessel that was constantly with its nose up and a starboard list. The small width of the console made it impossible to shelter two people behind the windshield and it was difficult to position the électronique?.
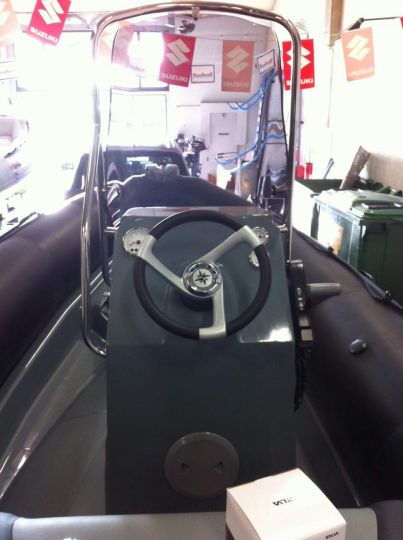
Having a very precise idea of the ideal console and having some time ahead of me, I turned to homemade.
Here, step by step, is the realization of the console
The equipment:
- 18mm plywood.
- Glass mat in 300 and 600 grams /m2.
- Polyester resin.
- Polyester coating.
- Two-component polyurethane undercoat.
- Two-component polyurethane topcoat.
- A debubblizer roller.
- Acetone and methylated spirits.
- Cutter/scissors.
- Brush and roller.
- Mask and protective glove.
- Eccentric sander.
- Sandpaper grain 180, 240 and 320.
- Coating knife.
Realization of a plan :
In order to visualize in 3D the rendering of the console, I made a plan with Sketchup.
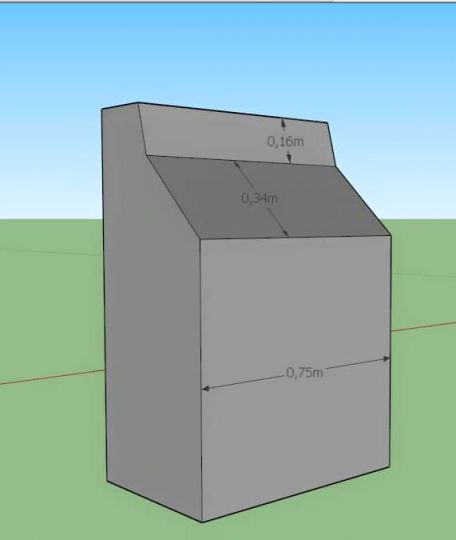
Manufacture of the plywood console.
I made the choice not to use marine plywood because it will be protected by many layers of fiber and resin to come. The inside corners are reinforced with cleats.
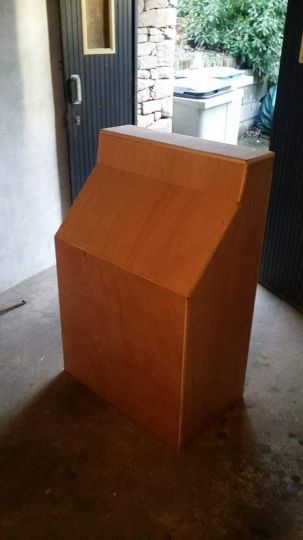
Stratification:
In order to prevent the wood from absorbing the first layer of resin, I impregnated it with a polyester resin mixture, slightly diluted with acetone to make it more liquid and applicable to the roller.
Concerning the fiberglass, I chose to put 2 layers of 600 on the outside and 2 layers of 300 on the inside.
My method of application is as follows:
- Pre-cut the racks to the right size.
- Using a roller, coat the work area with resin.
- Apply the fibre fleece.
- Apply a second coat of resin with a roller.
- Unwrap the assembly with the roller provided for this purpose.
Wait 24 hours before applying the second coat. Before applying it, sand the first coat when it is dry to promote the adhesion of the second.
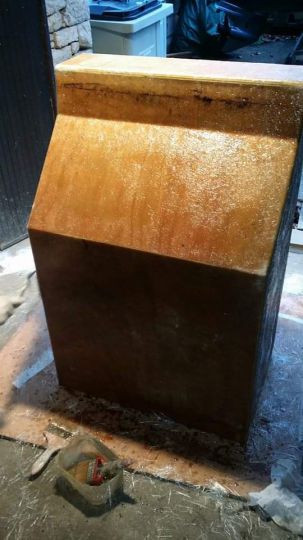
The console will be fixed to the floor by angle brackets. In order to increase the solidity of the set, I integrated them into the lamination. So they become one with the console.
The coating:
Let the set dry for 24 hours and sand the fibre with an orbital sander and a 180 grain.
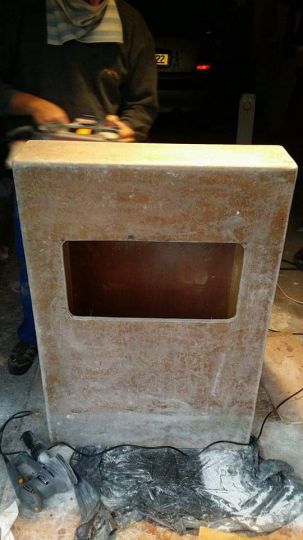
Then apply polyester coating with a knife. 2 to 3 coats are necessary depending on the defects with, between each of them, a drying time and a full sanding with 180 and 240 grain. The last coat will be hand sanded with 320 grain for the finest possible finish.
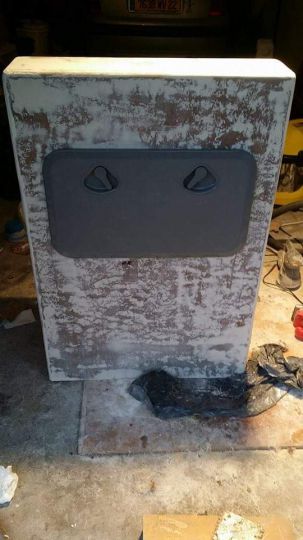
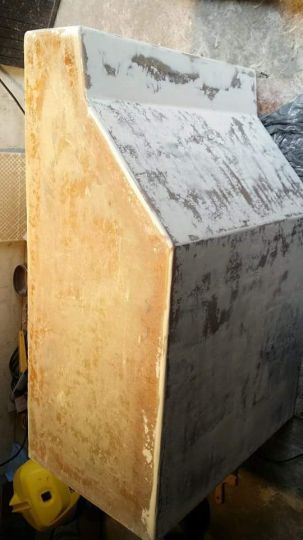
Do the same for the inside of the console. It is more difficult to have a finish as clean as on the outside because of the difficulty of access to certain areas.
The painting:
For this step, I first made a spray booth using a few rafters and tarpaulins in order to limit the dust.
Apply a coat of primer, in this case two-component polyurethane with a lacquer roller for a finish that is as smooth as possible. This coat is there to prepare the finishing coat. It is also slightly filling and will have the effect of masking certain small imperfections.
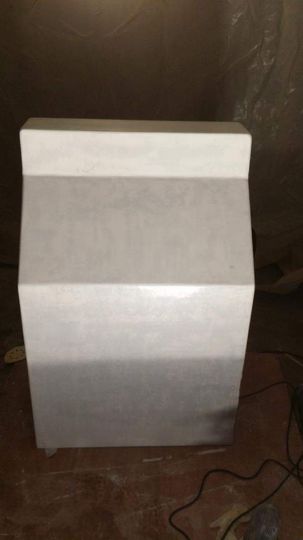
It is quite possible to apply a second coat of primer and lightly sand the first one before .
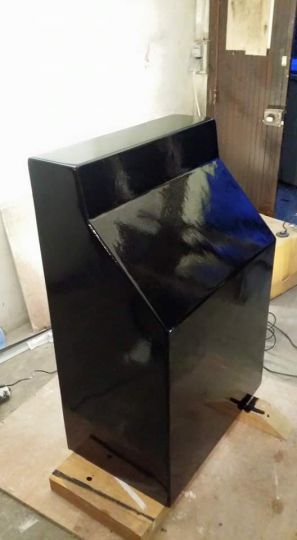
Then apply the finishing lacquer in 2 coats spaced 24 hours apart.
Reassemble the elements:
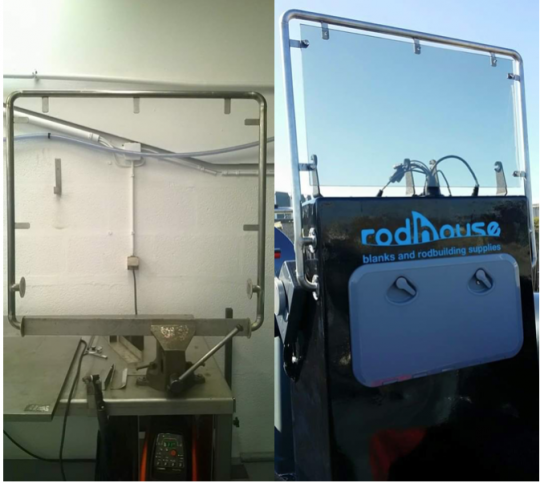
I didn't validate the idea of a Plexiglas windshield because of its fragility. I replaced it with a lexan model.
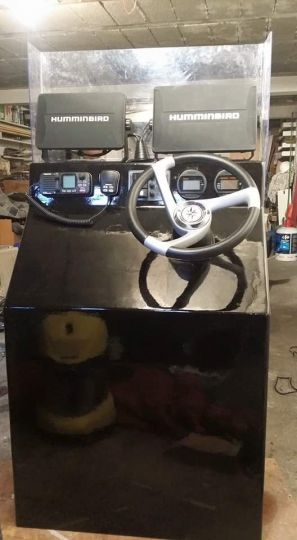
On this picture we can see the initial location of the bolster. By this modification, the console is thus advanced about 50 centimeters compared to its original position.
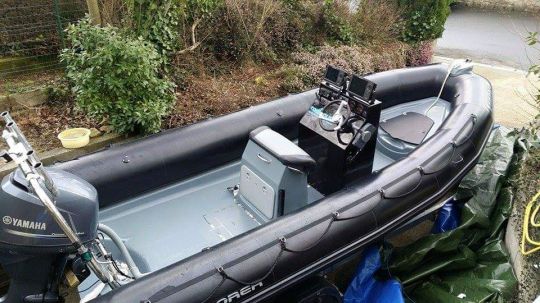
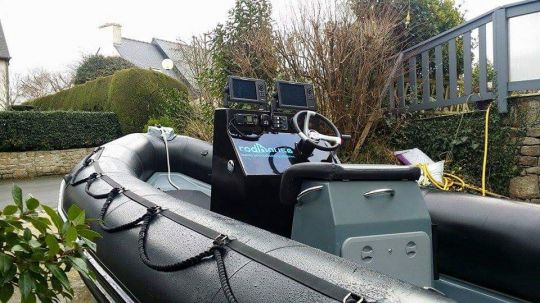
To finish the set, I had a 316 stainless steel handrail made and I fixed the windshield to it.
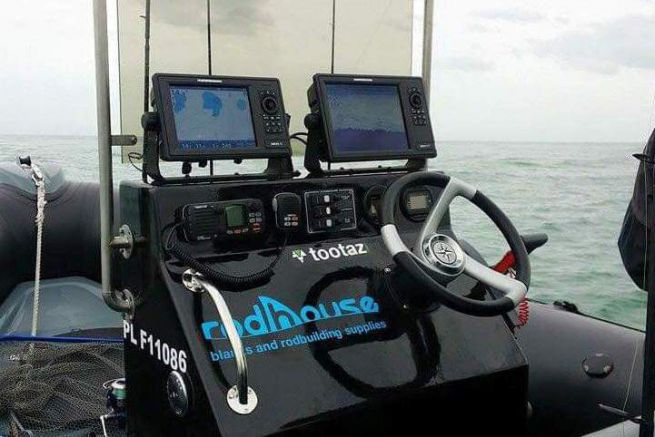
And here's the final result after a few hours of work:
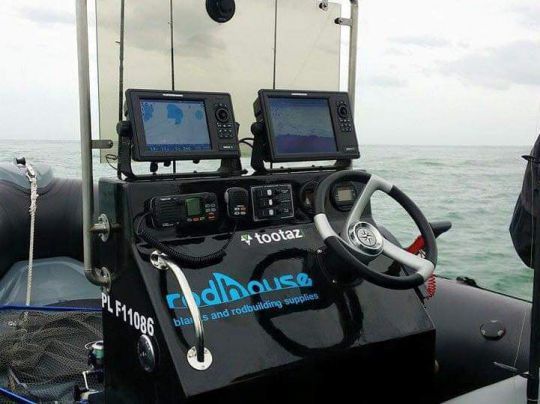
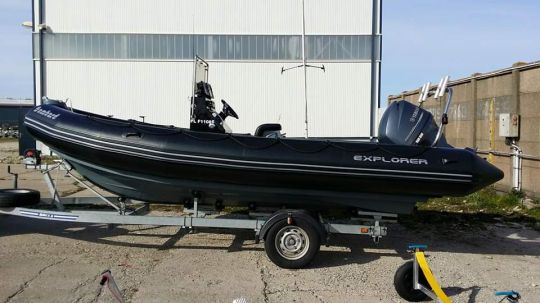
I made this console in January 2015. Even though I've since changed boats for a Zeppelin 21 Vpro.. that I sensed you in that article I regularly sail the Bombard 600. Five years after it was built, she hasn't moved and the paint is in excellent condition.
With this modification, the boat's behaviour has totally changed and the passage at sea has been considerably improved. Two people are now well sheltered behind the windshield and the console is sized to accommodate up to two 12-inch screens.
