Presentation
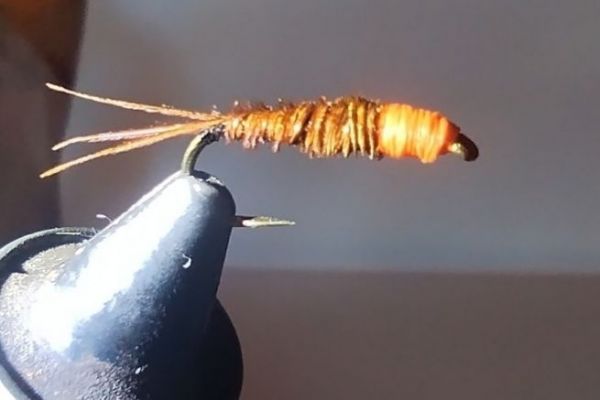
This imitation, which imitates a mayfly nymph, can be assembled with any desired ballast, from zero (i.e. no ballast) to a dozen turns of 0.30 or 0.40 mm diameter lead wire. Beyond that, tungsten balls are required to maintain the mayfly nymph's fine silhouette and avoid an overly pudgy imitation.
Personally, I rig it from hook size twenty to size twelve. Each size with 3 different ballasts: unleaded, 5 turns and 10 turns of lead wire.
This is a nymph that I mainly use for trout. I choose solid hooks, and I like the Tiemco 100 SPBL.
It's a very easy imitation to assemble, within the reach of a beginner.
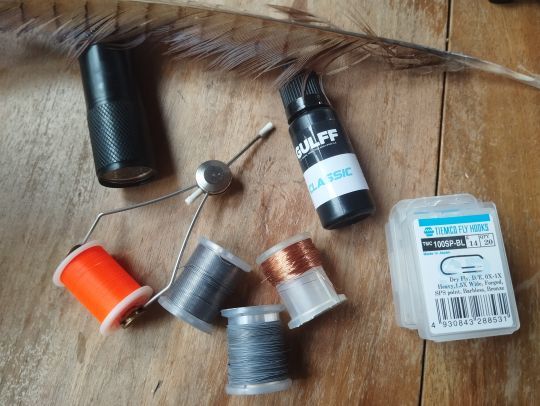
You'll need: a pheasant tail feather, fine copper wire, mounting wire (you can use the fluorescent orange wire), fluorescent orange mounting wire and uv varnish or resin.
Assembly
Place the hook in the vice (if you have barbed hooks and want to crush it, this is the right time to do it)
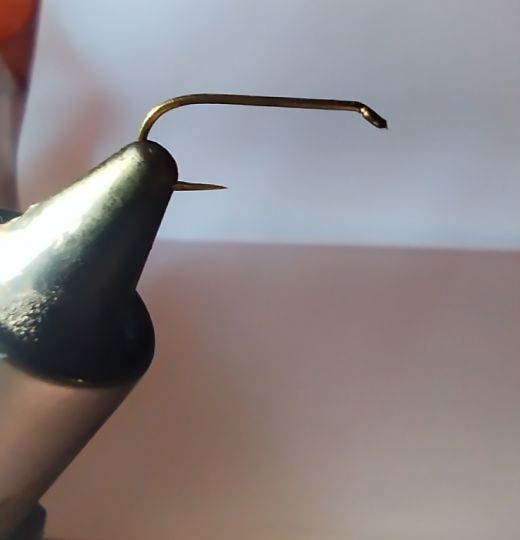
A few turns of mounting wire are made on the shaft.
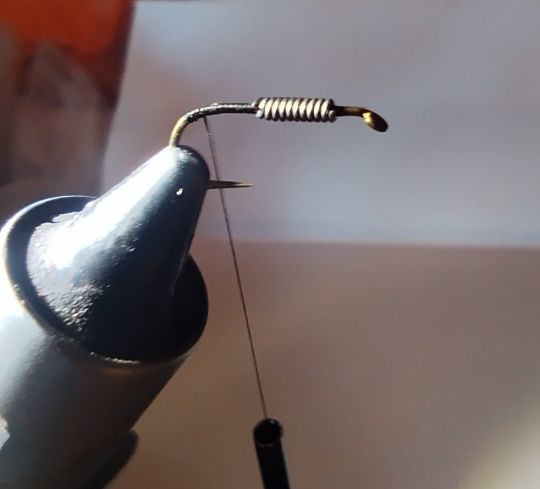
Weights are added as required, using lead wire. I use 0.30 mm up to size 16, then 0.40 mm up to size 12.
We then attach the copper wire that will be used to reinforce our pheasant coils and thus obtain a solid imitation that will resist the teeth of trout.
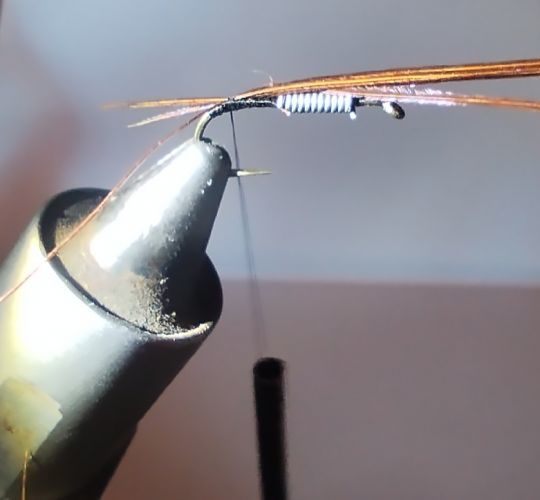
Hoops are attached (3 to 6 depending on hook size). The hoops are short, about half the size of the hook shank.
Use the mounting wire to cover the shank and create a harmonious cone to support the pheasant fibers. The wire is left waiting near the eyelet. At this point, you can cover the body with quick glue to further strengthen the assembly.
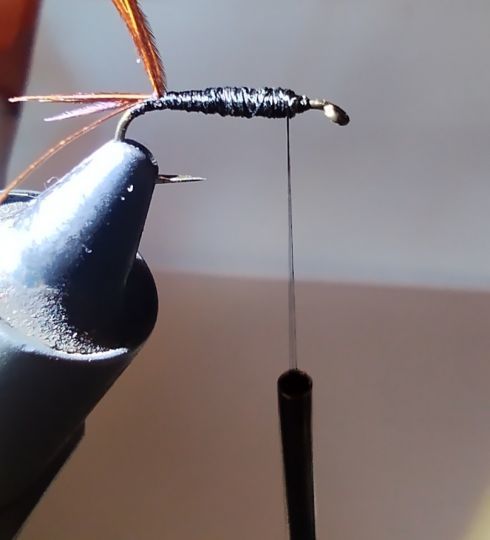
The pheasant fibers are then twisted together to within 1 or 2 mm of the eyelet. Secure them with 3 turns of mounting wire and cut them flush.
The copper wire is then wound at intervals, this time in the opposite direction to the pheasant. Secure with the mounting wire and cut.
Then tie a knot (2 half-keys are enough) and cut flush.
We then attach the fluorescent orange thread and wind it around to create our orange thorax. Once the effect is achieved, make two half-keys and cut flush.
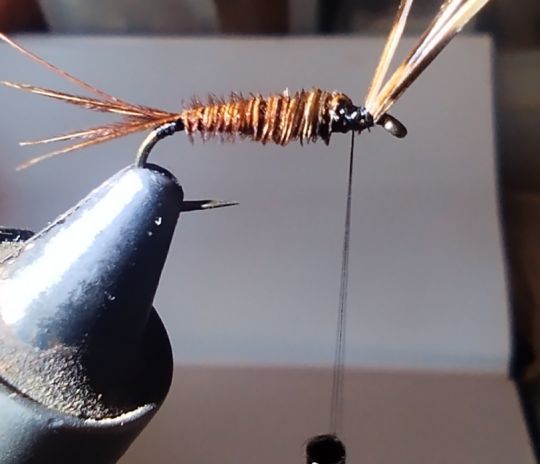
Finally, apply 2 coats of varnish or UV resin. Be careful not to clog the eyelet during this operation: nothing is more frustrating than finding the eyelet clogged when you want to tie your imitation.
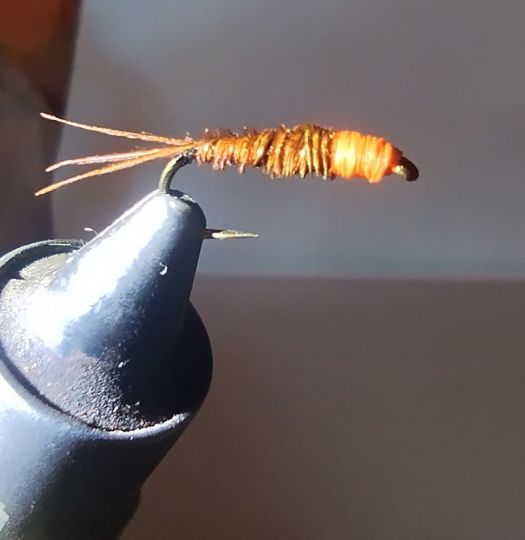
That's it, imitation over.
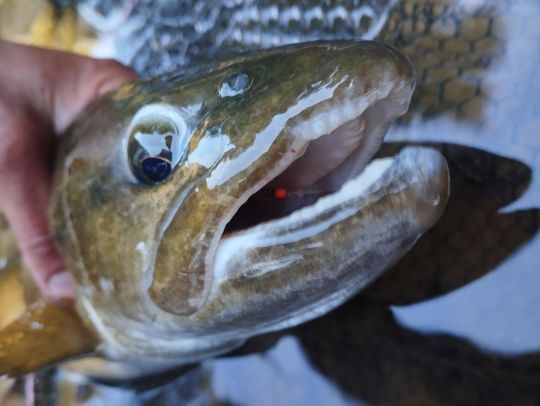
With this mayfly nymph, available in several sizes and weights, you can already cope with many situations. It's a nymph that will appeal to trout and chub alike.

 /
/ 