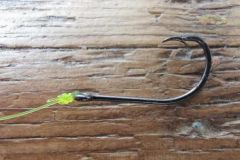
Assembly presentation
The palangrotte rig with glued beads is a more complex and efficient variant of the pater noster rig. The principle is simple: avoid making knots on the rig as much as possible. Like the pater noster rig, you can choose the number of leaders you wish to use, depending on the type of fish you're after.
Why choose this rig for deep-sea fishing?
It's important to understand why we need to spend more time on assembly. Firstly, it preserves almost all the strength of our line thanks to the absence of knots. Secondly, it's also for the sake of discretion in the water that we choose to use glued beads. A pater noster swivel is, in spite of itself, highly visible and noisy in the water. It emits unnatural vibrations and may also break under heavy stress. This way of rigging also keeps the line body supple, so that it can withstand fighting with several fish at the same time.
How to make it?
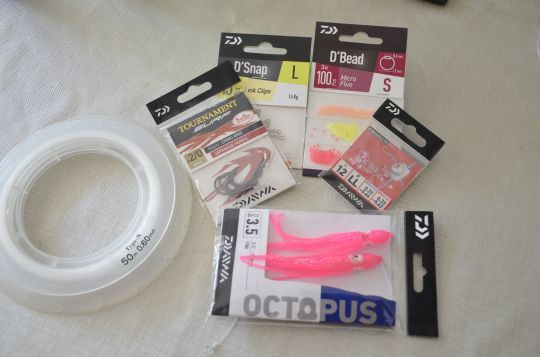
Here's how to make a typical 3-hook rig for big fish (pike-perch, capon, mostelle).
To make the line body, you will need :
- 3 pierced rotating beads
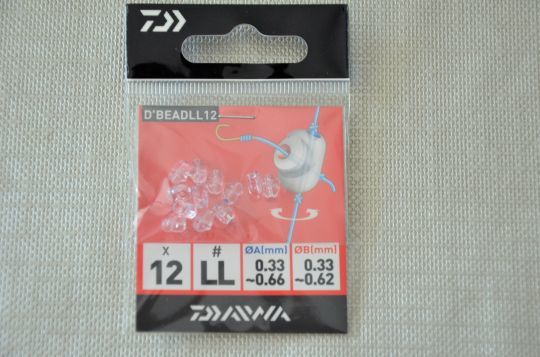
- 12 small beads to stick on
- 1 lead clip
- 2 rolling swivels
- Heat-shrink tubing if required
- 60° nylon
- Glue glue
For advances :
- 3 strong iron hooks
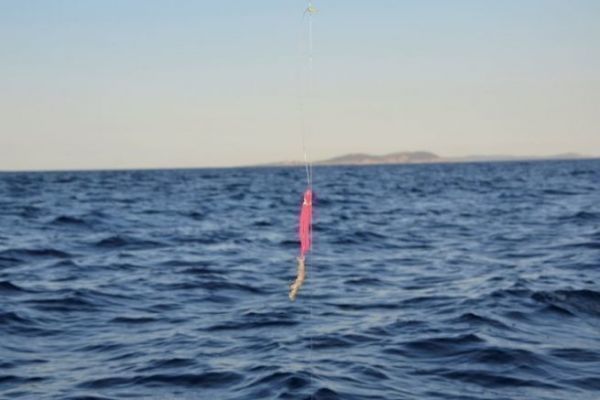
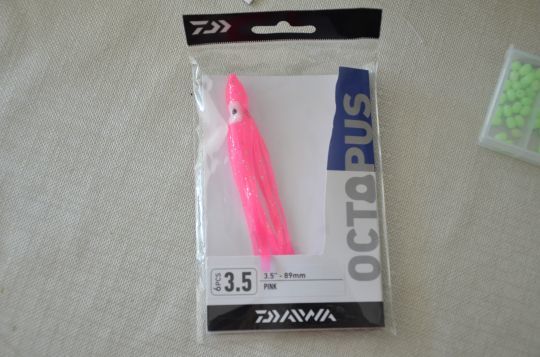
- 3 octopus
- 6 glue-on beads
- 60° fluorocarbon
For the assembly part :
First thread 2 small beads, 1 rotating bead, 2 small beads onto your line body and repeat 3 times if you wish to have 3 leaders.
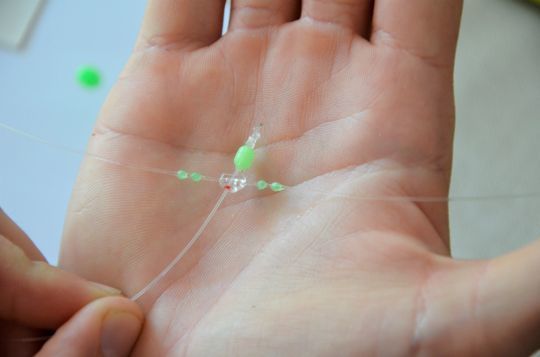
Thread a piece of heat-shrink tubing if you wish.
Attach a rolling swivel with a sturdy knot to the end of your line body.
Measure the distance between each bar and glue the 2 small beads on either side of the rotating bead, all for each bar.
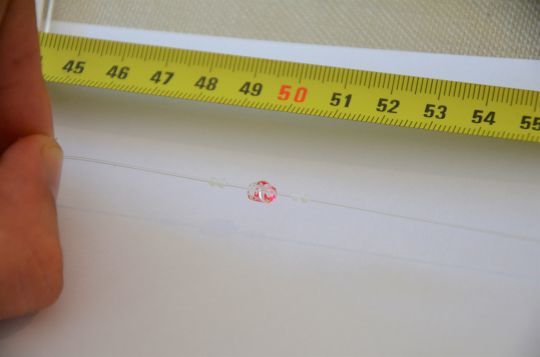
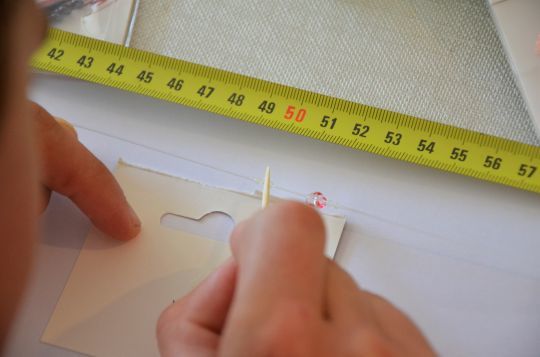
Cut your line body and attach another rolling swivel and a lead clip.
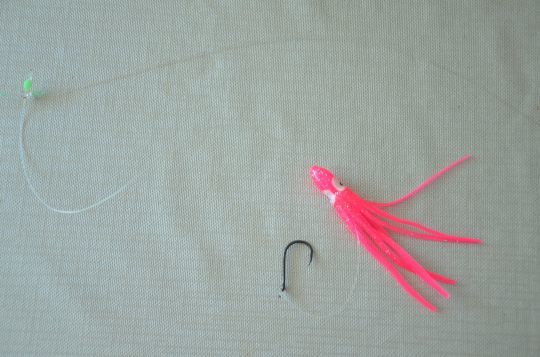
For the leaders, first thread your octopus, a pearl and tie your hook. Cut your line, leaving about 50 to 60 cm.
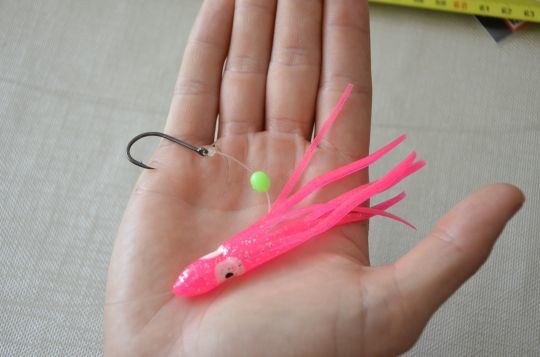
Pass it through the rotating bead, then thread a bead and tie a locking knot.
Glue the pearl of the stopper knot and the octopus. You can glue the octopus bead between 5 and 10 cm above the hook so that it doesn't come crashing down on it.
Add a dot of glue on the knot of the hook to solidify it and a piece of sheath to protect it, if you wish.

 /
/ 