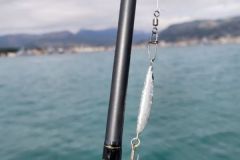
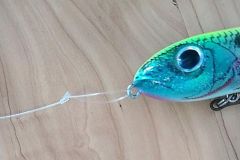
Why make sure a knot is properly finished?
What angler hasn't experienced these situations? A break in the connection knot during a cast or even a slowed cast due to an overly large or poorly made connection knot? This is often due to a poorly finished knot, with excess braid or fluorocarbon sticking out and catching on the cast.
Ensuring the right finish helps avoid these problems, improves the glide of the knot through the rings, especially if they are small, and thus increases distance and accuracy when throwing.
How to proceed?
It's important to consider the line diameters used. The larger the diameter, the larger the knot. In fact, in strong fisheries such as luring bluefin tuna, the size of the rod rings is so important that they can let through a poorly finished knot, but their solidity can be compromised. Attention should be paid to more classic fishing, requiring the use of smaller rings.
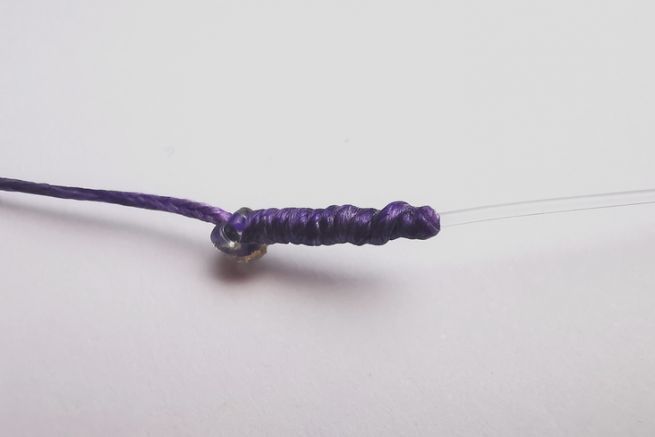
The following example has been deliberately made with a braid and a large-diameter fluorocarbon to enable the associated photos to be taken, thus facilitating vision.
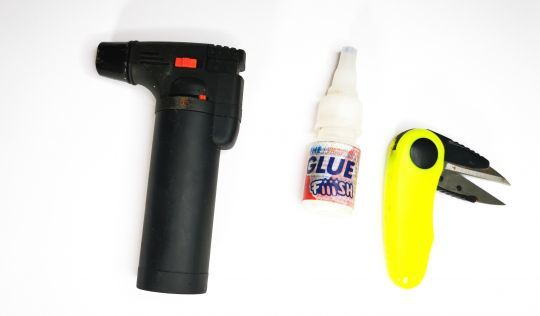
The materials needed to achieve a beautiful finish on your knots are relatively simple:
- a lighter or small flashlight
- a tube of glue, identical to the one used to glue your lead heads or soft lures
- a pair of scissors
The example here is on a peixet-type junction node tutorial in this article.
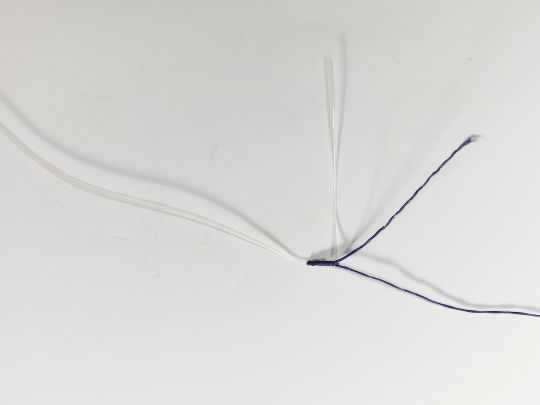
As with all knots, start by cutting off about 5 mm of excess braid and fluorocarbon.
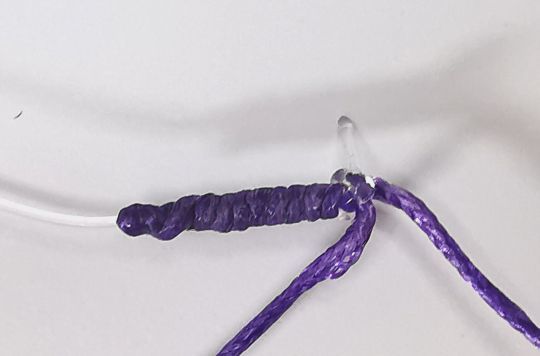
Once both parts have been cut, bring the flashlight's flame close enough to burn off any excess, and use your moistened finger to stop the burning by pressing down on it. This will create a small "ball" that will prevent the knot from slipping.
Be careful not to get the flame too close to the knot or line body, or you'll cut the whole thing. I prefer to use a small flashlight for this step, especially when I do it at sea. The flame is more precise.
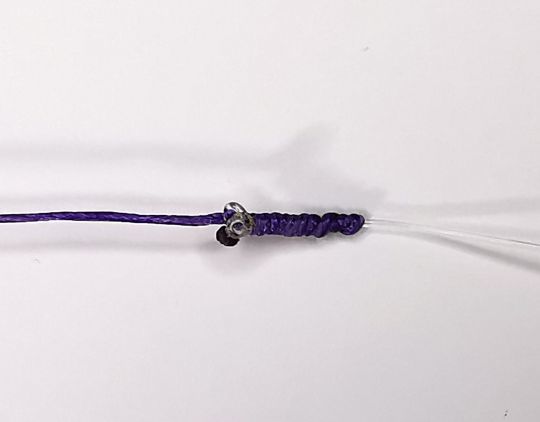
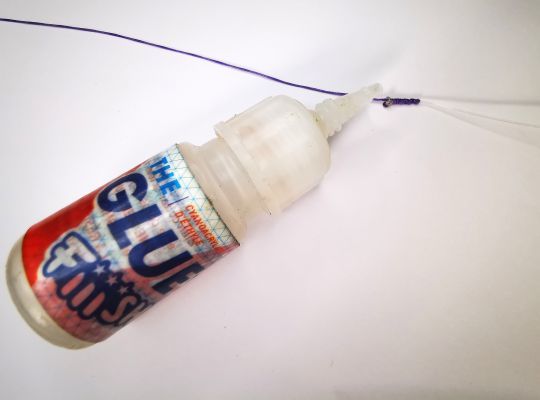
Finally, you can apply a small drop of glue to the knot.

 /
/ 