Tools needed to practice ikejime
Ikejime does not require a great deal of equipment.
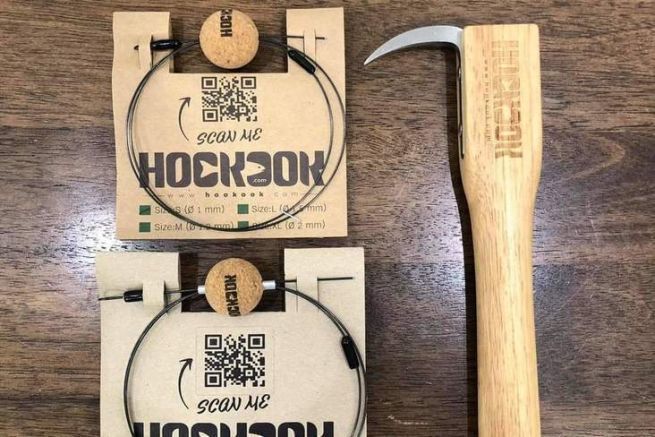
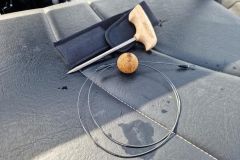
The tegaki is the tool used to neutralize the fish's brain. Traditionally, it consists of a wooden handle and a curved point. Other, more basic models are just as effective.
The second essential tool is the needle, which will enable you to destroy the spinal cord. In other words, you'll use it to penetrate the cord through the hole created by the tegaki.
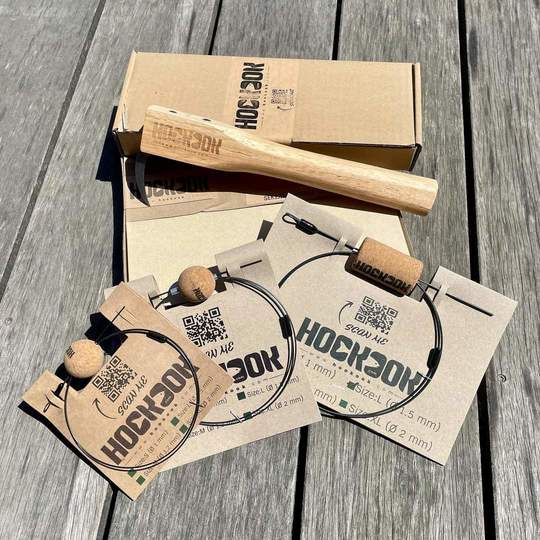
In France, the Hookook brand specializes in the distribution of products dedicated to ikejime. Some of the illustrations in this article are taken from the Hookook website www.hookook.com.
Ikejime in 3 steps
Remember, the benefits of ikejime only apply if the fish is killed without stress or agony. This is why, if you wish to preserve a fish, do so immediately after it has come out of the water.
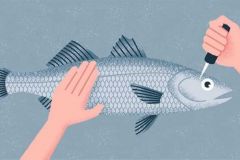
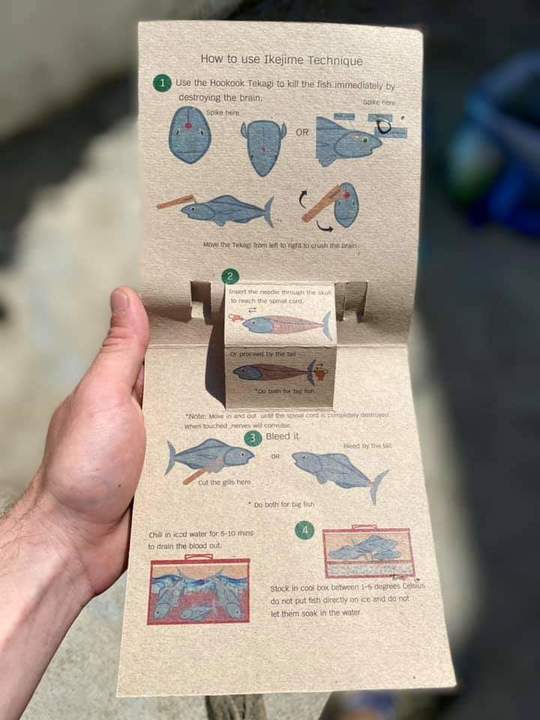
The first step is to kill the fish by neutralizing it with the tegaki. To do this, you need to aim at the fish's brain, which is located on top of the skull, slightly behind the two eyes.
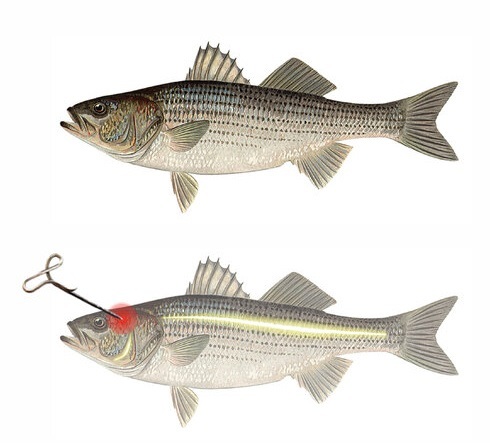
The second step is to destroy the fish's spinal cord. This prevents the transmission of information to the muscles via the nervous system of the fish's death. This action will prevent the propagation of lactic acid and ammonia, making the fish taste better afterwards.
To do this, insert a needle like the one shown below, through the hole created by the tegaki and try to find the spinal cord. Aim for the lateral line of the fish.
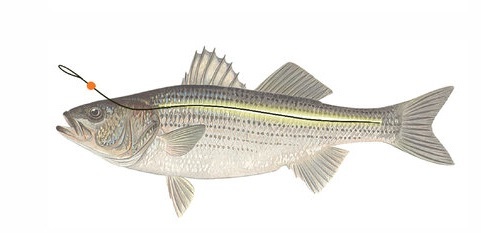
Once you've found the spinal cord, you'll see a physical reaction in the fish. The nerves will react, causing the fish to jump a little. Remember, it's brain-dead and not suffering in any way. Proceed in this way to the end of the fish, moving back and forth.
the last step is to remove the blood from the fish, which causes the flesh to degrade and gives it a bad smell, especially if you want to mature it for several days.
A fish has 4 gills, whose function is to oxygenate the blood. Use a knife or scissors to sever the 3rd gill in the direction of the mouth. This will cut the main vessel. On some larger fish, it's possible to sever the tail at the spine. Leave the fish to bleed to death in the water for 5 to 10 minutes, depending on its size. Then store in a cool place to preserve its freshness.
Remember that this practice consists of taking a fish and adding value to it using a quick, painless killing technique. At a time when no-kill is gaining ground thanks to a collective awareness on the part of anglers - and we can only congratulate ourselves on this - it is not forbidden to catch a fish to cook and share with family and friends. The key is to harvest the fish sensibly, in line with the season, while respecting legal catch sizes, even if for some species these are a long way from sexual maturity. But that's another subject.

 /
/ 